
Progress on the epic hickory floor project
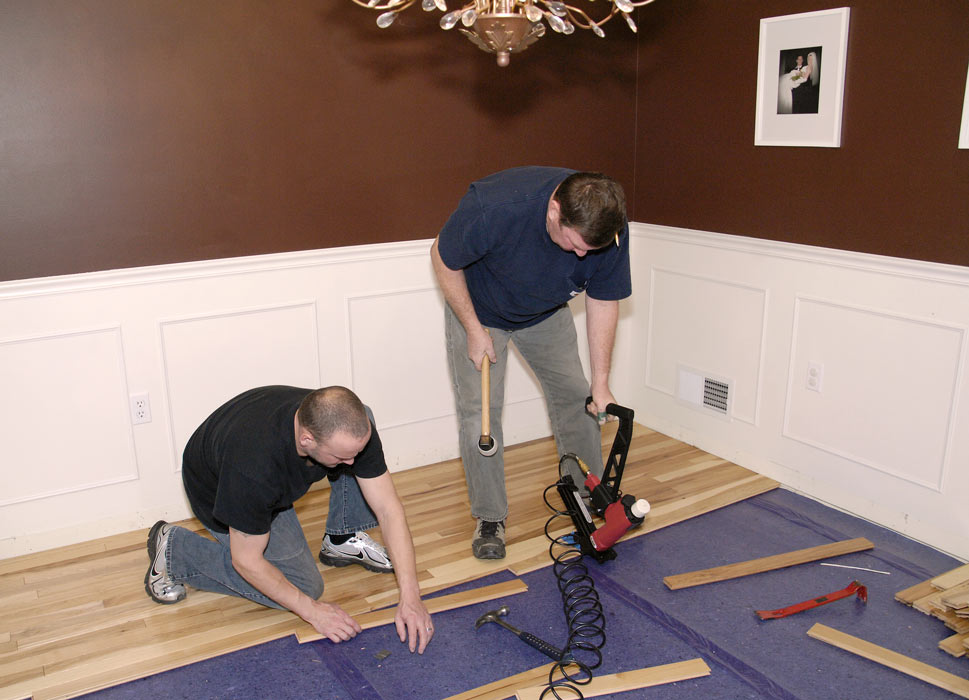
Saturday, we officially began work on the actual hickory floor part of the epic snowball flooring project and I’m happy to report we’ve all survived and there have been no major injuries so far.
The hubs and I were blessed to have help from my dad, my sister and brother-in-law. Without them, by now I would be curled up in a corner crying for sure.
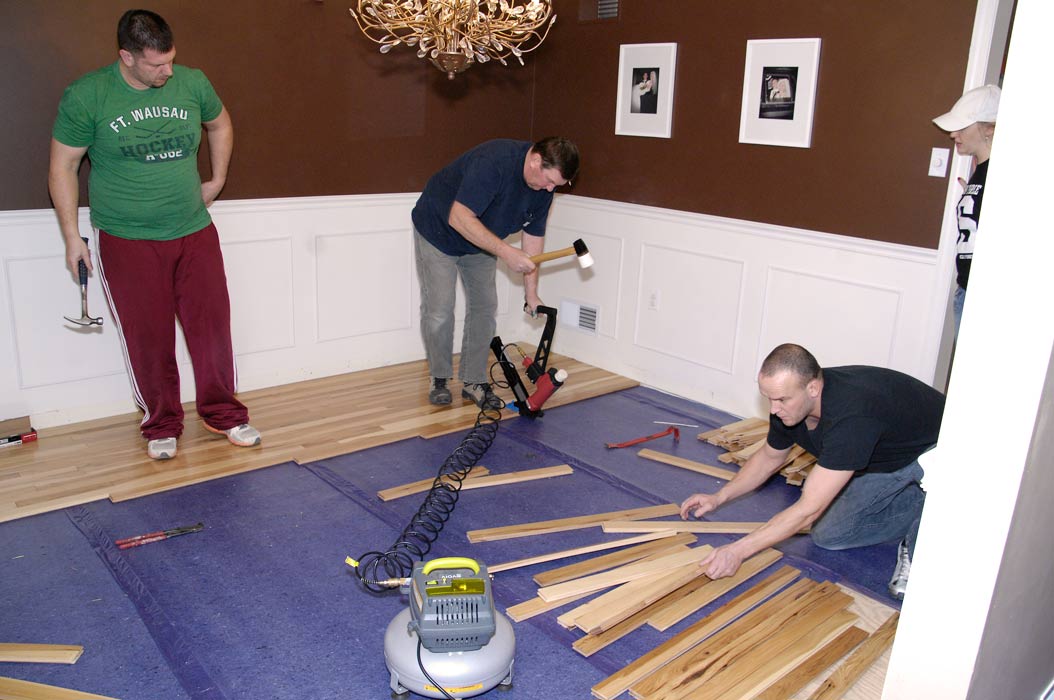 From left to right is the hubster, my dad, brother-in-law Rob and sis Megan.
We started the project in our formal dining room, which was originally carpeted. We removed the baseboards, tore up the carpeting, removed all the staples and debris, then laid down underlayment (aka the purple stuff) directly over the plywood subflooring. Our subfloor was in great condition, so we didn’t have to do any work to it before placing the underlayment over it.
The 3/4″ solid hickory hardwood we installed next came from Lumber Liquidators. After our military discount, it cost about $3.60/square foot. I shopped around a lot before I ordered because I was determined to get the best price on our flooring. The Builder’s Pride 2 1/4″ wide natural pre-finished hickory seemed to be the best value and best quality for the money. I have to say we’ve been very happy with the product so far.
It took an entire day and evening to get about 2/3 of the way done in the dining room. Installing solid hardwood is no joke! It requires serious tools, patience and attention to detail.

Here’s a picture of me taking a crack at using the floor nailer. This is a tool I have to admit I’m a bit scared to handle. Here are some of the other basic tools we used a lot along the way:
- Miter saw
- Table saw
- Cordless drill and bits (Be sure to keep extra drill bits on hand; we broke a few.)
- Ryobi 18V JOBPLUS™ with multi-tool attachment (We used this tool to cut under the door casings. I asked the folks at Ryobi to let me try it out after I saw it at Haven. I’ll be sharing a how-to video soon.)
- Hammer and nails
- Hand saw
- Chalk line reel and chalk
- Framing square
- Pliers
- Pry bar
- Level
- 25′ tape measure (It’s recommended you use the same one for all measurements.)
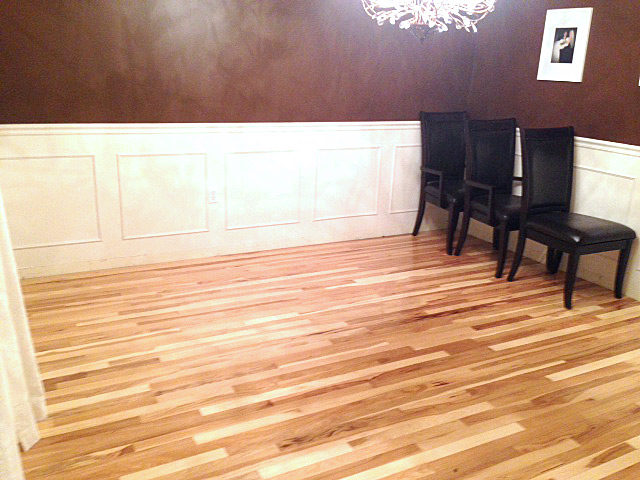
We encountered a few challenges along the way that slowed us down, but the results so far have been nothing short of gorgeous, in my opinion.
After progressing through the dining room, we’re now hard at work in the kitchen. Here’s sis and I pulling out 8 gazillion staples from the floor to prepare it for underlayment.

There was a thin layer of plywood we needed to remove to take the kitchen floor down to the same elevation as the dining and living room floors. I think this was the most painful part of the project so far.
After we finish this portion of the kitchen, we’ll be moving into the living room. I realize the pictures so far haven’t been the best. At the end, I’ll be sure to take time to give you some better room shots. With all the activity, I’m lucky to grab a photo without having my foot nailed or getting rolled up in underlayment because I stood still too long.
Speaking of rolling in underlayment, the kids were having a ball using flooring materials for a makeshift jungle gym.

What do you think of our new hickory floor so far?


Beautiful!
Looks great. So clean looking! We took so long putting ours down that it was cheaper to buy the nailer vs renting. Misery.
Yes. I’m glad we bought the nailer. We figured we would need it for awhile. We’ve been going for about a week now and we’re not quite half finished yet.
Love it! So glad you found some helpers! It is something I was planning someday to replace my kitchen floor, maybe by the time I am 60 or 70! Nice Job!
OH, I love the Hickory. We are in the process of planning our kitchen/ entry remodel. Hickory may just be the ticket!
Gorgeous!!
Our floor nailer (aka “the bonker”) was not pneumatic so it was a lot and I mean a lot of work! Muscle power! Good thing we had children to help! They had fun.