
How to make a rosette necklace
Can I let you in on a little secret? I am craft-challenged. I mean, when it comes to organizing, decorating and home improvement, I feel totally in my element. But when it comes to craft projects, I’m lucky to make it through without my fingers glued together. Family members often have to leave the house … tears have been shed … it is not a pretty sight. In fact, I have a stack of embarrassing wreath projects in my basement to prove my point. Maybe I’ll swallow my pride and show them to you someday … when you need a good laugh. 🙂
Fortunately, I’ve got crafty friends! Have you seen those super-cute rosette necklaces everyone’s been wearing around town?

Well, today The Domestic Four sisters (all awesome, in-real-life church buddies of mine, by the way :)) are going to show you how to make one of your own.
Take it away, girls!
Thanks, Susan … OK, let’s get started. If you want to make the necklace portion of this piece from scratch, the first thing you’ll need to do is gather your supplies.
Making the necklace
The items you’ll need include a chain (30 inches in length or more), clasps to be added to the end of your chain (most store-bought chains come with these already), beads of your choice, thread or jewelry wire (to match your chain), jewelry/needle-nose pliers and fabric of your choice. You’ll also need a hot glue gun and glue sticks.
Once you have your items, start by connecting your jump link to your chain. This will be used to clasp your necklace together. Connect the other jump link and clasp to the other end of your chain.
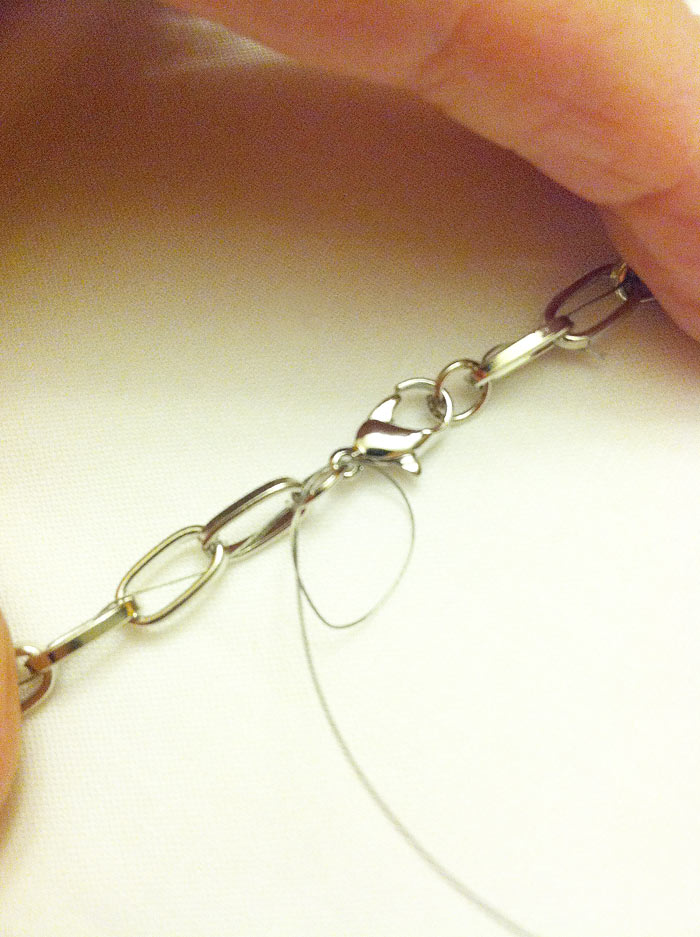
Taking your thread or jewelry wire, tie to the jump link at one of the ends of your chain. Once you have knotted the end, begin to weave the thread or jewelry wire through each loop of the chain.
Now is when you get to have some fun! After you have woven your thread/wire through a few loops, take your first bead and slide it onto the necklace. In my opinion, the jewelry wire is much easier to use than the thread. It also provides a bit of “girth” to the necklace. I have made the necklace both ways; I’ll be sticking with the jewelry wire.
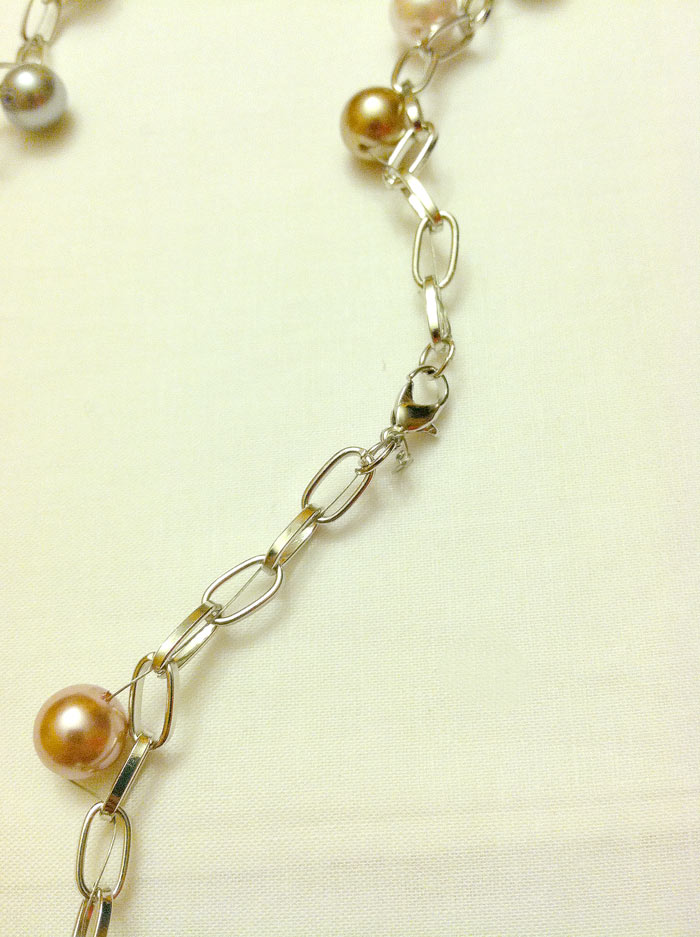
Continue to weave the wire and beads through the loops of your chain. For my necklace, I placed a bead on, wove three loops, then added another bead. It is your necklace, so get creative. If you want bling and loads of beads, bead away! Continue weaving until you have made it to the other jump loop of the chain.
When you have reached the other jump loop, tie your thread or wire off at the jump loop. I knotted mine two-three times. This could be glued as well.
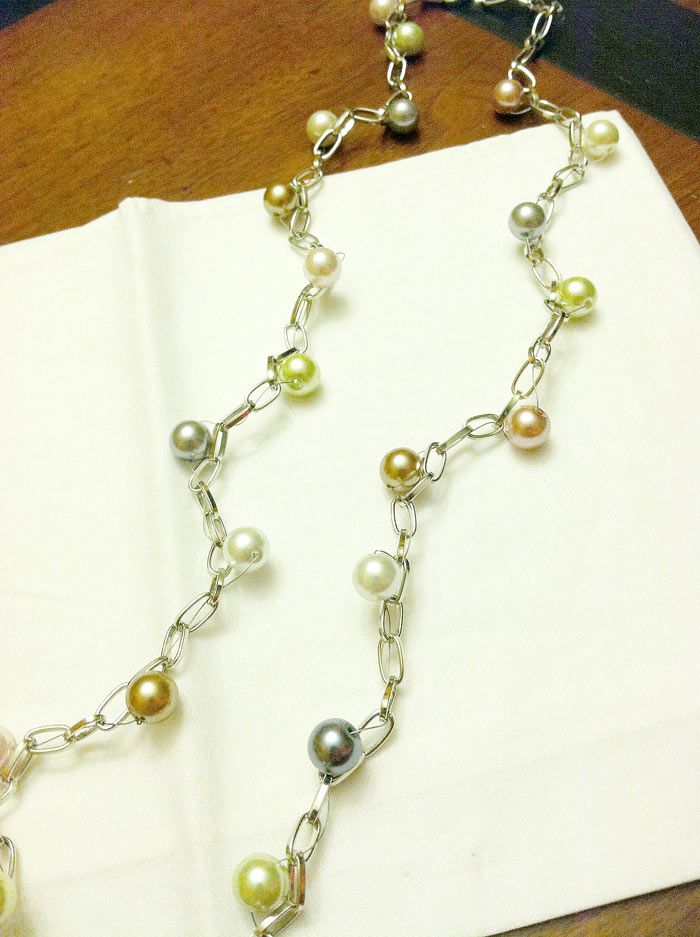
Note: I did not weave beads the full length of the necklace. I left approximately two-three inches without beads, which is where I attached the rosettes.
Adding rosettes
To create rosettes, you’ll need two pieces of fabric, one approximately 18 inches in length, the other about 10 inches in length. My fabric strips were about an inch wide.

Taking one end, twist the fabric. Then place a dab of hot glue on the end and tuck it under as you twist. You should continue to twist the fabric, dot it with glue and connect it as you spin the fabric.

Once your rosettes are complete, it is now time to connect them to the section you designated on your chain. If your necklace is 30 inches or longer, you can attach your rosettes and not worry about covering up the clasp, as the necklace will easily slide over your head. Using your hot glue gun, run a line of hot glue along the back of your rosette(s) and lay the chain right on top.
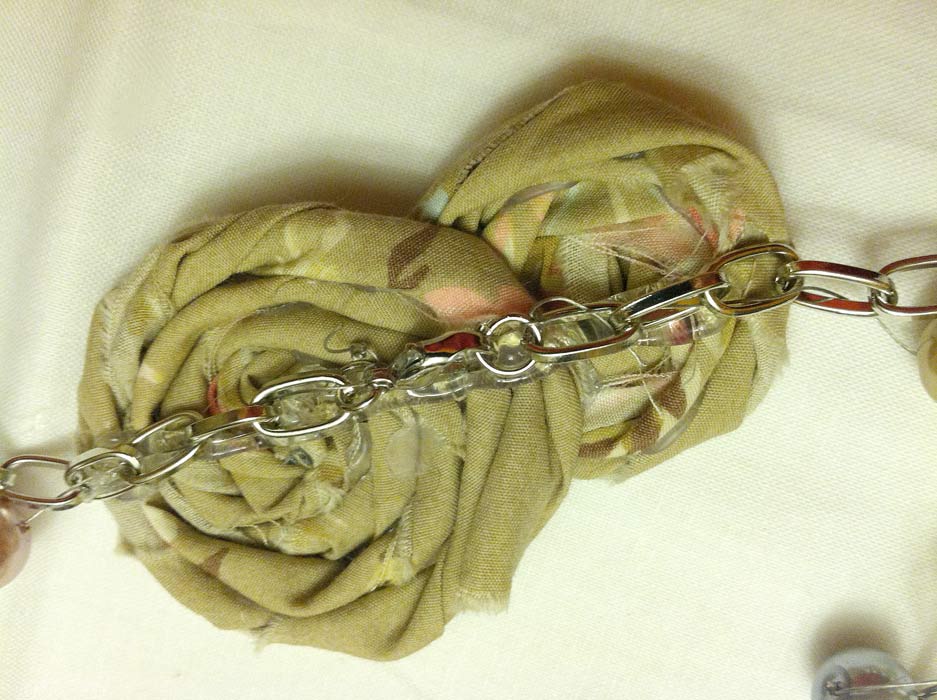
Once you have attached the chain and rosettes, you will need to place another line of hot glue to the chain and lay an extra piece of fabric over the chain. This gives the necklace a “finished” look. Once you have attached the extra fabric, feel free to trim away.

After you have connected and trimmed back the extra fabric, you can enjoy your custom-made rosette necklace.

 Thanks for letting us stop by and share this tutorial, Susan.
Thank you, ladies, for making this look so simple! All you crafters out there, I’d love for you to create your own rosette necklaces, then share a link to your photos on my Facebook page. I also created a “Rosette necklaces” Pinterest board and I’m on the lookout for new ones to add. Wink.
Oh and good news for those of you who are craft-challenged like me: You can head over to The Domestic Four’s etsy shop and order your own necklace already made. 🙂
I’m linking this up to twelve0eight, House of Rose, House of Hepworths, Shabby Creek Cottage and The Train to Crazy.


Susan this is soooo pretty! I sometimes make my own jewelry but it is really fun to buy it from other artists too 🙂 I would love for you to share this at the Pretty Things Link Party (live now) at twelveOeight, hope to see you there 🙂
xo, Tanya
http://twelveoeight.blogspot.com/2013/04/pretty-things-16-link-party-and.html
Joined the party, Tanya. Thanks for hosting.
that is so pretty! i recently stumbled upon your blog and will now never pay retail again! thanks!!
Glad you’re joining the ranks with us thrifty chicks. 🙂
One more thing, I just got your download book! Thank you! It came at the perfect time as I am dealing with many things out of my control HOWEVER, the things I can control were controlling me. I am going to use your steps and find my happy place again, Bless you!
Thanks so much. I hope the book is helpful to you.
Love the necklaces….love your site!
Thank you for your inspiration!!
Glad you liked it. Thanks for stopping by.
I’ve been looking for a necklace like this with fuscia colored rosettes. Maybe I should just make my own! Thanks for the tutorial! Stopping by from Inspire Me Please Weekend Blog Hop.
Love both necklaces and the tutorial is so helpful. Pinning.