Adding molding to a Plain Jane mirror
As promised in my recent bathroom reveal post, I am here today to show you how to add chunk-ay, white molding to an otherwise blah bathroom mirror. Stick with me chicas; it’s easy peasy, cross my heart.
Now pay attention. The most important thing you will need to do is MAKE SURE YOU ORDER THE CORRECT AMOUNT OF MOLDING for the project. I know. Duh, right? Ask me if I did this. Never mind. Don’t ask me if I did this.
To get a good idea of how much to order, use the outside dimensions of where you want the molding to end up. For example, for my bathroom mirror project, I wanted the molding to overlap the mirror but also cover about an inch of the wall on the top, left and right sides (the bottom of the mirror rests on the sink back splash, so the molding there would also rest on top of the back splash.) Capish? Good. Now add a foot to whatever that final number is. Why? Because you will sacrifice a few inches when you cut the corners.
I chose unfinished chair rail molding (by the way, that’s spelled moulding everywhere else in the world except for the good ole U.S. of A.) from Home Depot for this project.
Tip: Just for good measure (pun intended), I am going to remind you again to be sure and purchase at least an extra foot of molding. I know you want to cheap out, but trust me; you will thank me for this.
Now that you have enough molding, ahem, you are ready to make the cuts on your handy, dandy miter saw.
Set your saw at a 45-degree angle.
 Every cut you make for this project will be at a simple, 45-degree angle.
 I bet you can guess who my assistant is;)
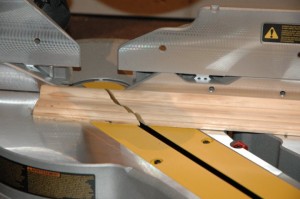 Now you’ll need to adjust the miter saw to a 45-degree angle on the other side of the machine to make your second cut.
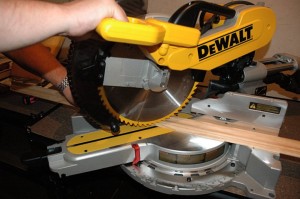 Continue this process until you have something that starts to look like this:
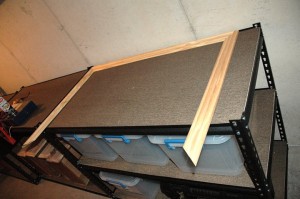 Once you’ve trimmed all four sides, you’ll need to secure the pieces together. I used wood staples at the corners.
Now it’s priming and painting time.
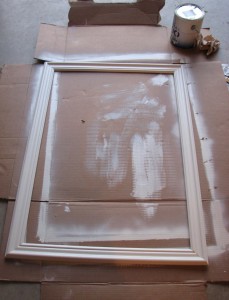 Tip: After you’ve completed a coat of primer or paint, shift the frame a little so it doesn’t get stuck to the cardboard/drop cloth.
For paint, I used trim paint left over from the contractor who built our home. This means the mirror frame now matches the window and door molding in the room. Stuff like this makes an OCD girl happy.
I secured the molding to the wall (remember it overlaps the mirror by an inch?) using trim nails. But for a small project like this, I bet double-sided mounting tape would work just fine.
Here’s the finished product.

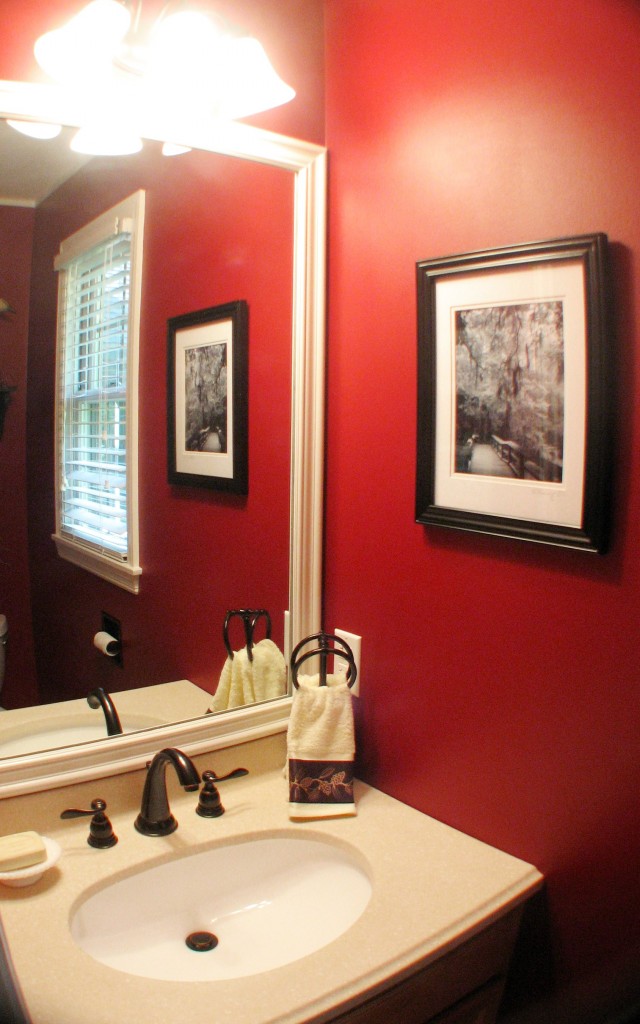 Now go work those miter saw muscles!
P.S. This post is also featured at the Tutorials and Tips Tuesday party at Home Stories A2Z. Check it out!

