DIY driftwood candle holder (plus a giveaway winner)
I hope you are all enjoying this gorgeous fall so far. I love this season because it seems to invoke in me a feeling of renewed purpose and of seeing things afresh.
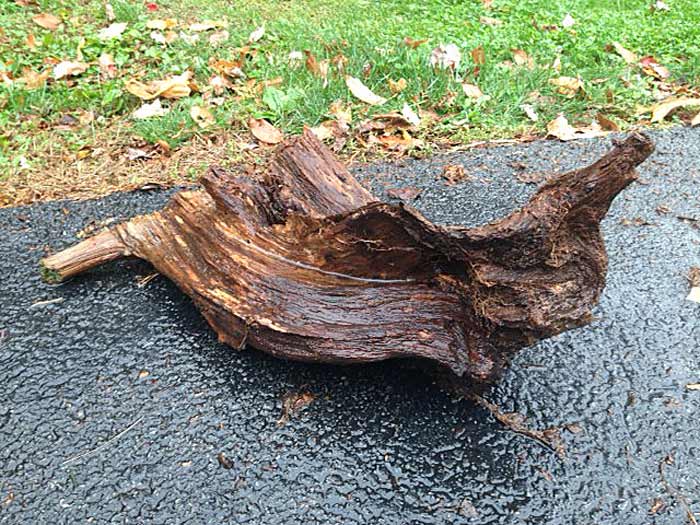
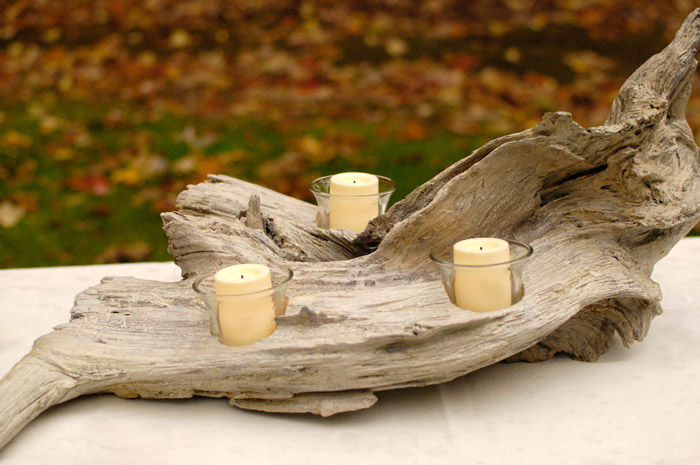
Speaking of looking at things in a new way, this week I rescued an old stump out of the woods in our backyard with the hopes of making it into an art piece.
I started by power-washing the heck out of it to remove any dirt, bugs and loose pieces.
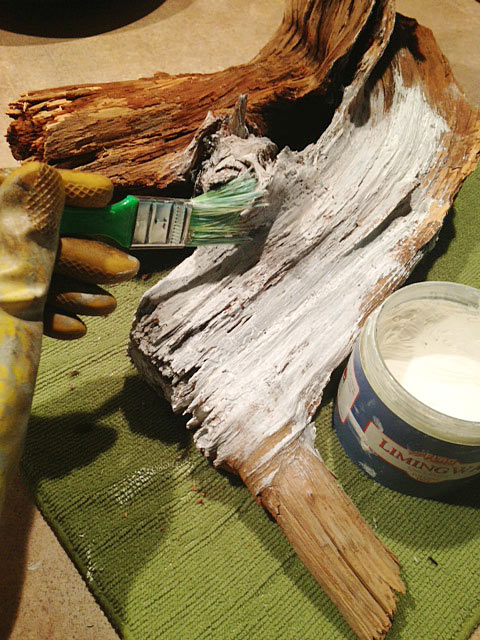
After it dried thoroughly, I brushed a coat of liming wax over the whole thing to create the driftwood finish that’s so popular right now.
I tried really hard to get the wax into all the cracks and crevices. This is not a job for your best paintbrush, by the way. I would recommend using a throwaway craft brush because the bristles will be destroyed by the time you’re done.
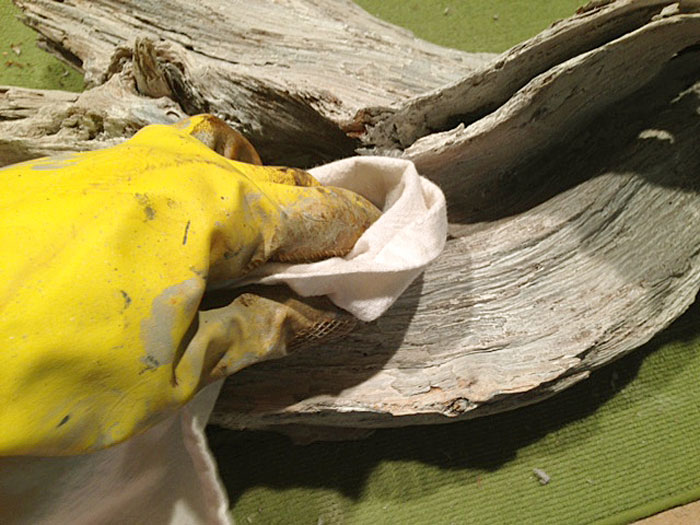
I used a rag to buff the wood until all excess wax was removed.
After that dried, I sealed the wood with a coat of Varathane® Triple Thick Polyurethane (gloss finish). One coat of this stuff is typically all you need, and it dries really fast.
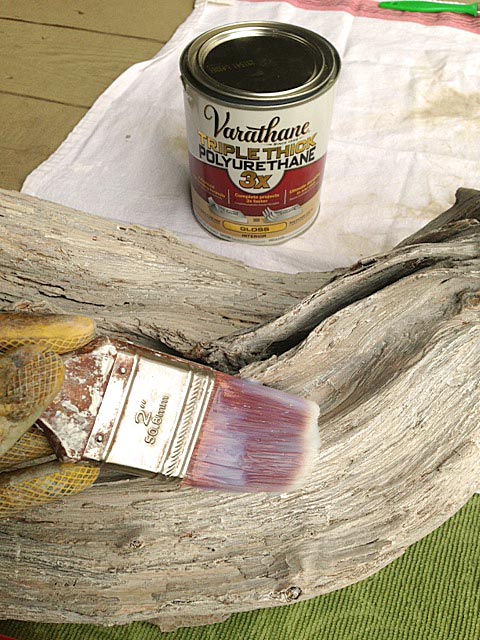 I added the gloss poly because I felt it gave the piece more of a “high-end-art-gallery” look and less of a “found-in-the-woods” look. 😉
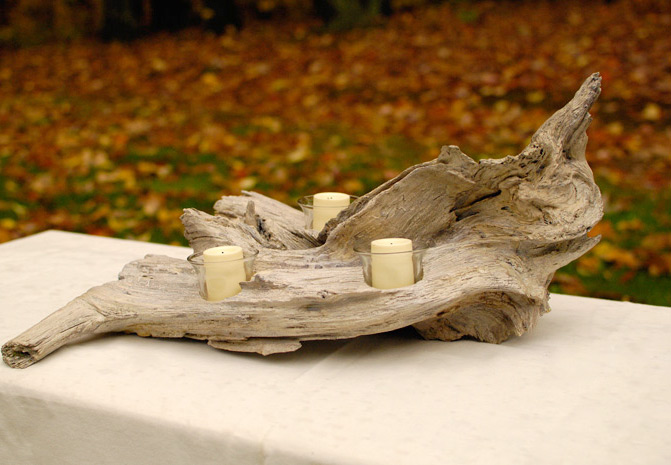
Then I drilled three holes in the wood to fit three glass votive candle holders. Ideally, you would want to drill all the holes before you wax and poly, but I had to wait for the hubs to get home with the 2-inch Forstner drill bit I needed. I’m not very good at waiting. 😉
After that, I waxed and poly-ed the holes, let everything dry, and added flickering LED votive candles I had on hand (purchased at Target, I think).
I’m sure regular votive candles would work well, too. Just be sure to place them in glass holders and keep the flame and hot wax away from the wood.
I currently have this piece sitting on top of our TV console. I’m thinking I may use it for an upcoming fall tablescape centerpiece, though.
What do you think of my thrifty, DIY driftwood candle holder?
Before I go, let me congratulate Alina, who is the winner of the HomeRight Finish Max Pro Fine Finish Sprayer! Thanks to all who entered the giveaway and to HomeRight for providing this awesome tool to Alina.







This is awesome! I love how it turned out, Pinning 🙂
xo, Tanya
So glad you liked how the project turned out. Thanks for pinning. 🙂
That looks really great. I’ll have to get some liming wax as I have plenty of dead wood. Did you get yours online?
Yes. That seemed to be the only place I could find it. I believe I found mine on ebay.
Years ago, my dad made a yule log out of some driftwood. I always loved it.
What a great idea for the holidays, Cindy. Thanks for sharing.
Susan: Very nice! I have one for Christmas time done on white birch. I don’t use the candles, but wrapped greens and poinsettias around it too for color.
Love it!!! Now I’m in search of a cool piece of wood. I kno what tree I would love to get a piece of, but it’s on the sidewalk out side our Mobilehome park. Maybe in the middle of the night I can take a saw out there 🙂 LOL
That sounds like something I would try, lol.
WOW ! I can’t believe how wonderful this turned out ! I would have never thought of doing this ! I’m so glad you are kind enough to share your creativity with us out here in blog land! Now i will be on the look out for a good piece of drift wood! 🙂 I love your projects !
Thanks so much, Lisa!
Oh I love it Susan! I have been wanting some driftwood – maybe I will just have to make some DIY driftwood. 🙂
You should, Christina! 🙂 Thanks for stopping by.
Love this! xo
I Saw you n Hometalk in my name Cyndi