
Meet the ‘Micro Flip’ (before and after)
Hello friends. I’m happy to report I’ve completed another flip house! #happydance
This one was a little different in that we only did a very small amount of work to the property, to keep it uber-affordable for the buyers, which are dear friends of ours.
We actually had the buyers for the property before we ever bought it ourselves, so it was an interesting set of circumstances.
Now the new family can continue the rehab journey, putting their own stamp on this beautiful home as they see fit.
Meet Micro Flip!
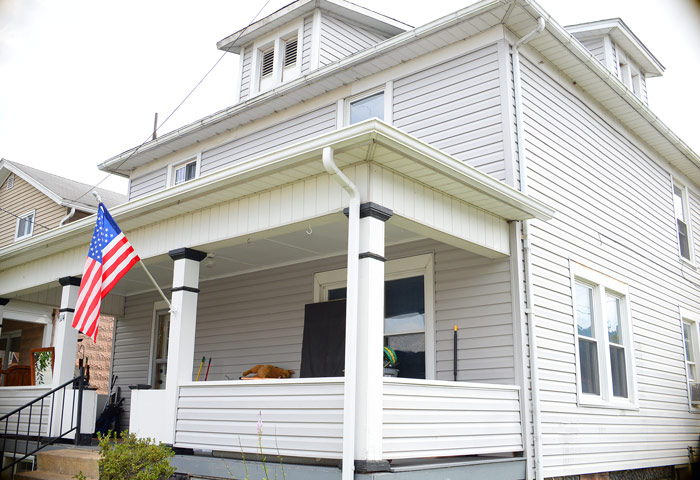
This adorable Craftsman-style home has beautiful space and features, like hardwood flooring throughout (although some is still under the carpets), and some key updates, like vinyl replacement windows and siding. We purchased it through a foreclosure auction site. It was in pretty sad shape, but the bones were good.
Notice the American flag … it’s becoming my signature on all the properties I flip.
Our friends needed to finance the property, but some key things needed to be accomplished to make it through a strict loan process.
We took care of those things, along with a lot of help from the new homeowners. We also added our own stamp on the place by doing a quick cosmetic update in the master bath and kitchen. We had to be VERY cognizant of budget on this one and keep the rehab low key, as affordability was the main factor for the buyers.
Some of the items accomplished at this home included:
- Replacing frozen/damaged plumbing
- Changing the front door hardware
- Power-washing the front of the home
- Scraping and painting the front porch ceiling
- Sealing the porch foundation
- Removing the dilapidated fence in the backyard
- Jack-hammering out a set of concrete “stairs to nowhere” in the backyard
- Scraping, patching and painting the master bathroom ceiling and walls
- Installing new bath and shower hardware
- Installing a new toilet in the main bathroom
- Stripping wallpaper, scraping walls and sanding and priming the master closet
- Priming the walls and fixing the ceiling in one of the bedrooms
- Scraping and priming the attic walls
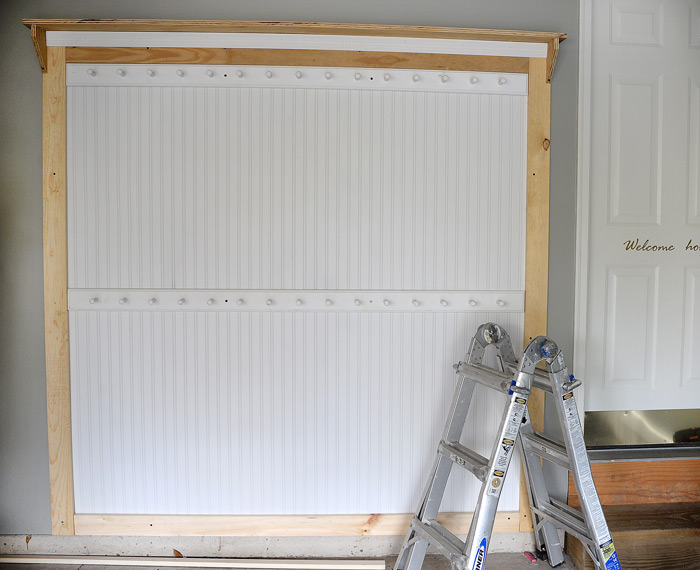
- Updating the kitchen with a fresh coat of paint on the ceiling, walls and cabinetry
- Installing beadboard molding wallpaper and trim in the kitchen
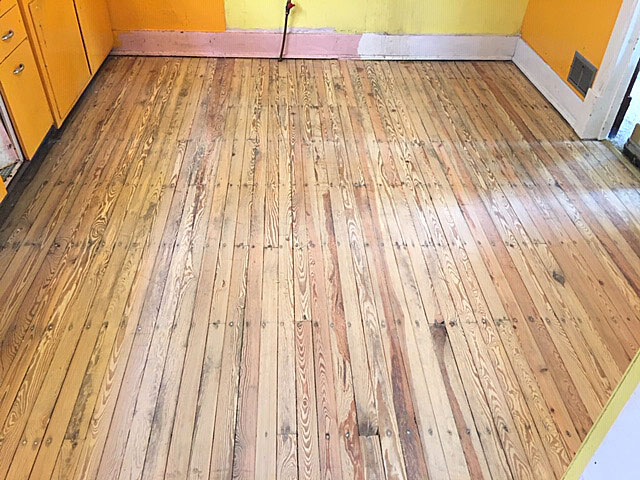
- Sanding and refinishing the kitchen floors
- Repairing the main systems (HVAC, water, electrical, roof, foundation) as necessary, confirming they’re functional and passed inspection
- Scraping and painting the basement walls
- Cleaning.
I’m sure I’ve missed something but these were the main squeeze. Now for the before and after pics!
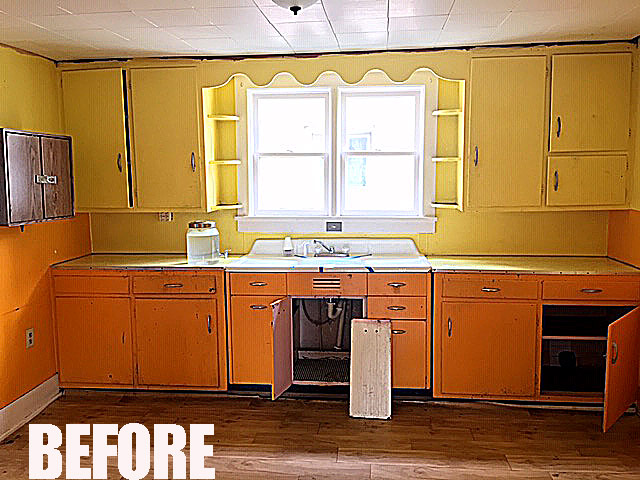
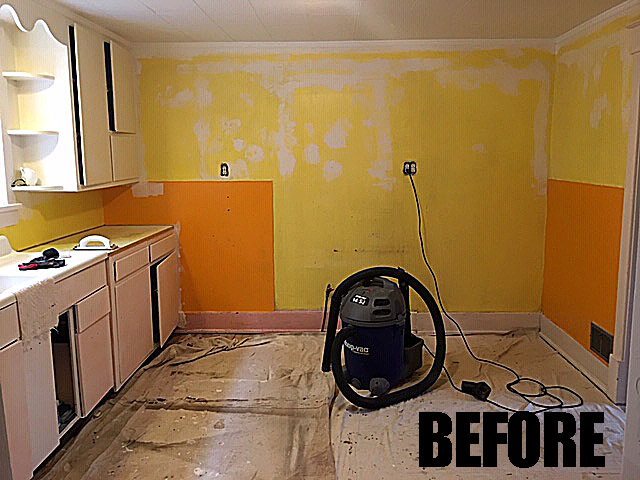
KITCHEN BEFORE
KITCHEN AFTER
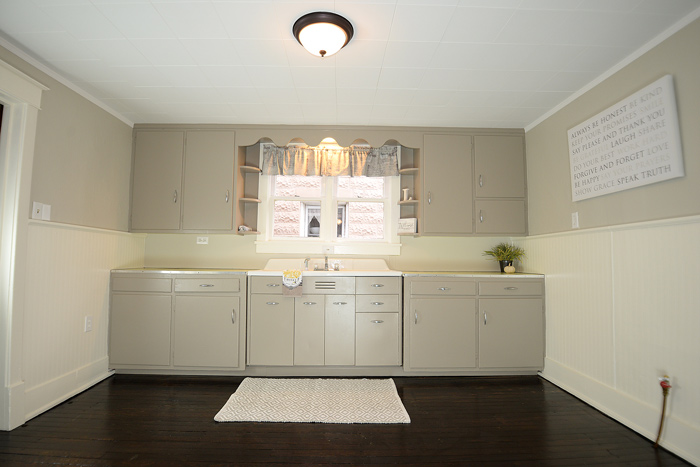
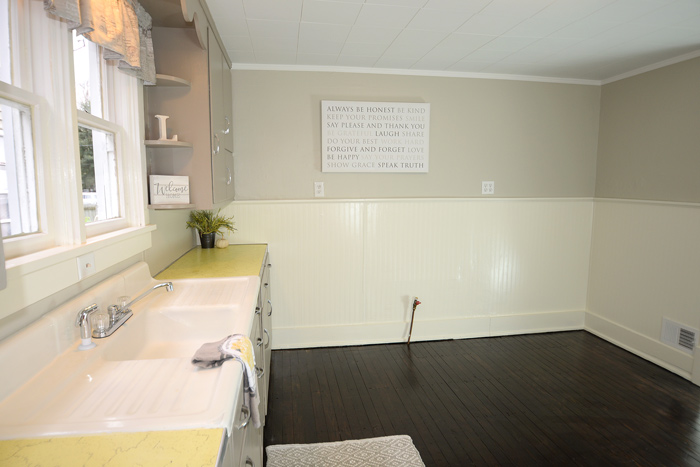
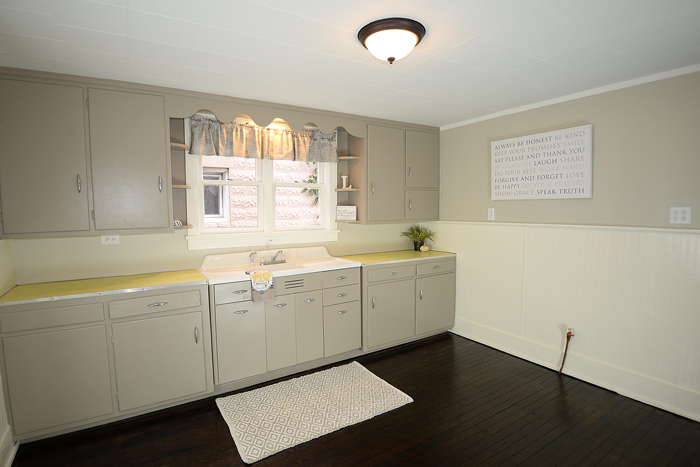
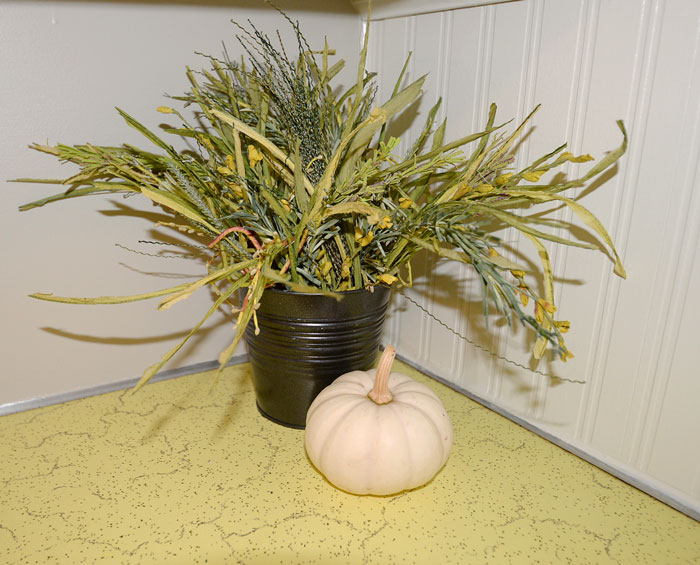
Walls are a custom mix of Sherwin Williams Anew Gray and Oatlands Subtle Taupe. Cabinets are Sherwin Williams Keystone Gray. Floors are Kona stain and clear satin finish. We kept the existing countertops and hardware.
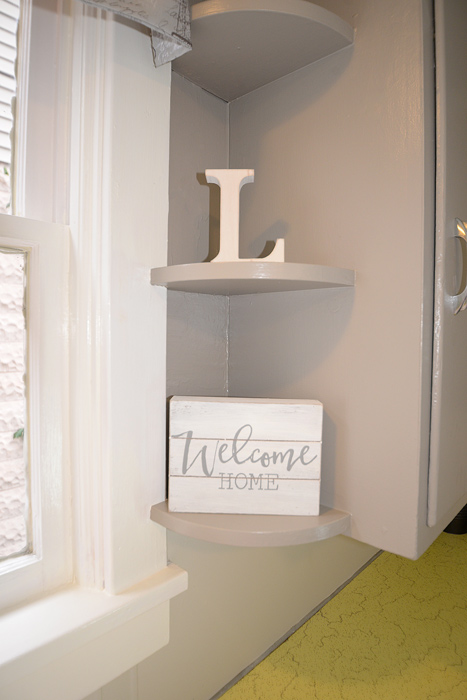
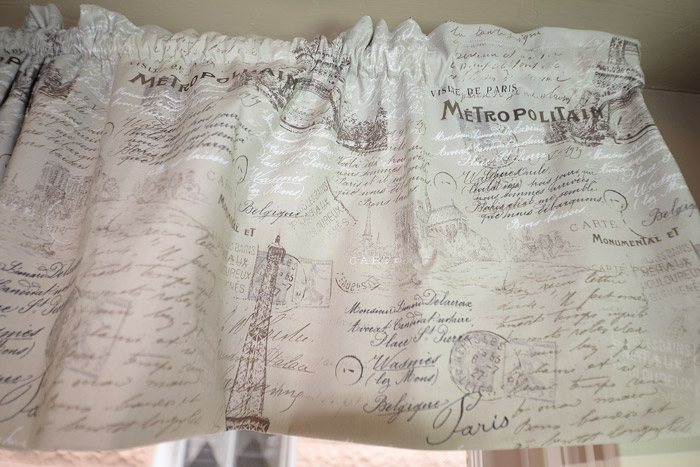
The art is mostly from Hobby Lobby (and my basement lol). I sewed a quick set of curtains from inexpensive Hobby Lobby fabric.
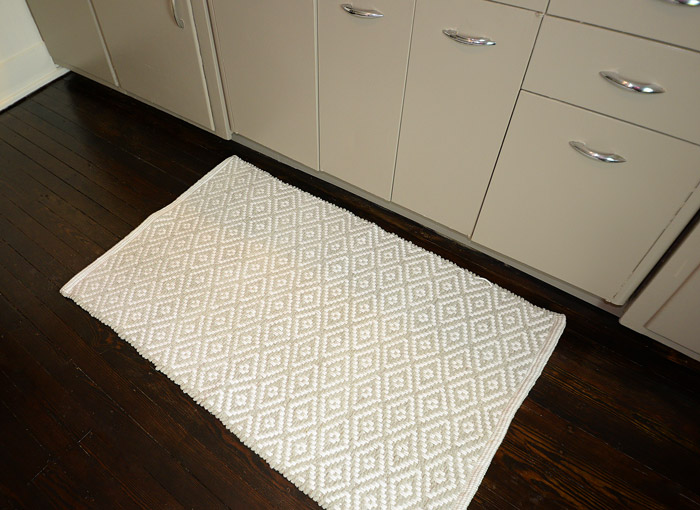
The rug is from Target.
MASTER BATHROOM BEFORE
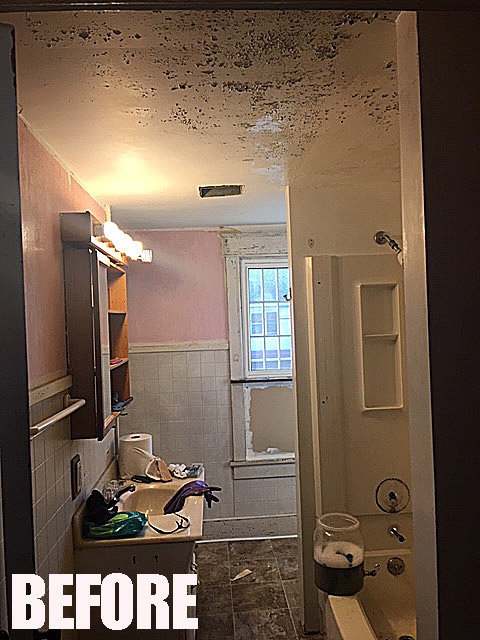 I can’t show you the “before” of the other side of the master bath because it would give you nightmares. #nokidding
Check out the color of that soapy water!
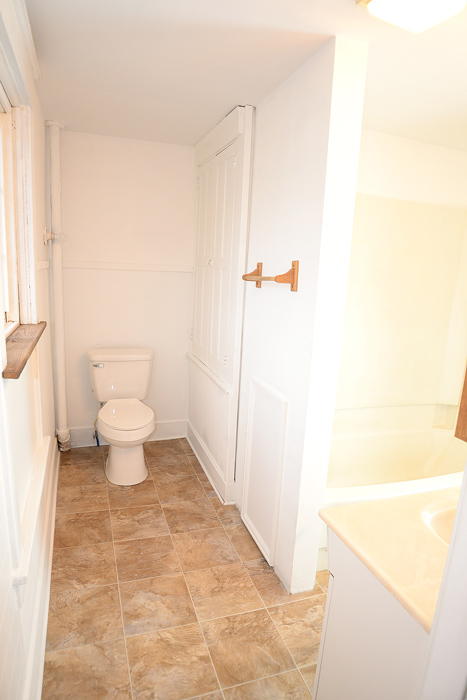
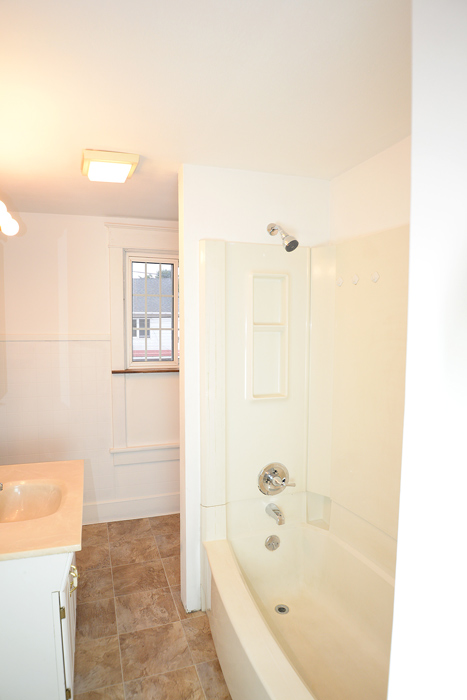
MASTER BATHROOM AFTER
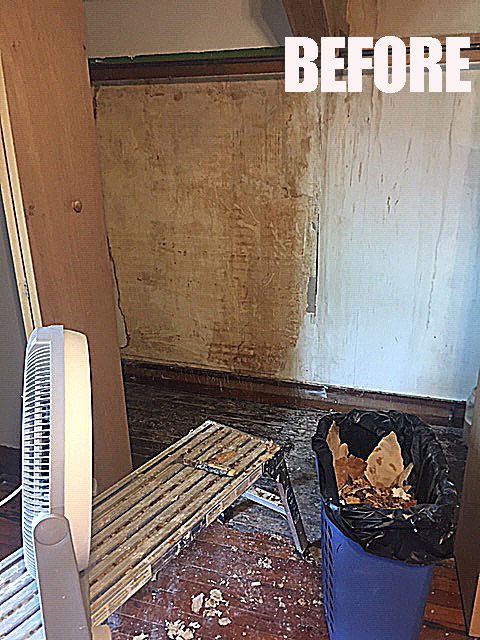
MASTER CLOSET BEFORE
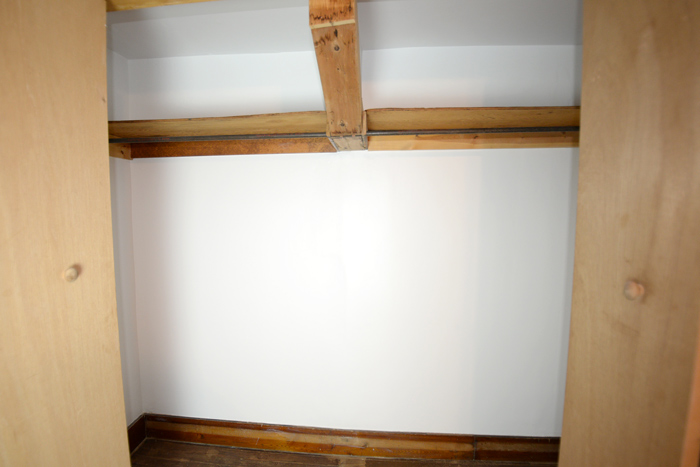
MASTER CLOSET AFTER
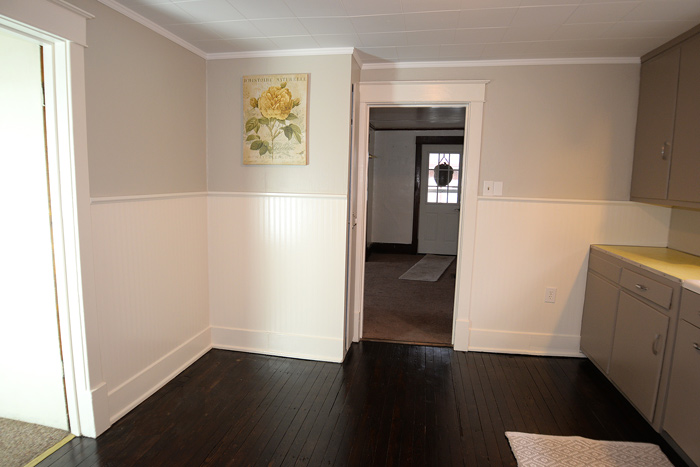
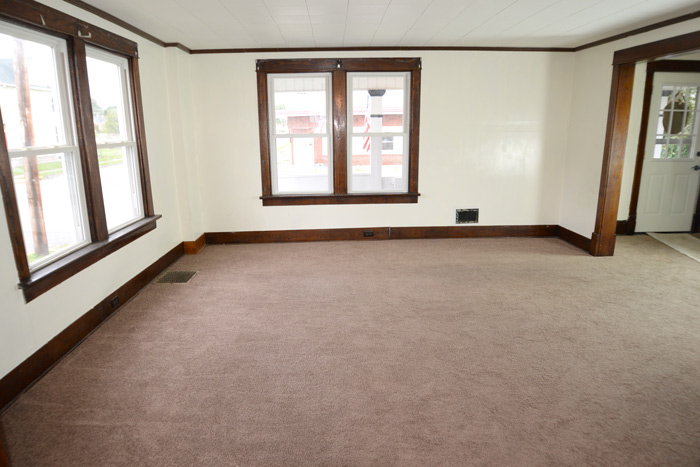
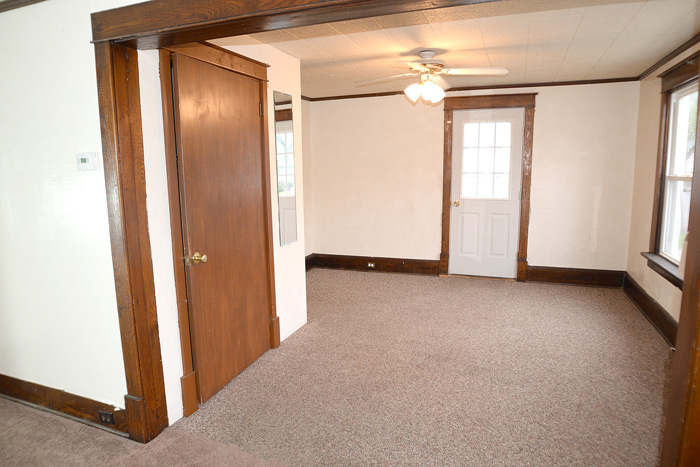
And here’s a little peek at the downstairs living and dining rooms. We didn’t really do much but clean in there.
The cool, inspiring thing about this particular project was that the buyers rolled up their sleeves and helped out, so we could keep the selling price affordable for them. It was truly an amazing – albeit exhausting – experience for all of us.
I’m confident this amazing family is now buying a move-in ready home with fantastic equity that is safe, clean and super cute! I look forward to seeing how they put their own stamp on the place.
I was so blessed to be part of such a meaningful project and to help well-deserving, hard-working folks buy their first home together, where they can raise their beautiful children. This is what fuels me! Here’s a pic of us after we got done with everything … all smiles.
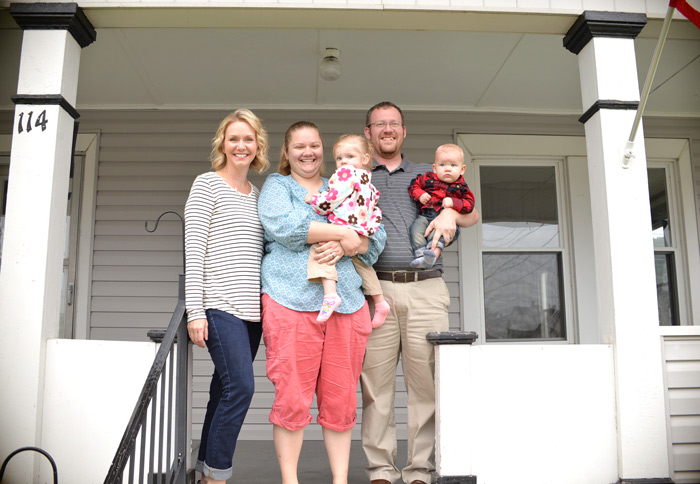
Meet the Lewises! (Me on the left, Lewises on the right)
I’m so happy with how things turned out. This certainly wasn’t an easy project (which one has been?) and there were a lot of hurdles to jump, but it was well worth the effort.
Here’s the crazy part … Although there are certainly other expenses associated with a flip (buying/selling costs, holding costs, insurance etc.) I was able to do the work here with under $1,700 in rehab funds. I’ll likely never be able to accomplish something like this again, and the homeowners chipped in as well. We put in some serious sweat equity for a truly successful project that will bless the Lewises for years to come.
What do you think of our “micro flip?”


You do amazing work!
Congratulations Justin & family!
I know all you did was appreciated
Susan, you have such a gift! And what an awesome couple you got to work with.
Such a wonderful flip. Great work, Susan and congrats to the Lewis family!!! ♥️
Thanks, girl. I saw your booth at Hartslog Day on Saturday. So many beautiful signs! Great job.
Looooove it!!!!