
Molding tips and what NOT to do (plus Modern Masters giveaway winner)
A large part of Phase I of the master bathroom remodel involved creating my stripes, then trimming them with chair rail molding and new baseboard molding.

As much as I love the look of molding, I literally start to sweat when I know I’m about to take on a project that requires angled cuts. Precise measurements make me nervous. (That’s why I rarely bake.)
I should have been fairly comfortable with this small project considering I installed similar chair rail molding in my dining room awhile back. In fact, my dad and I made a video demonstrating how to get molding to join perfectly in corners using the coping method.
So you would think I would just take my own advice and use that method, right? Oh no, there was “still time for one more bad decision” (name that comedian).
Instead I decided I would make some quick 45-degree-angle cuts on the two pieces that join in the corner by the toilet. And, unfortunately, this is what I ended up with:

Why did this happen? Because in an effort to make the piece on the left fit super tight against the wall and window casing it butted up against, I jammed it into its space even though it was cut about 1/16″ too big. As a result, I scratched off the paint on the wall and dug the edge into the drywall corner so far that the molding piece on the right did not join it correctly.

Needless to say, it required a lot of filler and paint to fix this problem.
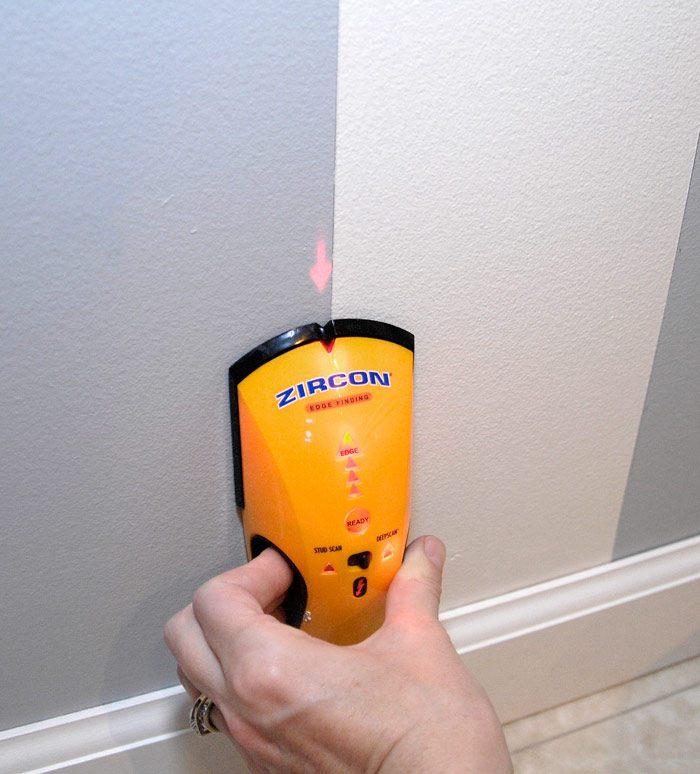
One thing I did do right was use my stud finder to locate the studs and then nail the molding to the wall using a nail gun. Liquid Nails is a great product, but I would not recommend using it to adhere molding because if you decide to take the molding down, the wall behind it will come along with it.
 In the end, I think the molding came out beautifully. And I only paid $28 total for all of it (chair rail and baseboard) from my local lumber yard. I did have to prime and paint it.
Stay tuned because next week I’m going to be sharing the total project cost for Phase I of the bathroom remodel. Your jaw is gonna drop when you see how low the number is!
And last but certainly not least today, the winner of the paint by Modern Masters is MJ. Congrats, MJ!
 Do you have any molding tips or tricks? Please share them in the comments section.
![#008: How I lost 48 lbs. without spending money on diets or gyms [Podcast]](https://livingrichonless.com/wp-content/themes/hueman/assets/front/img/thumb-medium-empty.png)


A further tip to assist in the fitting, if you can trim the rear of the moulding use a concave shape leaving the only solild parts being the top and bottom. Essentially you shave and hollow the back out taking away the straight edge on the rear which means you are only aligning the top and bottom while the face lines up.
Great tip. Thanks!
I will soon be doing a similar project so thank you for the video. I’m trying to learn from everyone else’s mistakes!
Glad I could help!