
Transforming a plain coat rack using stencils
I was tickled when the folks at Royal Design Studio recently contacted me to see if I would be interested in reviewing their stencils. (They also want to give one of you lovelies one to try out, too, so read on for more deets on that. :))
It was so stinkin’ hard to choose, but eventually I settled on the French Numbers Stencil because I had the perfect project in mind for it.
 Courtesy of Royal Design Studio
I started with a wooden coat rack that was in our garage collecting dust. I decided it would be a good idea to strip off the urethane topcoat where I planned to stencil – so the stencil would adhere properly. And this is also the moment when I almost ruined the entire project!

The stripping product I applied lifted the finish off only in spots (even though I attempted to spread it around evenly), leaving me with a blotchy, cheetah-spotted coat rack that I then had to spend an hour sanding down to get looking semi-normal again.
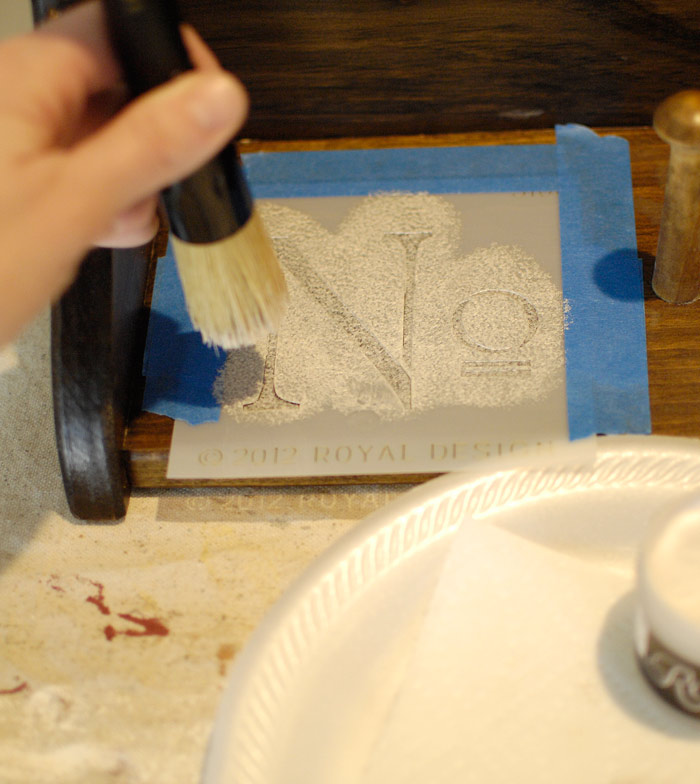
Finally, after that fiasco, I was ready to start stenciling. I lined up the first stencil and kept it in place using painter’s tape.

I used a Royal Design stencil brush and Royal Stencil Creme (in Pearl Oyster) for the project.
One thing I was very careful to do was follow the instructions. I have attempted stenciling in the past and have had trouble keeping the paint from bleeding under the stencil and ruining my crisp edges.
So I made a note of the fact that you are supposed to seriously offload your brush before you apply any paint to the stencil. I used the pouncing technique (where you basically bounce the brush up and down rather than sweeping it) and applied the paint so lightly that is looked as if the piece had a dusting of powder on it. This technique is one of the keys to avoiding paint bleed.

After I stenciled the entire coat rack (I applied multiple coats of the stencil creme), I brushed on a light coat of wiping stain in a walnut finish. This softened the look of the white paint and gave the piece a bit of a vintage vibe.

Then I used my orbital sander to distress the edges of the coat rack.

Finally, I applied two coats of Modern Masters MasterClear satin topcoat. This is when the last of the blotchiness disappeared. Whew!

And this is what the coat rack looks like now:


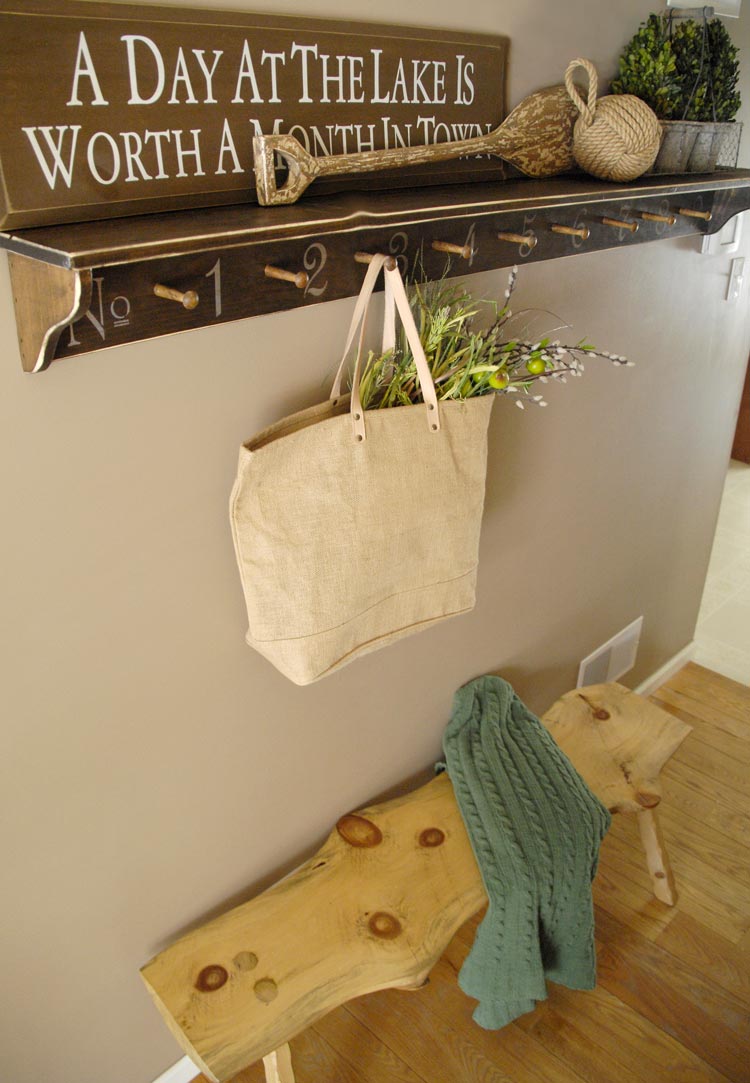
What do you think of the result?
Next week on the blog I’ll be hosting a giveaway when one of you lucky ducks will get to choose a free Royal Design Studio stencil of your choice. So head on over to the site and pick out your favorite, then don’t forget to come back next week and enter for your chance to win.
I’m linking this up to Craft Frenzy Friday and Love of Family & Home.


Love the update to the coat rack. I also love that sign….did you make that? I want one for our lake house. I may have to attempt my own!
I didn’t make the sign, Gina. I ordered it online a few years back, although I’m sorry I can’t remember where. I’m sure it was inexpensive. 😉 I probably Googled something like “A day at the lake” sign … and it came up. You could try that. Or better yet, DIY it! 🙂
Perfect timing! I just discovered a shelf in my attic I thought we got rid of years ago. Now I am feeling inspired to remake it into something we will use. Thanks!!
Awesome. Glad the info. was helpful!
Nice!