
More thrifty, exterior light makeovers
Perhaps you’ll recall the easy, exterior light update I did over the summer using metallic paint from Modern Masters. Well, what I didn’t mention was that I only transformed one of the lights for the photo shoot. I still had four more boogers to paint: two on either side of the garage, one on the side entrance of our home, and one post light at the bottom of our driveway.
I finally got around to tackling the rest of them this week.
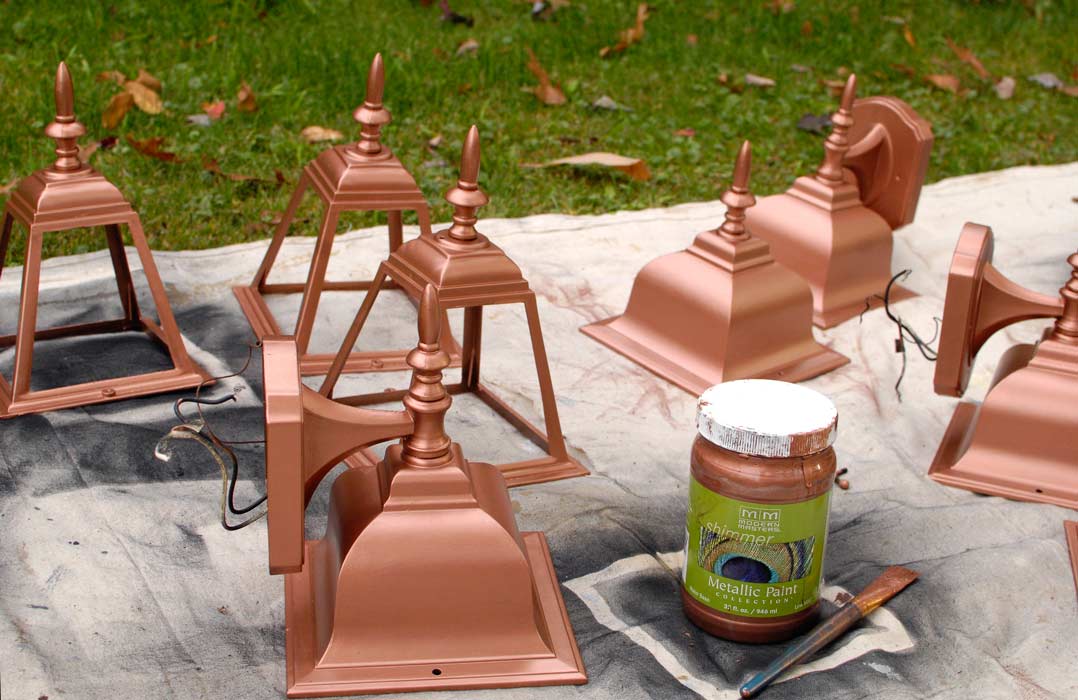
I brushed on three coats of the copper penny metallic paint, then finished that off with two coats of the MasterClear® Protective Clear Topcoat. If you’re tempted to go with only two coats of the metallic paint, I will say that the third coat really created the smooth, flawless finish I was going for. Any brush marks disappeared and the pieces just gleamed.
This was one of those times when I was kicking myself for not having a paint sprayer. It would have made the whole project go so much faster. I used to have a paint sprayer, but I lost one of its microscopic (yet vital) pieces and it didn’t work correctly after that. Plus I didn’t clean it out thoroughly and gummed up the works as a result.
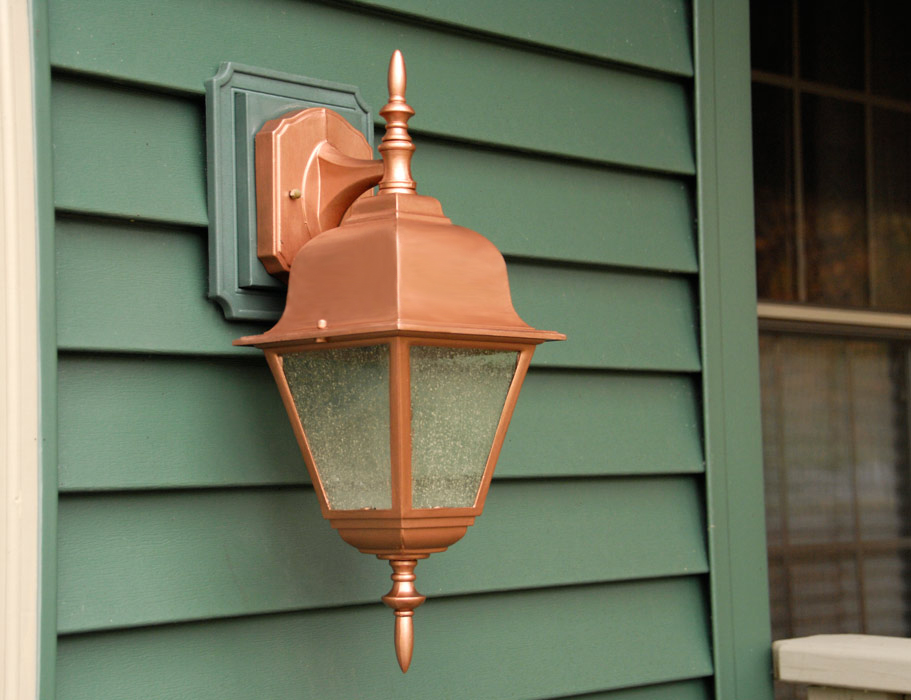
I think the “new” copper lights are a great contrast to the green vinyl siding.


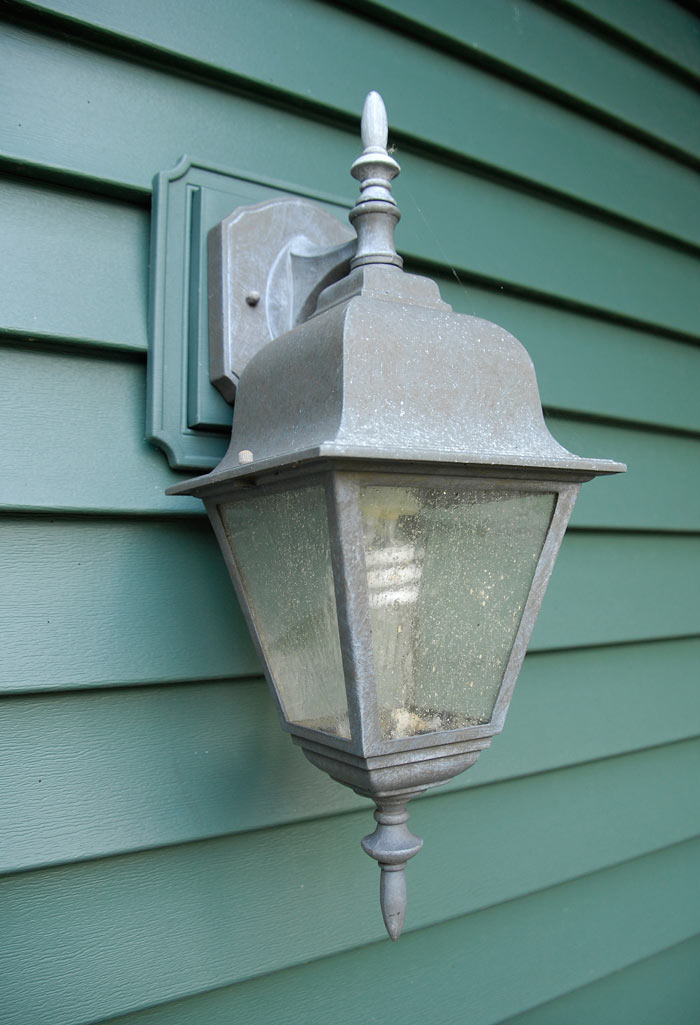
 In case you missed the “before” this summer, this is what the lights used to look like:
 What do you think of the transformation?


LOVE the copper with the green! I’ve been dying to try out Modern Master’s paint. I’ve heard so many good things about it. Looks like it holds up really well.
Good job Susan 🙂 i like it
WOW!!! I am in love as well! This is absolutely beautiful! Beautiful photos too! Thanks so much for sharing this inspiring piece!
What kind of brush did you use to paint the lights. I just finished sandblasting some lights and they are ready for paint. I have the MM paint and clear. Yours came out really nice.
I usually use my favorite brush, Purdy. I think I used a 2″ sash brush on this project just because that’s what I had on hand. I always use the best brush I can afford. It really makes a difference. My first choice is Purdy. Thanks for stopping by and thanks for the compliment on the project.