Free and easy holiday chalkboard art
I came across a post recently from the Thrifty Decor Chick showing a simple way to DIY chalkboard art. It looked so easy, in fact, I figured it must be too good to be true. But it was true. I made the most adorable holiday art for my refrigerator using her method and I just had to share it with you today.
I started by printing out on regular 8.5-inch by 11-inch paper letters that I typed in a Word document. I chose three different fonts: Academy Engraved LET for “JOY”; Blackadder ITC for “to the”; and Gill Sans MT Ext Condensed Bold for “World.”
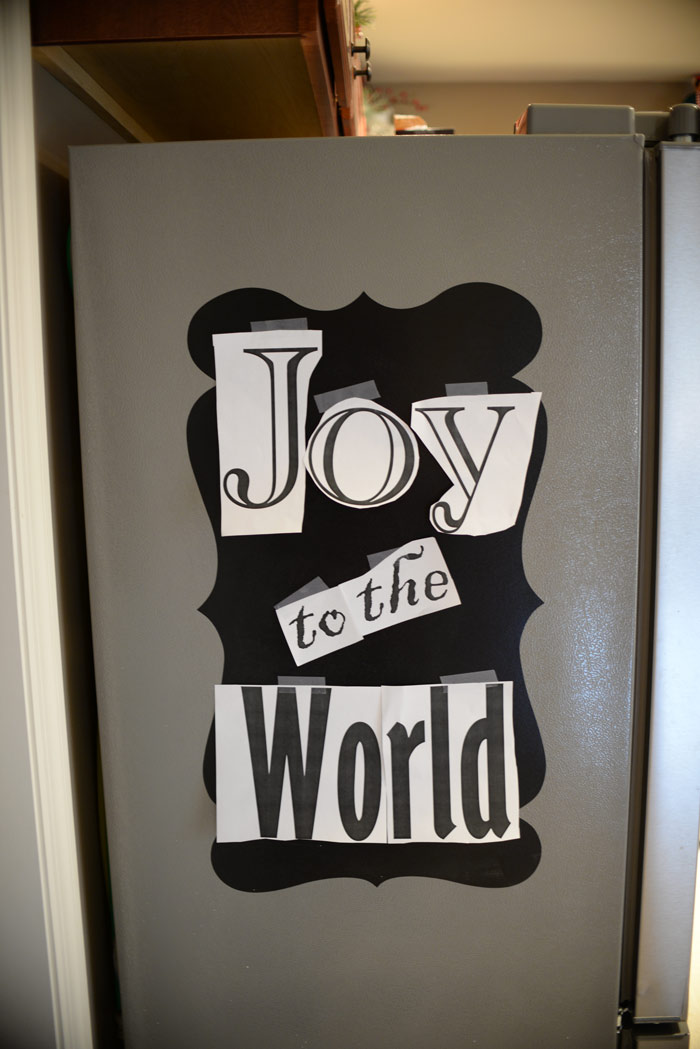
Then I trimmed out the letters and positioned them on the black chalkboard vinyl on my refrigerator until the design looked right. (The vinyl came from Kohl’s a few years back. It usually has my weekly menu on it.)
I marked where each piece of paper was positioned, then removed the letters.
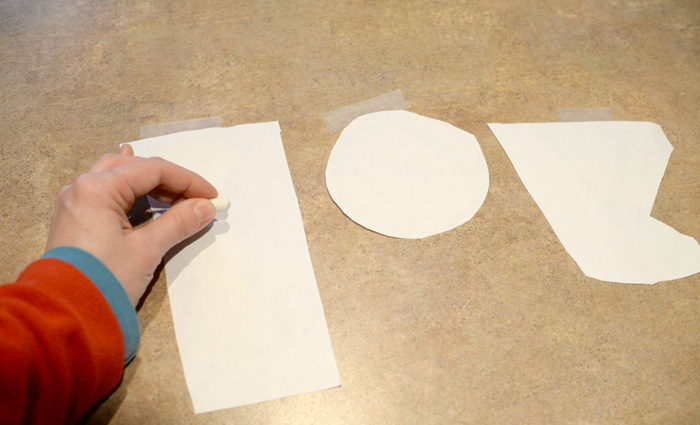
I turned the letters over on the counter. Taking a regular piece of chalk, I scribbled all over the backside, completely covering the backs of the pieces of paper with chalk.
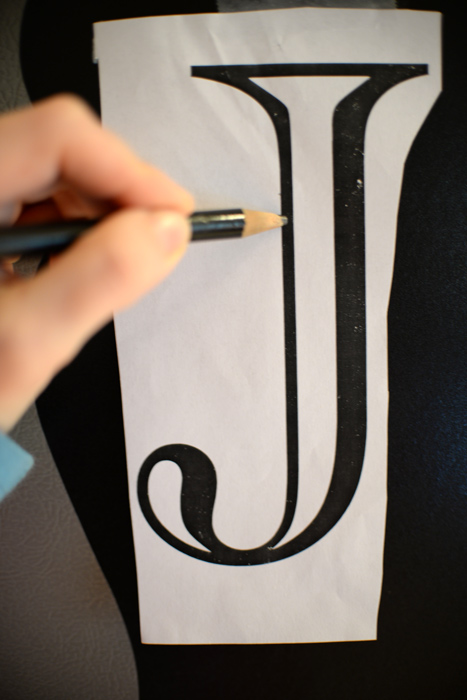
Then came the really cool part. I retaped the letters onto the vinyl, positioning them where the tick marks were located. I used this pencil with a blunt end …
… and traced the outline of each letter.
The pressure of the pencil point transferred the chalk dust to the vinyl, creating a perfect image of my letters! After pulling up the paper, this is what the first letter transfer looked like:
Here are all the letters after I was done tracing:
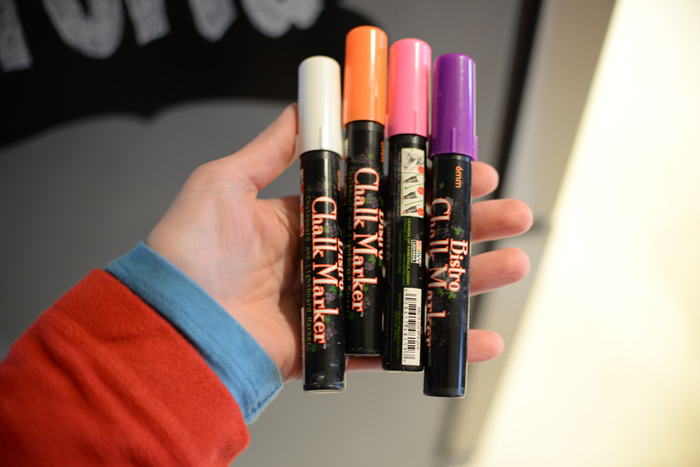
After that, I simply cleaned off the excess chalk dust and tick marks with a damp paper towel and some Q-tips. Then I colored in the outline with a set of chalk markers to make the design look more intense and “finished.”
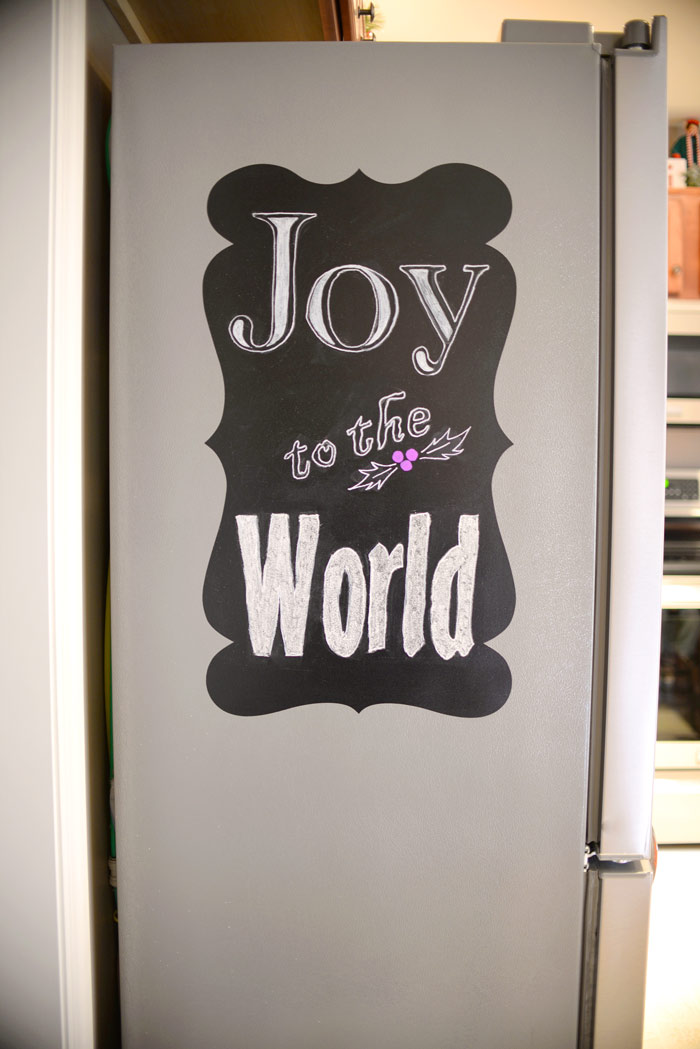
I also decided to free-hand draw a sprig of holly berries to give the sign a pop of color. Here’s the finished result:
What do you think of my DIY holiday chalkboard art?
Now all I have to do is hope nobody leans against it. 😉








That is a great idea!