DIY Ballard Designs knockoff message board
I love the look of these burlap message boards from Ballard Designs:
I could definitely use one in my office/guest room. But I didn’t want to pay $39-$169 for mine, so I decided to DIY one instead. I’m not the first blogger to attempt this project, but my Ballard Designs knockoff message board may be one of the cheapest!
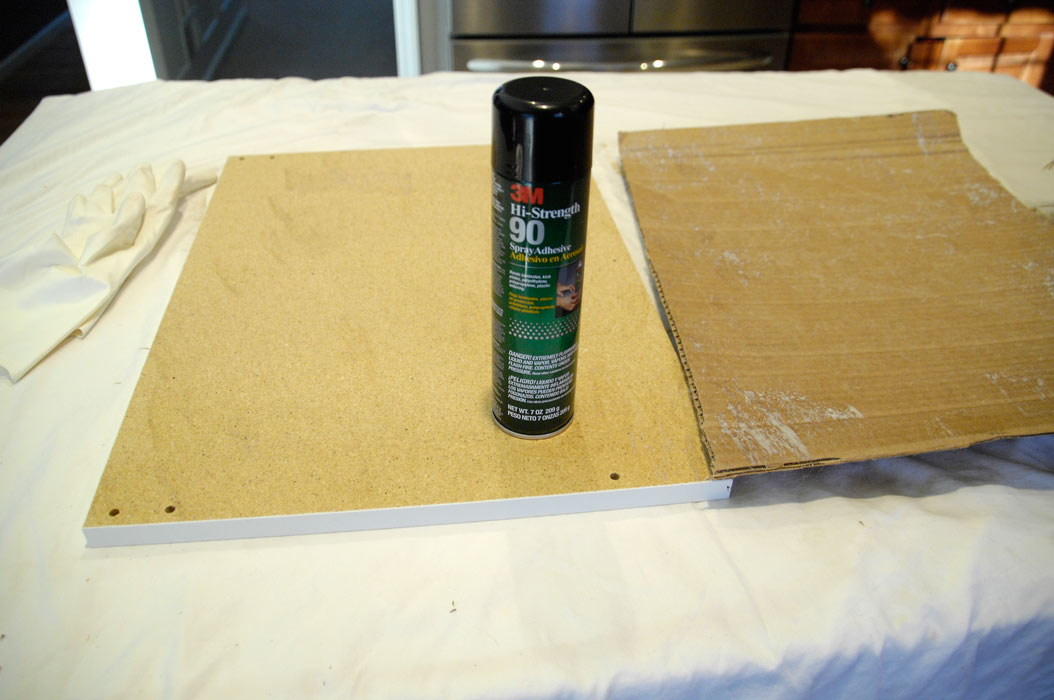
I started with a piece of melamine board left over from our closet re-do. (You could use the back of an old picture frame, a mounted canvas, a piece of plywood or just a thick stack of cardboard for your message board back.)
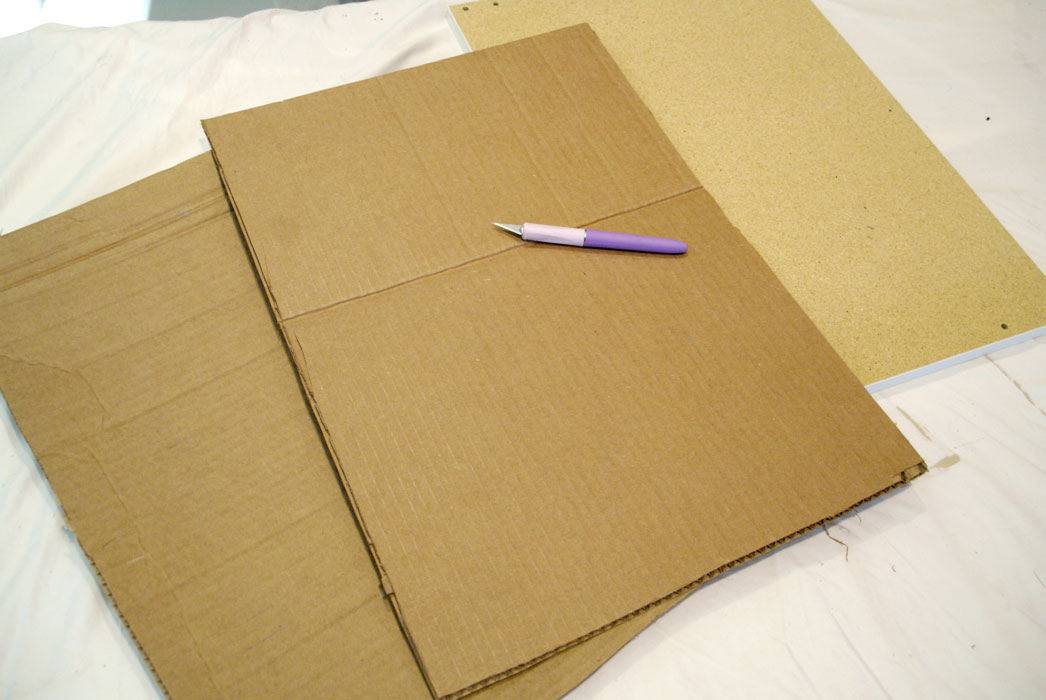
Then I cut two pieces (the same size as the board) out of a cardboard box.
I applied some 3M Hi-Strength 90 Spray Adhesive to the melamine board and the cardboard pieces.
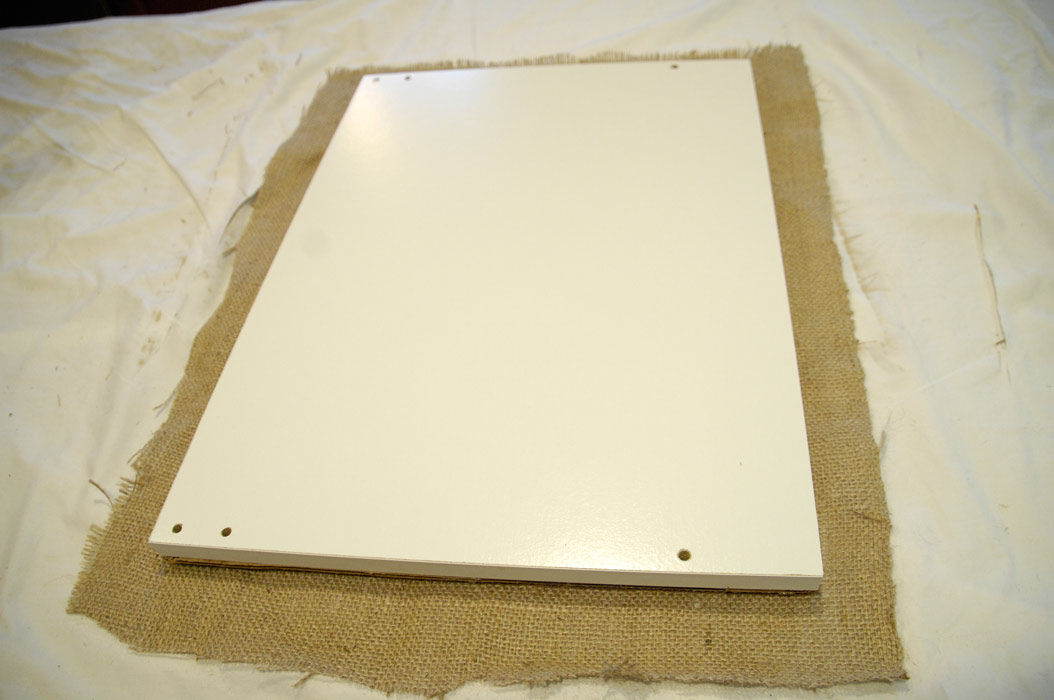
Then I stacked the cardboard pieces on top of the board.
(The cardboard pieces are what help the pushpins stick properly in the finished message board.)
Next I centered a piece of burlap over the whole piece and used spray adhesive to stick it to the cardboard. (My burlap came from the Online Fabric Store.)
I didn’t worry too much about how the back looked. But I am a stickler for crisp corners, so I cut a 45-degree-angle line in the fabric at each corner and folded down the fabric, making sure the corners were straight and tight before I stuck them down with adhesive.
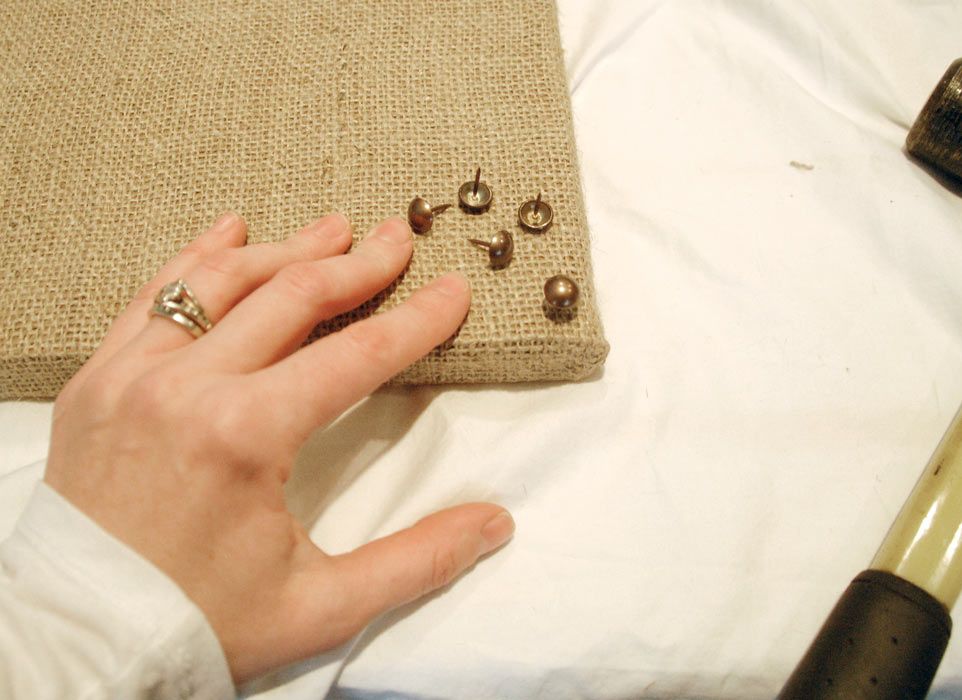
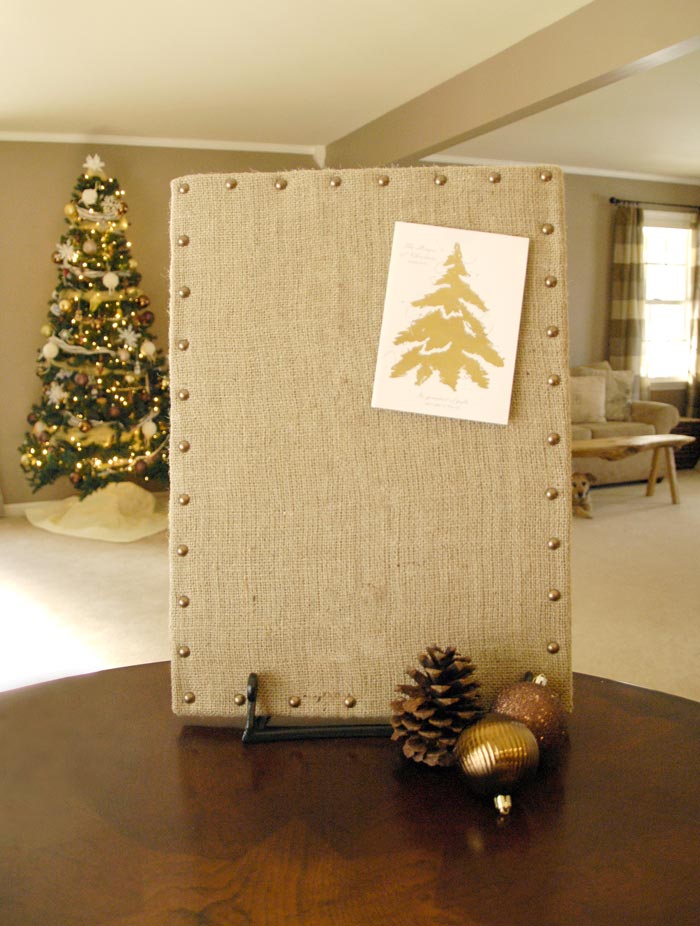
After everything dried, I inserted upholstery tacks (aka furniture nails) about 2 inches apart around the border. You can get a pack of these at Walmart for $1 in either nickel, bronze or black finish. It took about a pack and a half to do my board.
Here’s my finished message board:
What do you think of my knockoff version? I think these would make great, inexpensive gifts. To hang mine on the wall, I’ll be using a few Command™ velcro strips. But a few saw-tooth hangers would work well, too.
By the way, can you spot our pooch in one of the pics?
I’m linking this up to My Repurposed Life, Craft Dictator, House of Rose, Be Different…Act Normal, Classy Clutter and Fluster Buster.









Nice and seems so simple to make. I have burlap bags from the farm that could turn into something too, but they have print on them. I also have dark brown burlap in storage. But I don’t have wall space now. But the idea is something to think about. Love it.
This is a great easy project, this is just what I needed for the computer room. Thank you so much for sharing.
You’re very welcome, Patricia!
love it and so inspired to try it asap!!
Thanks, Jamie!
Love your message boards. Such an inexpensive option! I think we’ll have one hanging in our home in no time, Thanks for the idea!
You’re very welcome, Mellisa. Thanks so much for stopping by and good luck with your message board.
Susan,
I love your creative way of making this message board! I’ve made them out of ceiling tiles… but never thought of using cardboard under the fabric.
pinning!
gail
I love this! Yours looks just as good as the expensive ones. Nice!
I made something very similar for my daughter-in-laws this Christmas. I had a several ornate framed mirrors someone gave me. I took out the mirrors, spray painted the frames, if necessary to go with their interiors, and bought a sheet of homasote (4’x8′) that I cut to fit in the frames. I covered the homasote with fabric and also used the upholstery tacks. I used small finish nails to keep the ‘corkboard’ in the frame.
Great idea, Sheryl. It sounds lovely! Thanks for sharing.
this is great and I have supplies “in the house”! BTW, don’t you LOVE ONLINE FABRIC Store? They are the best.