
Bedroom before and after at the flip house
Hello friends! Over the past week and a half, I have been working overtime at the flip house, which means the poor blog has taken a back seat. But today I’m here to share with you a bedroom before and after. This room at the flip house – especially the carpet – used to be a total nightmare. Now it makes me smile every time I look at it.
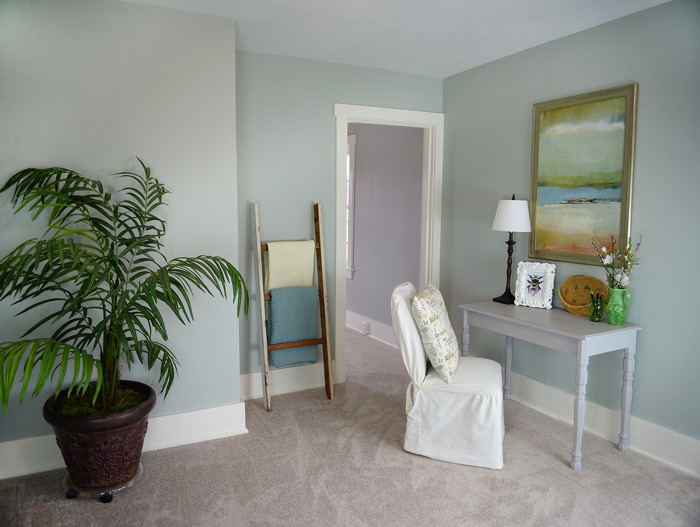
I chose to stage the space as an office because it is the gateway to the upstairs master suite. And I also took the after pictures before I rehung the doors in the room, so keep that in mind. 😉
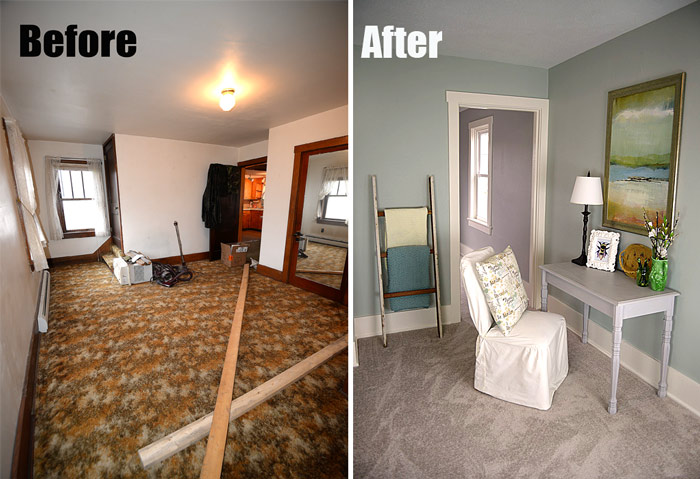
Let’s take a peek at the before, shall we?

Below is a snapshot of this desperate DIYer on the night I hauled out all the 60s-style carpeting in this room by myself. I admit, it was an endeavor I would be happy to never repeat again. The dust alone nearly killed me because, well, how much dust can a carpet accumulate since 1960? A lot, people. A whole lot.

The main work I did to renovate this room – besides replacing the flooring – involved texturing the walls and ceiling; rebuilding the interior of the closet; painting the walls, ceiling and trim; and decorating.
I chose this smooth, roll-on texture* for the walls and ceiling to even out any imperfections in the plaster. I love this product! There are different types of roll-on texture you can buy. I prefer the smooth finish because I’m not a fan of heavy texture, just a subtle effect.
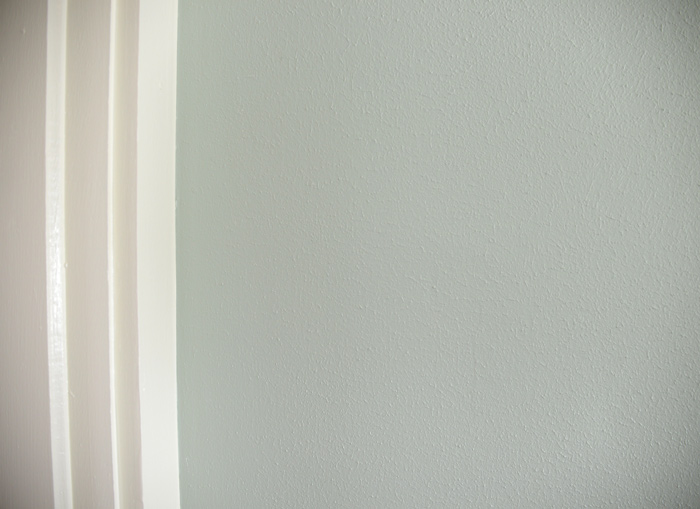
For the wall color, I chose Sherwin Williams Comfort Gray. I had the color mixed up in the Valspar Signature paint (eggshell finish) line from Lowe’s. It’s more affordable at $32 a gallon, yet I find it gives a really professional-grade finish.
I painted the ceiling white and added an inexpensive 50s-style fixture to match the period of the home.

After texturing, painting, cleaning, replacing the light, outlets and switches, and having new carpet installed, I was ready to add the finishing touches to this room.

My budget – as always – was extremely tight, so I stuck with no and low-cost furniture and decor options.
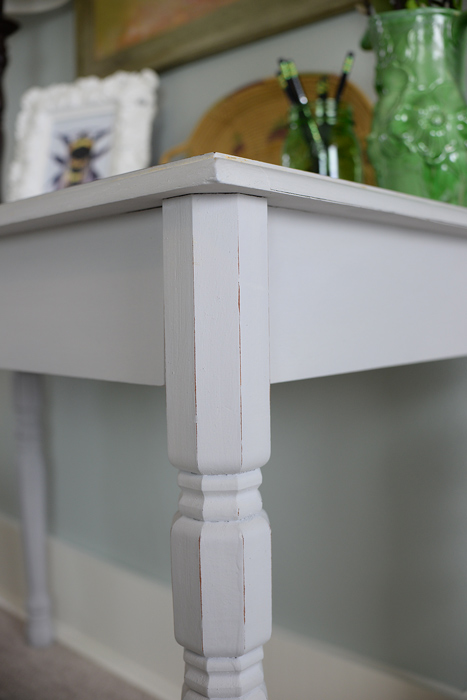
I found a cherry table for under $10 at a thrift store awhile back. When I bought it, I wasn’t ready to refinish it yet, so it went to the basement.
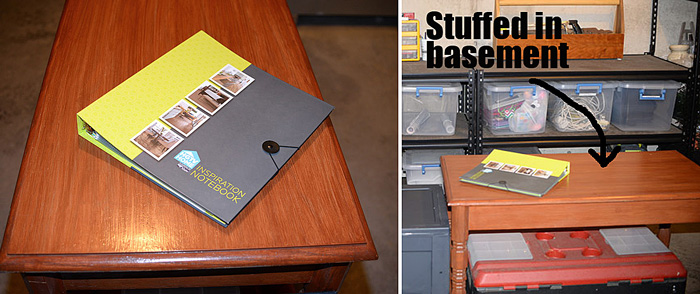
This table looks so good now in the flip house I’m relunctant to let it go with the house. The coolest part about this project is that it was super easy – and quick. All told, it took about two hours of work total. Seriously.
Step 1: I used a scrub pad and some Rust-Oleum® deglosser to “rough up” the surface. The deglosser I used was left over from a Rust-Oleum Cabinet Transformations kit I had on hand after my bathroom vanity makeover. I’ll be using the rest of this kit to transform the cabinets at the flip house. Stay tuned for that project coming soon.

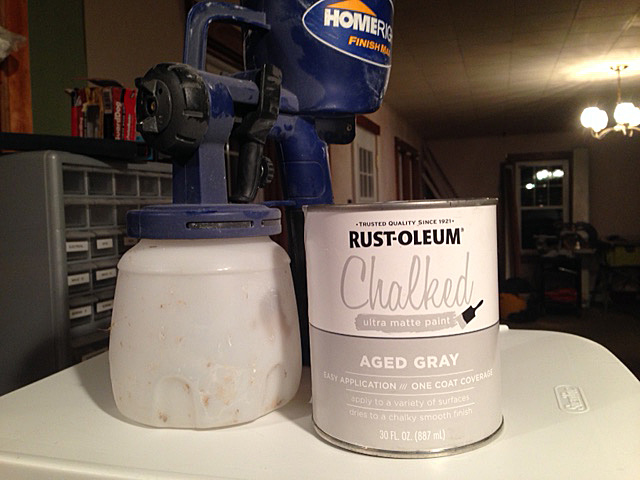
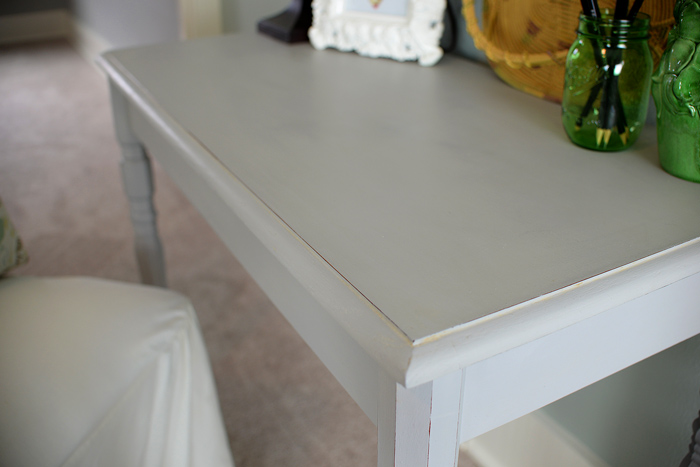
Step 2: I thinned with water (by about 15 percent) a bit of Rust-Oleum Chalked Paint in Aged Gray and loaded it into my paint sprayer. I sprayed on a coat of paint and let it dry. This process took about 15 minutes total. A paint sprayer certainly makes light work of furniture and cabinet painting. (I use the HomeRight® Finish Max.) After about an hour, I applied a second coat of Aged Gray with the sprayer.
Step 3: I applied a coat of wax to the piece to seal the paint.
Step 4: I used some elbow grease and a soft cloth to rub off some paint in select areas, giving the piece a custom, aged patina.
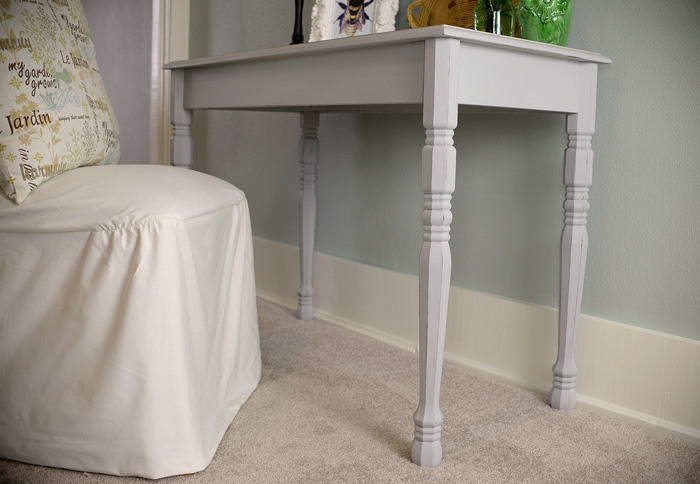
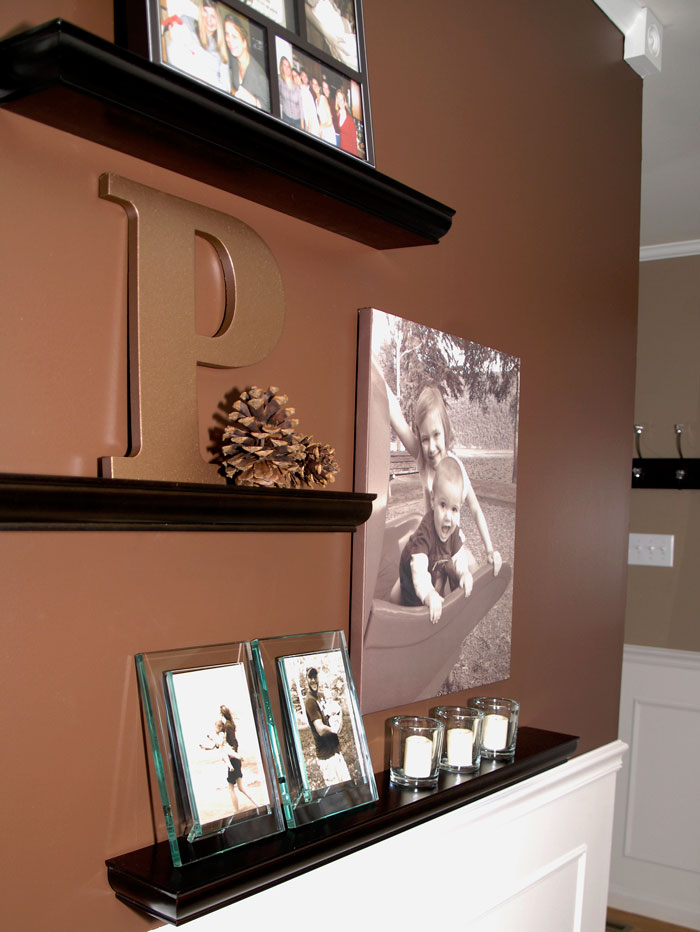
I am so pleased with how this desk – and the room – has come along. As far as the rest of the decor in the space, I stole from my house and the basement to complete the look. No money spent there.
I also used leftover door casing from the front door we replaced and some leftover spindles from the front porch build to build a fun ladder for storing blankets.

I love repurposing pieces of the old house into the projects I do. It preserves the history – and memory – of the home.
What do you think of the transformation?
If you would give this makeover a thumbs up, I would love it if you would hop over to the Rust-Oleum Creator’s Studio and vote for my desk to win the Thrift Store Challenge. Thanks in advance for your vote! 🙂 You can vote HERE.
*Affiliate link provided for your convenience


Voting accomplished! Great job (once again!).
Aw. Thanks so much, Dawn! I appreciate it.
Love it! I have been enjoying each email update I get! I love the desk, and what a creative and great idea with that ladder!! Need to tuck that one away for a rainy day!! Looks beautiful! Keep up the good work! Looking forward to seeing the cabinet redo!!
Thanks so much for the kind words and encouragement, Patricia. I appreciate it. 🙂
As usual another beautiful job. You are moving so much faster than I thought you would.
Well done.