Converting a cabinet to a trashcan (the epic snowball project strikes again)
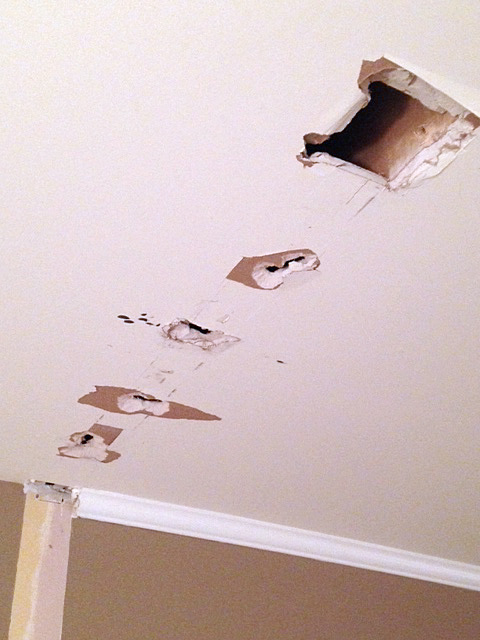
Remember when I mentioned we were about to embark on an epic flooring project? You know, the one that created the snowball that led to these holes (and the twitching)?
We ripped out the half wall so our new flooring would flow better through the kitchen and living room. But removing that half wall left our wooden trashcan hanging out in the middle of the room looking ridiculous. And we’ve also recently had a major issue with things being tossed in the trashcan that aren’t necessarily trash. 😉
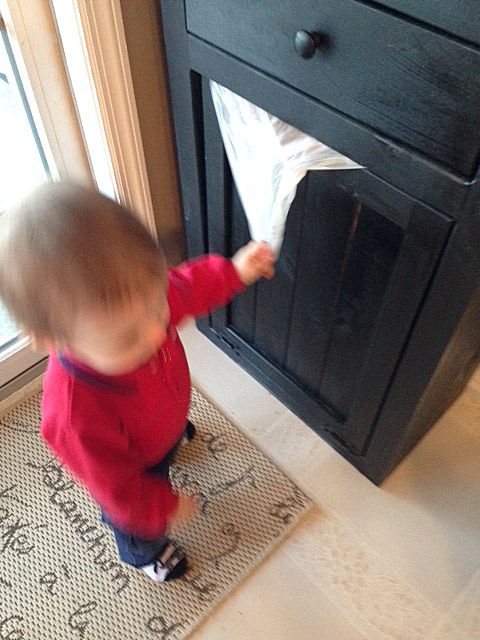 A witness caught this little guy in action opening the can and getting ready to either dig something out or throw a toy in it. In fact, we searched for more than an hour the other day for aforementioned little guy’s favorite Tigger toy (he won’t go to sleep without it). Guess where we found it?
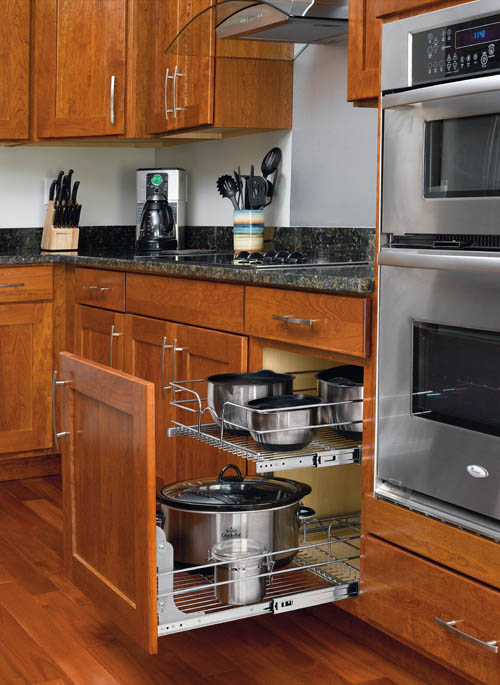
Yep, so there were multiple reasons why we needed a better trashcan solution. Fortunately, I came across this at my local Lowes:
It’s a wire frame and hardware system with two 35-quart, pull-out waste containers included that you mount inside a cabinet. It’s made by Rev-A-Shelf® and you can get it in various sizes and colors. Mine cost about $70. (For the record, I’m not getting any payment or product from Rev-A-Shelf®. Just sharing the info.)
I’ve been thinking of converting one of our cabinets to a trashcan for a couple years now. I’ve seen them in a few friends’ homes and I love how the trash is hidden and doesn’t interfere with the kitchen decor.
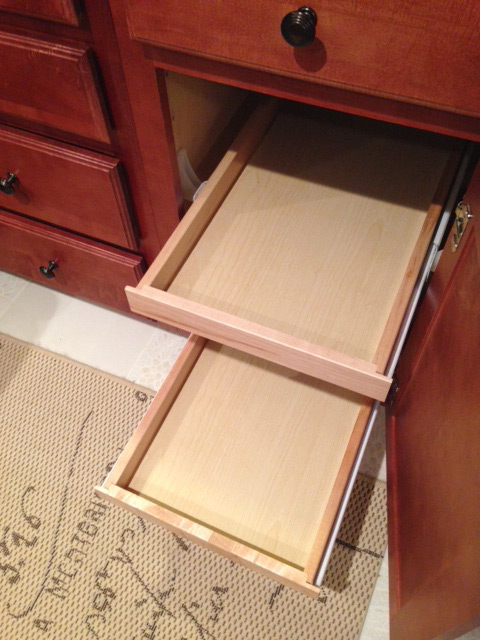
All I needed to do to install the system was remove the cabinet drawers. (I’m hoping I can use these somewhere else in the future.)
This little guy crawled into the cabinet after the drawers were gone:
Then I followed the instructions for installation, which were easy – the whole thing only required four screws. Now I’ve got a pretty, functional spot for our kitchen trash.
I have to chuckle at what the neighbors might think if they saw me taking photos of my trashcan at 8 p.m. (or any other time of the day, for that matter).
I realized after taking the photos that I didn’t stick the cans in their holders straight. There’s nothing wrong with them or the install; I was just in a hurry and didn’t line them up perfectly.
Another note: The handle on the front folds flat so the cabinet door will close properly. You can purchase additional hardware to mount the whole system on the door itself, so you would then just pull on the door and the whole thing would slide out like this:
I may do that in the future, but I didn’t want to mess with it right now. Remember I have an epic flooring project starting … tomorrow. Yikes!
I honestly don’t know why I didn’t do this simple project a long time ago. I guess I figured the installation would be way more complicated. I’m loving our new hidden trashcans, especially that there are two of them. This allows us to designate one for recycling and it also keep us from having to haul the bags out as often. I did have to find a new spot for a few of my baking dishes, but I believe it was worth it.
What do you think of converting a cabinet to a trashcan?









Your little guy is a doll. Good luck on that floor. Please come over and comment sometime! Thanks! Evs
Your little guy is a doll. Good luck on that floor. Please come over and comment sometime! Thanks! Eva
I like the new trash can look. I don’t have that deep of space for a trash can, but I have mine built in with a phone desk and mine tilts forward when I open it. The sliding drawer is ok, but seems to me a waste of so much space, when I have so many many pans to store away in so much space. But things look nice and organized. Beautiful!
This project is an eye opener. I have been allowing my trash can, although attractive-looking (it’s a rattan woven basket with lid), to dominate my limited kitchen floor space for too long. I need to identify which lower cabinet (because I have oodles of cabinets in my condo) can be “sacrificed” for use as my trash can compartment. Thanks for the great idea.
You’re so welcome, Ann. Thanks for stopping by. 🙂