How to cut molding
Hey there, peeps! In case you didn’t get a chance earlier this week to hop on over to my friend Traci’s to check out my molding tutorial, I thought I’d share it with you today on this ol’ blog.
I have been up to some serious shenanigans in my dining room and it is only fitting that I fill you in on all the deets.
 I got the inspiration for my dining room wall color (Behr’s Cinnabark) and some of the accessories from Sarah over at Thrifty Décor Chick. Of course, almost everything I buy is very budget-friendly.
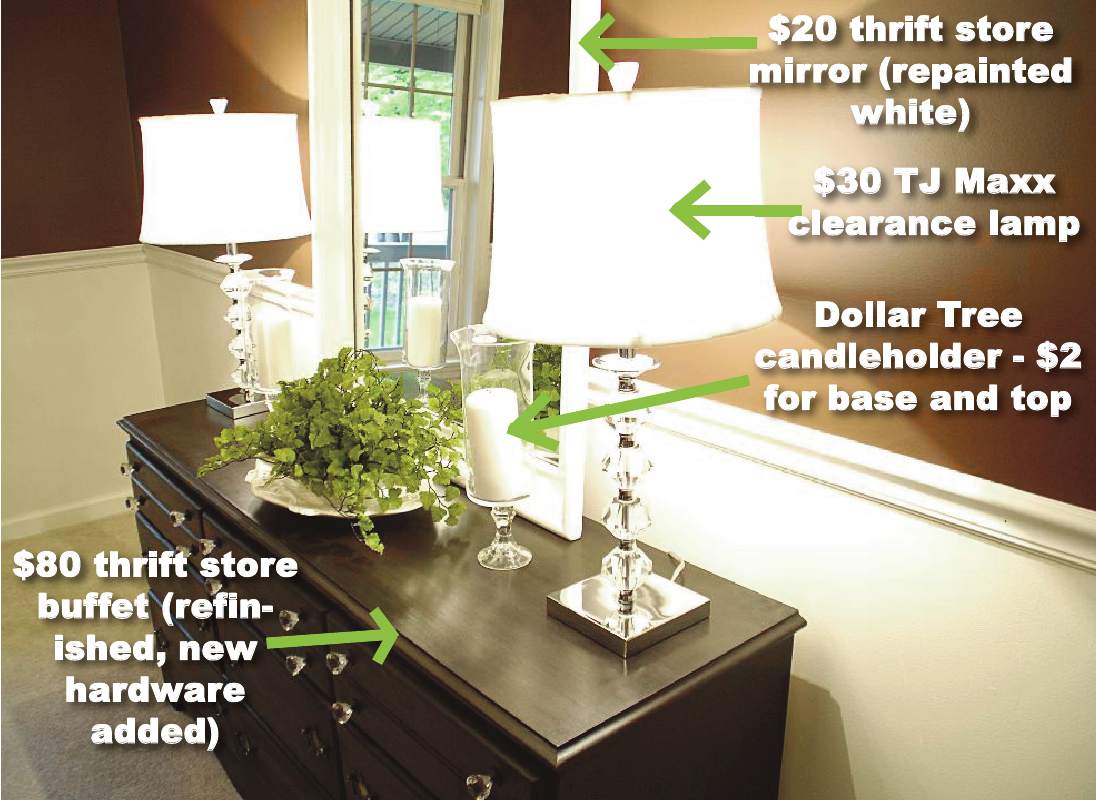 In an effort to break up the dark walls and dark furniture in this space, I decided to add chair rail molding and finish it off with picture frame, box molding.
I began by painting the lower portion of my dining room walls with the exact trim color used throughout our house. This made it a breeze to paint around baseboards and window casings.
 After that, I primed and painted four 12-foot sections of chair rail molding, which I purchased at 84 Lumber. (I’ve found molding is often much cheaper at lumber yards than at home improvement stores.)
 Next, I got my dad – a lifelong carpenter and handyman – to help me cut the molding so it fit perfectly into all the corners (no buckets of caulk or putty needed).
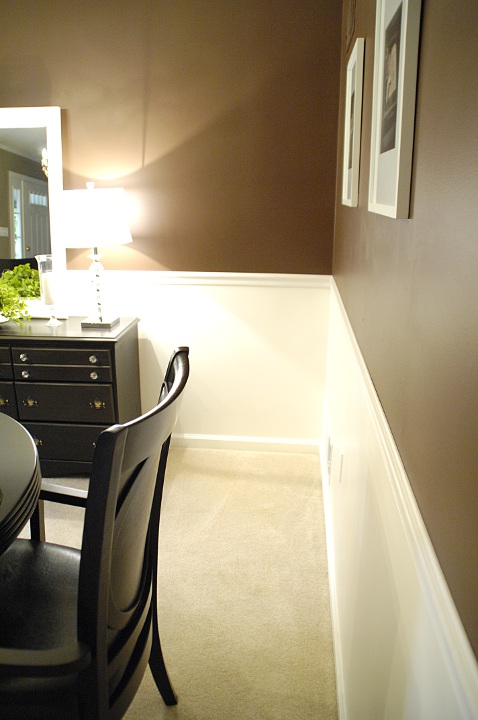 Check out our video on how to do this the RIGHT way:
Here’s another tip: If your molding is not long enough to stretch across the room, you can easily splice two pieces together. Cut them at an angle and the seam will be more inconspicuous. (We cut ours at a 45-degree angle). This is our splice without any filler or paint:
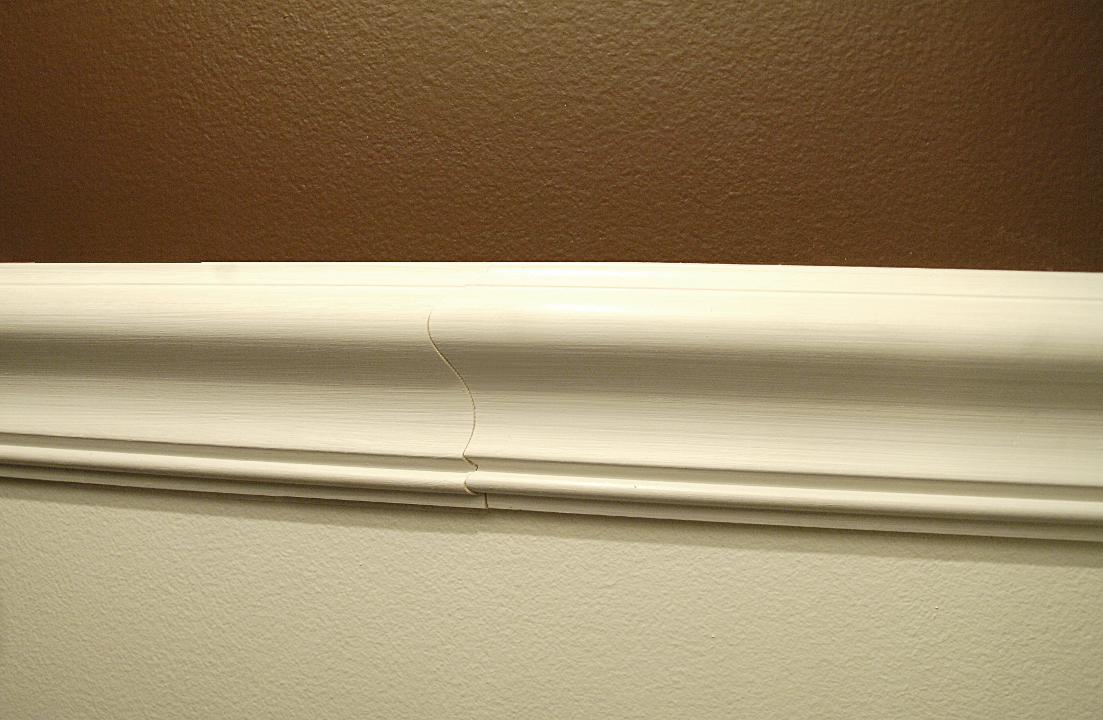 Once I fill and paint this seam, it will virtually disappear!
My next step is to cut and install the picture frame molding, which I’m hoping will turn out something like this:
Oh … I will also need to make curtains for the room. So far, I’ve had no luck finding fabric I like.
Here is what our dining room looked like when we bought our home:
 And here’s what it looks like today:
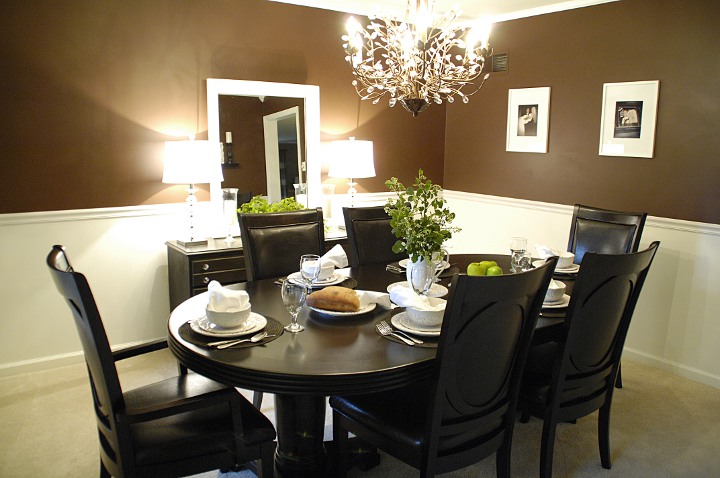
 The end is in sight on this project, people. Wahoo!
I’m linking this up to Home Stories A to Z, My Uncommon Slice of Suburbia, Uncommonly Yours, DIY by Design, Somewhat Simple and Remodelaholic.




Dining room looks beautiful Susan! Just so you know, we all follow your posts at work and tell Matt how wonderful you are! 🙂
Thanks, Emily!
HAHA Rob, Robbie and I loved this one! Bob the builder is so inspirational and entertaining, we all learned something new today! Thanks you two, love ya both dearly!
Can you believe he agreed to do this? And he’s a natural!
I love this dining room! It’s beautiful. Where did you get the awesome chandelier?
Thanks, Gina. That was a bit of a splurge from Pottery Barn, although I did use a free shipping coupon plus some rewards points to get the price down a bit. Here’s the link: http://www.potterybarn.com/products/9484502/?catalogId=13&bnrid=3318529&cm_ven=Google_PLA&cm_cat=Lighting&cm_pla=Ceiling&cm_ite=Camilla_Chandelier_6-Arm_Aged_Brass_finish&adtype=pla