
Recaulk a tub in 5 easy steps (plus my trick for perfect lines)
I’m officially back in the swing of things after my vacays and podcast launch. So what better way to kick off another DIY project than to get up close and personal with the bathroom floor?
 You may recall I’m embarking on a multi-phase master bathroom redo. Today I tackled recaulking the space between the tub and the floor. It was pretty gross.
![]() When caulking begins to separate from a tub/shower, it’s important to put replacing it on the to-do list. Without a proper seal, water can leak into the cracks and cause damage to the walls and flooring beneath. The bottom of my tub was long overdue for some fresh caulk (and apparently a good scrubbing, too).
When caulking begins to separate from a tub/shower, it’s important to put replacing it on the to-do list. Without a proper seal, water can leak into the cracks and cause damage to the walls and flooring beneath. The bottom of my tub was long overdue for some fresh caulk (and apparently a good scrubbing, too).
My 5-step recaulking method includes a trick to get perfect caulk lines every time and also keep the mess to a minimum. And beginner DIYers can easily tackle this project.
Note: My project highlights the space between the tub and floor. But the method should work just as easily for the space between the tub and shower, etc., if that’s your situation.
Step 1: Consider purchasing a caulk remover tool.
It makes scraping out the old caulk easier.
 I dig the pointy end of my caulk remover tool under the old caulk and scrape it all out.
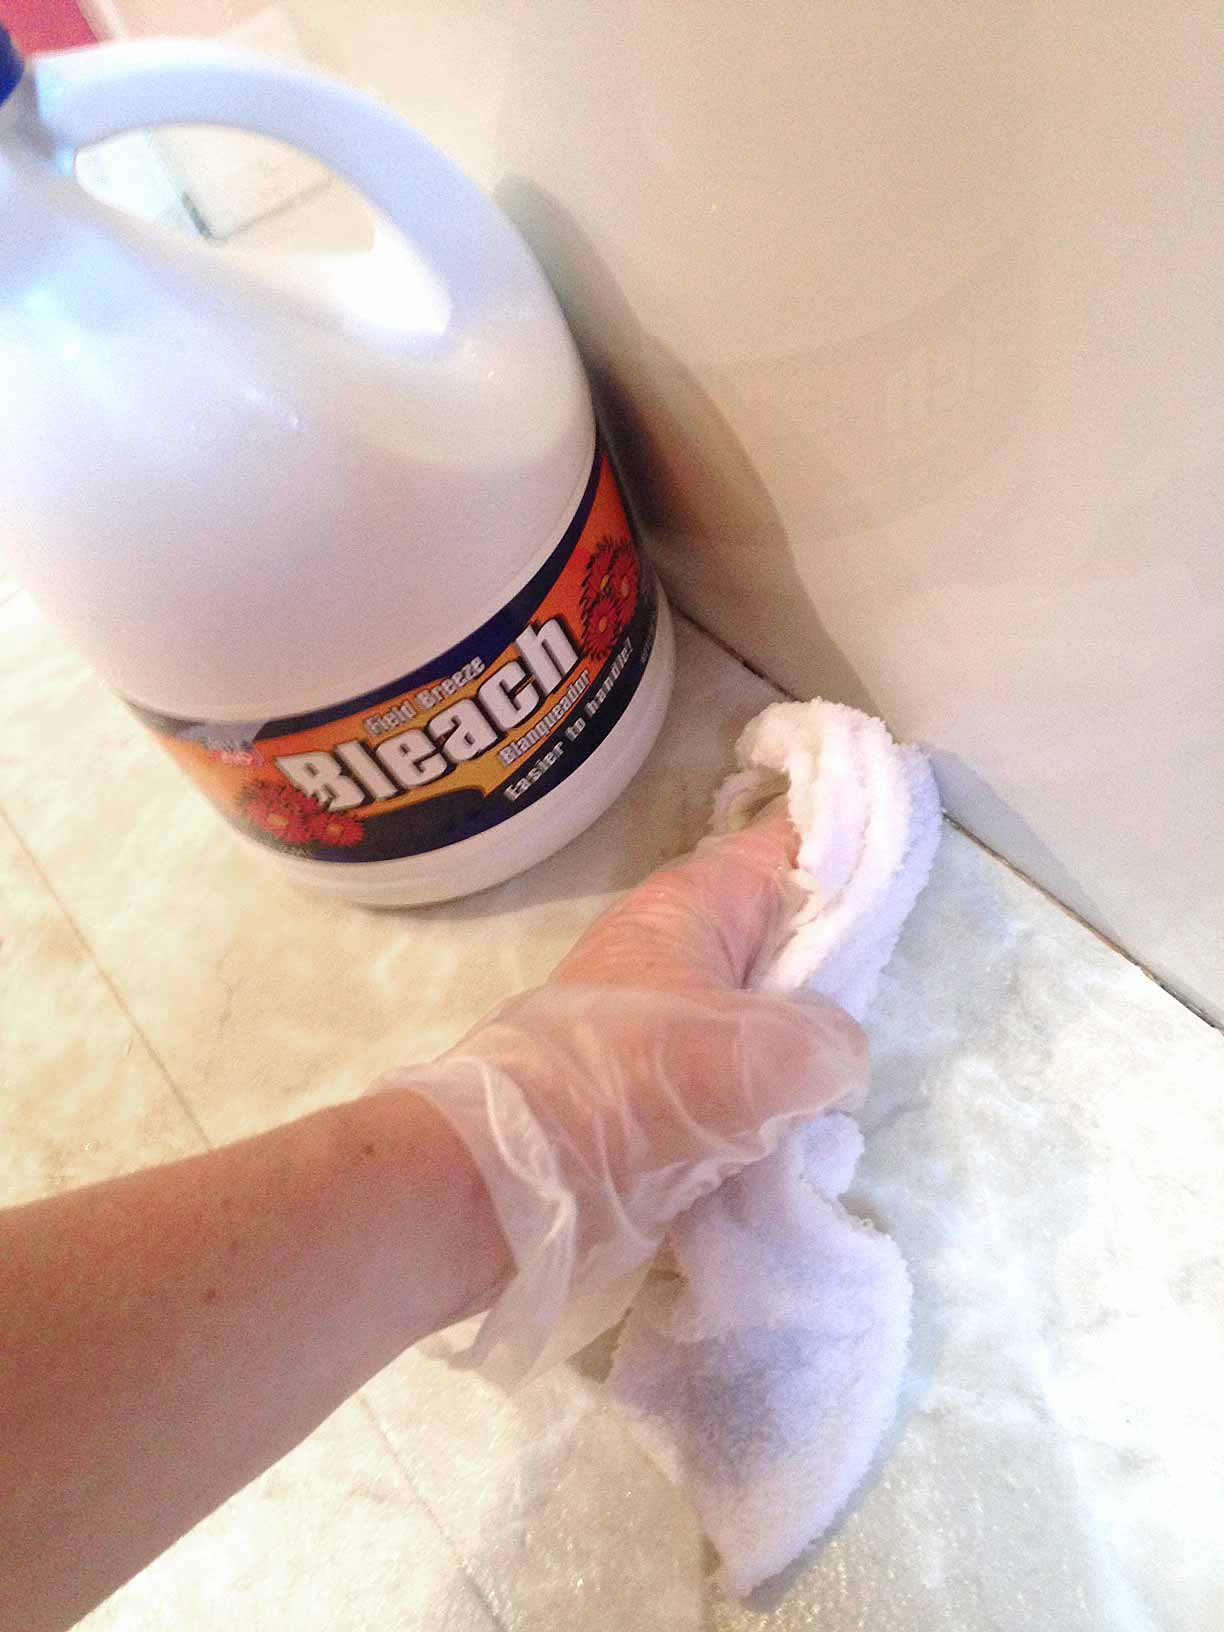
 Step 2: Sweep up all bits of old caulk and sanitize the area.
You don’t want any old caulk left behind or it will create lumps in your new, beautiful caulk line.

I like to use a small amount of bleach to kill any potential mold or mildew.
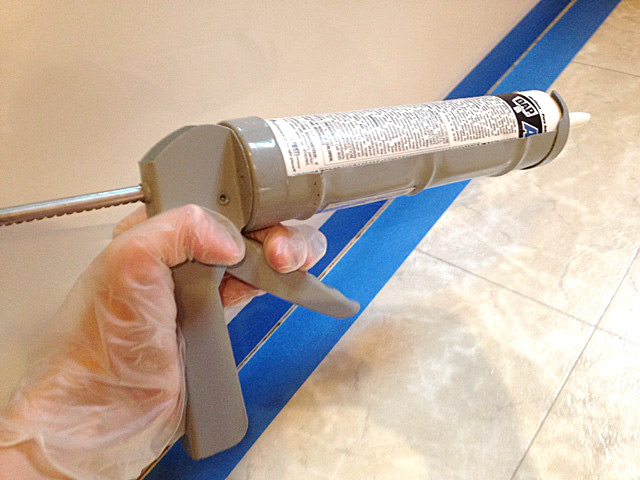
Step 3: After the area is thoroughly dry, apply one strip of painter’s tape below where the new caulk will go and one strip above.
I leave about a 1/8-inch space between the two strips.
 Step 4: Apply a bead of caulk in the space between the tape.
You can either use a caulk gun or a tube of caulk to accomplish this step. For smaller projects, I actually prefer the tube. If you’re working in an area exposed to water, be sure to buy caulk that is suitable for bathrooms.

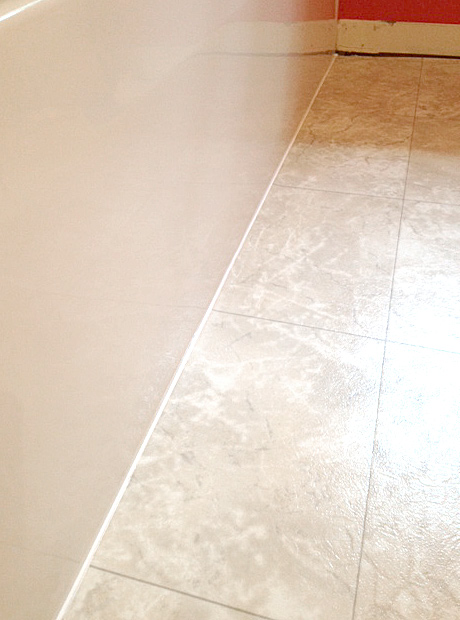
Step 5: Remove any excess caulk, then take off the tape strips and admire your perfect caulk line!
I use the corner of a plastic spreader to remove excess caulk. This keeps my hands clean and creates a professional-looking, lump-free line.
 Here’s my final result:
 Do you have any caulking tips or tricks? I’d love for you to leave a comment and share them.
I’m linking this up to Fluster Buster, Love of Family & Home, Mad Skills Tutorial Monday and You’re Gonna Love It.


Something I really needed to learn. I am not afraid anymore! Looks great & thanks for sharing!
Awesome, Laurie. Thanks for stopping by.
Great tips as always Susan. Thanks for helping turn a novice into a pro.
I just told Jake last night that the inside of the shower stall (where the sliding doors meet the bottom of the shower) REALLY needs done. It is looking mighty gross. Maybe I have the ability to do this instead of putting it on his to do list 🙂
Girl, you can do it! I was so bummed I missed the reunion this year, by the way. Hope to catch up with you soon!
How long do you let yours dry? I have re-caulked our tub at least 3 times in the last year due to cracking or whatever else can happen…?? Any suggestions?
Oh boy. I figured letting it cure for about a day should be fine. I’ll have to let you know how mine holds up. I would recommend purchasing the BEST caulk you can get. That would probably make a huge difference.
If you use the correct caulk for the bathroom, you should not have the problem of cracking.
Fill your tub with water before caulking. That way it won’t crack when you fill it after dries.
Wow,! Thanks for this. Great tip. And congrats on the podcast. Looking forward to your next podcast.
Thanks so much!
I used your same tape/caulk trick to caulk the tile around the tub. I also filled the tub with water while caulking, to weigh the tub down (which is also suggested). The caulk lines were perfection! Love the trick!!!
Great information Susan. I wish I had this tip when we first started flipping houses, it would have saved so much time .Thank for sharing this tip on Fluster’s Creative Muster. Now that you found our party I hope that you’ll continue to join us every Tuesday evening.
Robin @ Fluster Buster.
This post speaks my language at the moment. Our tub area is icky. I’m so embarrassed! This will help immensely. Gonna tweet and pin. Have a lovely day!
Thanks, Neighbor Chick. 😉 Glad it was helpful.
Do you remove the tape before or after the caulk is dry?
I remove the tape BEFORE it’s dry. I think it probably works best that way. No chance of pulling off the new caulking with the tape. But it may work after it’s dry, too. I’ve never tried that.
Your tutorial came just in time! I’m going to go pick up a couple items and try it out!
XO
Awesome. I’m glad it helped. Good luck with your project and thanks for stopping by.
I really love the way this looks and am excited to do mine. I do have a question though. My floor is ceramic tile and the workmen did a lousy job with the grout (the same terrible job was done in the shower). Do I still use the waterproof seal between the shower tiles and tub and the bottom of the tub and ceramic floor? I am having email problems right now so if you could leave me a message on facebook, I would really appreciate it!!!!!! Thanks 🙂
Karen, I tried to find you on Facebook, but the link is broken. Hopefully, you get this. 🙂 When dealing with ceramic tile, all the joints should be grouted except those that you need to allow for expansion. These would be along fixtures, between the floor and walls, or joints in corners in between walls. These should get sealed with caulk. Check out this article on the subject: http://www.hometime.com/Howto/projects/ctile/tile_13b.htm
Using the tape is a great idea. I’ve used the spreader for smaller beads of caulk, but for bigger or deeper beads, I prefer to use a plastic glove dampened with water.
Great idea, Theresa!
My linoleum is pulling slightly away from the floor by the tub area. Before I re-caulk, what do you recommend about getting the linoleum to stay down flat on floor?
It would probably be a good idea to get that glued back down nice and tight before you recaulk. A good vinyl floor adhesive (ask a rep at your local home improvement store where to find it) should work to get it stuck back down. Before you do that, though, I would check underneath the pulled up section to make sure there’s not excessive water pooling under there. If it’s wet, use a solution of bleach and water to clean the area and kill any mold spores and let it dry really well before you apply the glue. After all that, you’ll be all set to caulk. Best of luck with your project.
Hi Susan, I’m getting ready to seal my tub edge to new vinyl flooring, and I was wondering how your job has stood the test of time…
Thanks!
Mine already needed a new bead of caulking, but I think it was due to my low-grade (aka cheap) caulk choice. The method is good; just make sure you choose the best caulking you can afford. Good luck with you project! 🙂