No-sew DIY infinity scarf in 10 minutes
Like many of you out there, it seems that when the chilly weather shows up, so does my obsession with infinity scarves.
Now, I’ve already got a closet full of regular scarves collected over the years. But since they are not infinity scarves, they haven’t seen a lot of wear recently.
Fortunately, I’ve discovered a ridiculously easy way to convert a regular scarf to an infinity scarf, so I thought I’d share that thrifty hack with you today.
1. Pick out a regular scarf you want to convert.
I chose these four. The one on the left and the one on the right required special treatment, which I’ll share toward the end of the post.
2. Grab some iron-on hem tape and turn on the iron to the hottest setting safe for your fabric.
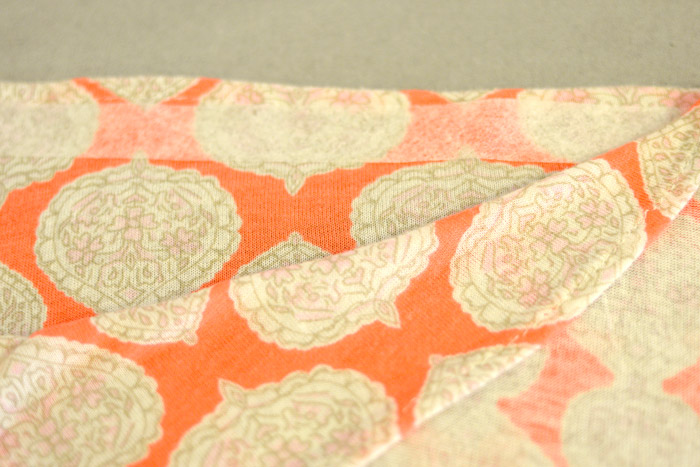
3. Line up the two short ends of the scarf, with the ugly side/inside of the scarf and seams facing out.
4. Cut a piece of hem tape and sandwich it between the ends at the top.
5. Line up the ends again and iron the layers together.
6. Turn the scarf right-side out and check to make sure the hem tape worked. Done!
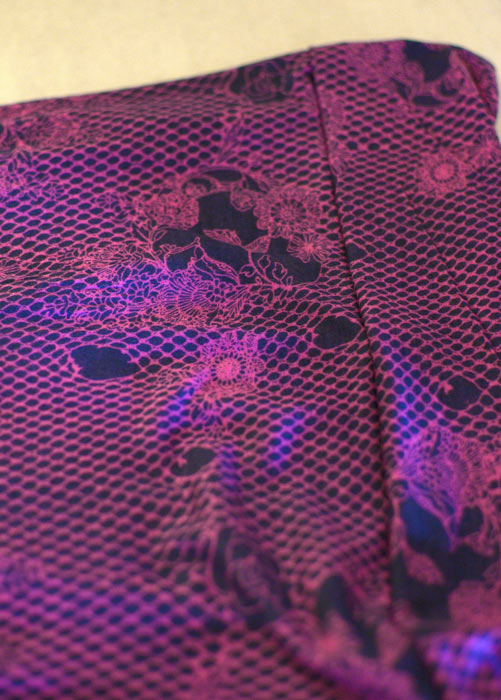
I used this same no-sew method for the purple scarf.
The black and white scarf had fringe on the ends, so the first thing I did was trim that off with pinking shears.
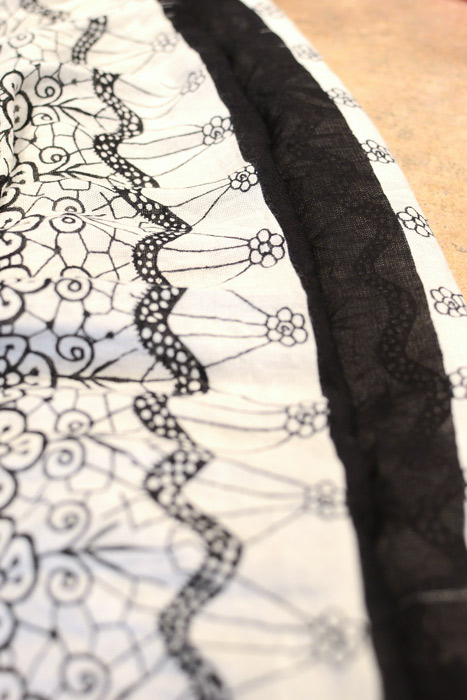
This scarf is so thin I was worried the hem tape would bleed through, so instead I sewed a quick seam connecting the two ends. Again, I made sure the ugly side of the scarf was facing out when I did this.
 I simply used a straight stitch to sew the ends together. Yes, I realize I’m using brown thread (I was out of black). I’ll show you a trick for converting colored thread to black in a moment. 😉
I probably should have used a zigzag stitch for this seam. But I seem to always create a balled-up, tangled mess of thread when I set my sewing machine to the zigzag stitch. If anyone has any tips for how to avoid that insanity, I’m all ears.
Here’s the black scarf done and turned right-side out:
I sewed together the striped scarf as well because I figured the hem tape may not hold together fabric that thick.
After I finished sewing the seams, I colored in the brown thread with a permanent black marker. Voila! Black thread. 😉
Here are my four “new” DIY infinity scarves:
I estimate that I spent about 40 minutes total making all four of these scarves.
Would you ever try converting your regular scarves to infinity scarves?











I beat you to it! I made several of these last year. Tip: If the scarf is too thick (bulky) you can cut it in half lengthwise. Another tip: Your thread trick works more ways than one. I have a favorite pair of black pants that I dripped bleach on. Oops! Black sharpie works wonders. I just color in the spot.
Happy Halloween and Happy Fall
Great tips, Janie! Thanks for stopping by.
Thanks for the tip. I have a hat box full of scarfs now I know what to do with them so I’ll wear them. I love scarfs!!!!!!
What a great idea I love infinity scarves I can’t wait to try this on some of my scarves!!
Great tutorial – I’m going to try this!
You are so good at posting the “why didn’t I think of that!”
tips!! I am going to my scarf shelf now… Thank you for the tip!
You are so very welcome, ZoeAnn. Thanks for the feedback.