
Quick and easy fall craft (plus a stain and poly comparison video)
My fall craft mojo has kicked into full gear, mostly because I took a run today that was so freakin’ hot I truly thought I was going to melt into a puddle of my own sweat. Yep. I am now officially ready for cooler weather.
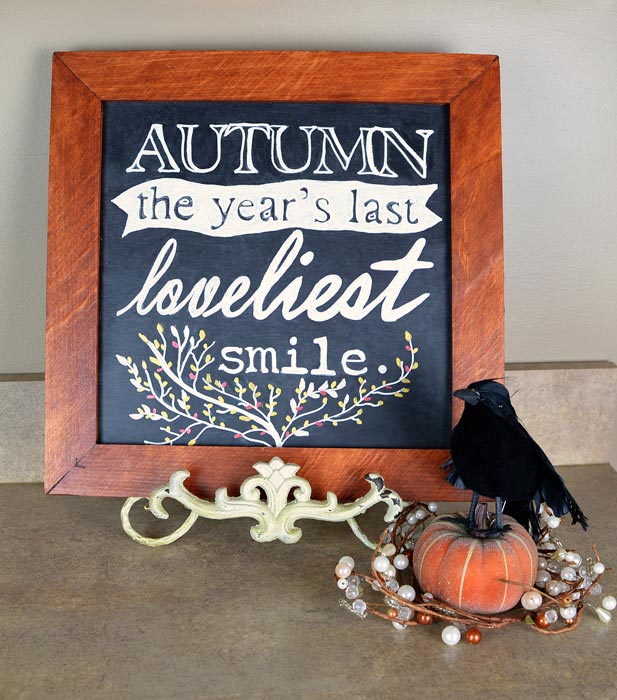
Today I wanted to share with you a simple and inexpensive fall craft you can complete in one toddler nap time. True story.
Supplies you’ll need for this project:
- Wooden frame (Mine is a Crates and Pallet version – available at Home Depot – but you could use any leftover frame you have on hand, provided it still has its cardboard backing intact.)
- Chalkboard spray paint
- Wood stain in a cherry finish
- Chalk and chalk markers
- Regular printer paper
- Polyurethane to seal the frame (optional)
Below are the step-by-step instructions and a quick video* that shows exactly how I made this craft project. I also include in the video a demonstration comparing a few different stains and polyurethanes.
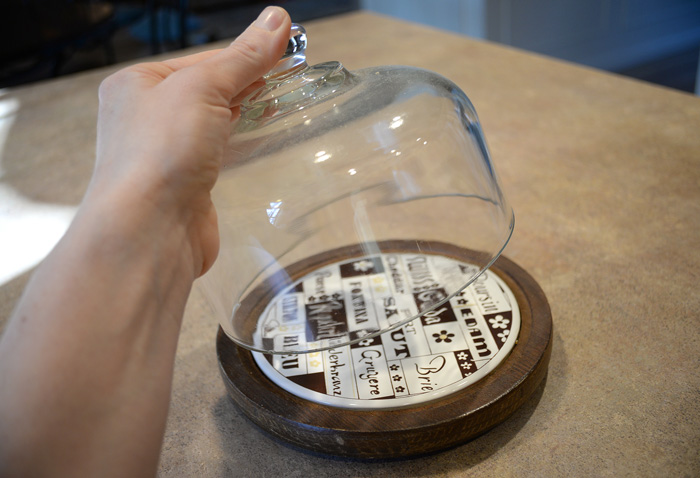
Step 1: Stain the frame.
Step 2: Spray the frame’s cardboard backing with a coat of chalkboard paint.
Step 3: While the frame and cardboard dry, design and print out the words for your art on regular printer paper. I created my design in a simple Word document.
Step 4: Take a piece of regular chalk and rub it onto the back of all your paper printouts.
Step 5: Position the paper printouts onto the chalkboard-painted cardboard (make sure the paint is dry first).
Step 6: Take a blunt pencil and trace the outline of your printed words. (This will transfer a faint chalk “carbon copy” onto the cardboard. You can see another example of this method here.)
Step 7: Fill in the chalk outline using chalk markers of your choice. Done!
Have you done any fall crafting yet?
*Special thanks to Rust-Oleum for sponsoring the video featured in this post and to Crates and Pallet for providing the frame used for this craft project.


Awesome project! Do the chalk markers rub off easily like regular chalk?
Emily, you can definitely remove the markings easily with a damp cloth, but I would say chalk markers do have a bit more staying power than regular chalk. I also like the fact that they give you more precision and a more vibrant outline. Thanks for stopping by. Hope all is well with you. 🙂
Susan
I love how your chalkboard turned out. Great video too!
gail
Thanks so much, Gail!
Enjoyed the video. Did the frame you bought at Home Depot come complete or did you have to put it together? Did they have different sizes? Thanks!
It came complete with the wooden frame and cardboard backing put together (but no glass). I just needed to peel away the plastic wrap it was in, lol. I’m not sure if they have different sizes. I was actually sent in the mail the one I used for this project. I’ll have to check next time I head to the Home Depot to see if they have different options in the store. Did you have a particular size you’re looking for? If so, I know the folks at Crates and Pallet that actually make this product (they ship it to Home Depot for retail sale) and I can put a bug in their ear if consumers are looking for something specific. Thanks for stopping by. 🙂
Awesome. Also super handy for store sign’s and stuff :-).
Absolutely, Steven. Thanks for stopping by.