
How to patch drywall before painting
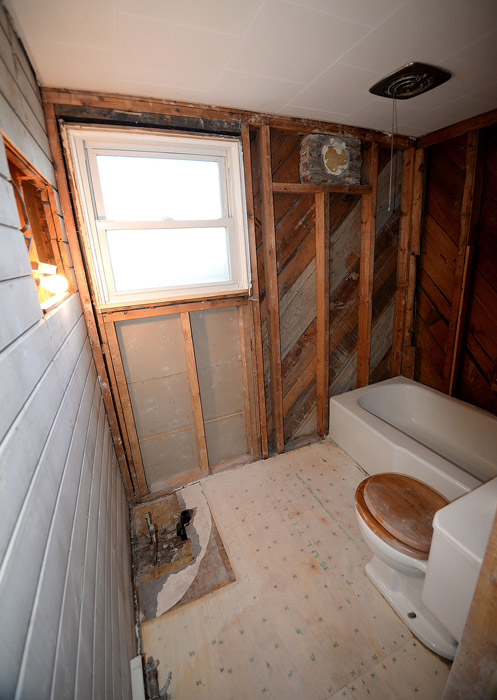
I am currently in the “worse before it gets better” stage of the master bathroom renovation. Yes, it still looks like Miami Vice threw up in there. Only now, there’s a half-inch layer of spackle dust on the floor to add to the ambience.
Today I thought I would share some helpful tips on how to patch holes in drywall so the subsequent paint finish looks as smooth as buttah.

I definitely needed the following tips on how to patch drywall because all the towel rack and picture frame holes were making the bathroom look like it had been used for target practice. Here’s the method I used to spackle them like a pro:
1. Determine the size of the hole. If it’s bigger than the palm of your hand, you should use a support of some kind, such as a metal drywall patch/adhesive mesh. Smaller holes can be repaired with spackle alone.
2. Choose the right spackle. The smaller the hole, the lighter the spackle should be. I prefer shrink-free spackle, by the way. (Do they even make non-shrink-free spackle? If so, who would want it? Hmmm …)
3. Trim off any loose or hanging pieces surrounding the hole. For nail and screw holes, I like to tap down the edges with a hammer to make sure the holes are flush with the wall. Save yourself extra work, though, and don’t make the holes any bigger than necessary.
4. Choose the right size spackle knife/spreader. It should be slightly larger than the hole. When in doubt, choose a wider one.
5. Stir the spackle well and press the loaded side of the tool into the wall about a half-inch above the hole.
6. Press firmly against the wall and, using a smooth stroke, drag the knife down over the hole. Doing this at a slight angle typically gives the best results.
7. It may be necessary to apply a second coat of spackle after the first coat has dried. It is always better to give a hole several thinner coats than to glob on one thick one.
8. Try to make the spackle as flush as possible to the wall. Note: Even though it claims to be non-shrinking, all spackle seems to shrink a little. Don’t be afraid to leave a slight mound above the hole.
9. Smooth out the spackle with very fine grade sandpaper or use a damp sponge to smooth out the surface until it looks flush with the wall.
10. Small holes should not need primer. But larger holes should be primed first before painting the wall. If you skip this step, you may notice a flat-looking spot on the wall where the spackle absorbed a bit of the top coat of paint. In other words, you’ll end up with an uneven paint finish.
In addition to learning how to properly use spackle, I hope you’ll now consider joining my crusade against putting holes in walls. It requires a ridiculous amount of work to repair the damage! I actually prefer using products like 3M Command Strips to hang art because they can be easily removed without damaging the walls.
Do you have any spackle tips or maybe even horror stories you’d like to share? 😉
I’m linking this up to Home Stories A to Z, Fluster Buster and Blissfully Ever After.


Wow, you are one handy chic! Good for you!
I enjoy following your blog….please come on over and check out my new blog at http://gigipinkglitter.blogspot.com
Thanks,
Tammy
Thanks for the kind words, Tammy. Checking out your site now …
Great tutorial. I have filled many a hole and have gotten quite good at it. I like the idea of the command strips, but how heavy of an object will they hold? I have some heavy stuff that I usually screw into the stud – you know what kind of hole that leaves. We are building a new house and it would be nice not to put a bunch of holes in the walls.
There are small, medium and large strips and they tell you on the package how much weight they’ll hold. I’ve been impressed with how much. Nothing has fallen down yet (crossing fingers).