2 lake-inspired, thrifty DIY projects
Hello friends. Today I’d like to share with you two recent DIY projects I completed that are inexpensive and easy to do.
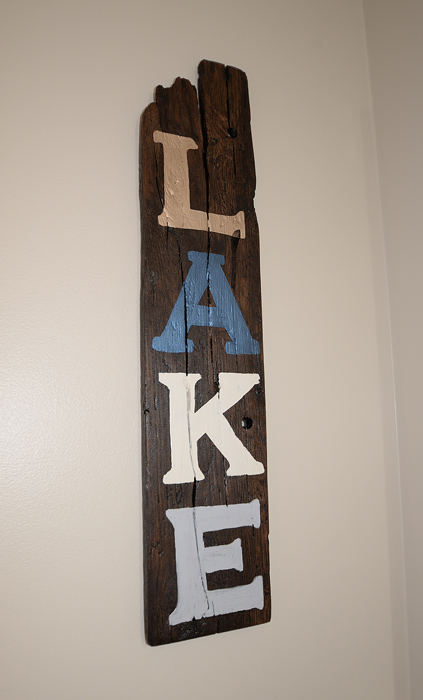
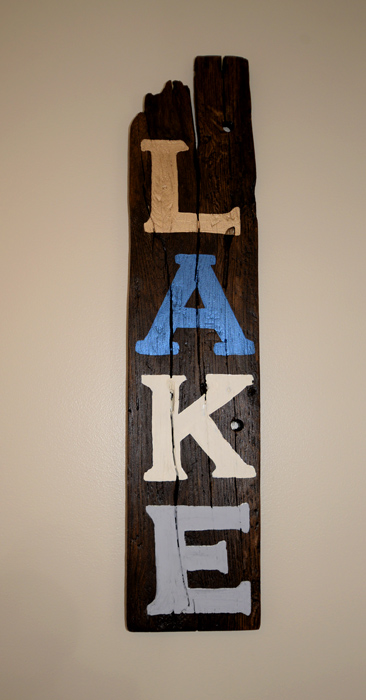
The first is this LAKE sign I added to my bathroom as part of the master bathroom renovation. This project cost me zero dollars because I already had all the supplies on hand. 🙂
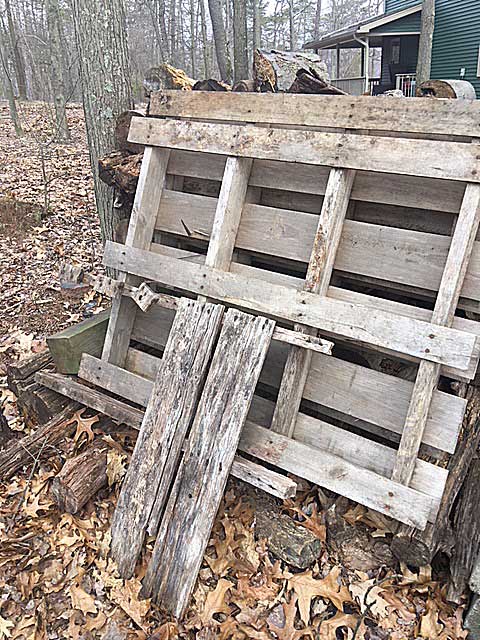
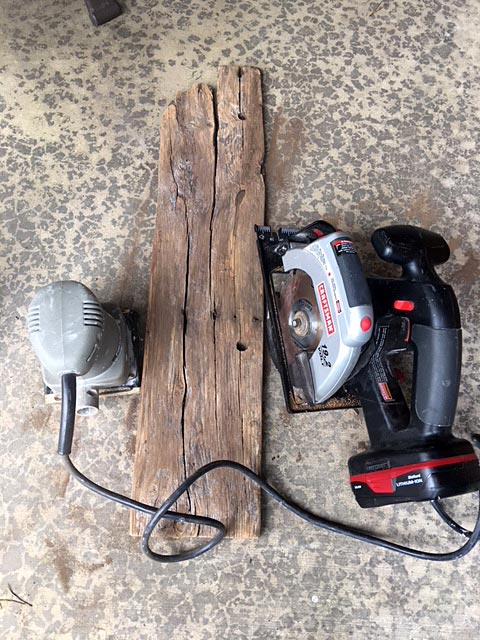
Step 1: Cut a piece off of a weathered wooden pallet. I used a skill saw for this part.
Step 2: Sand and stain/finish your board of choice. I chose Varathane® Kona Metallic Polyurethane Finish.

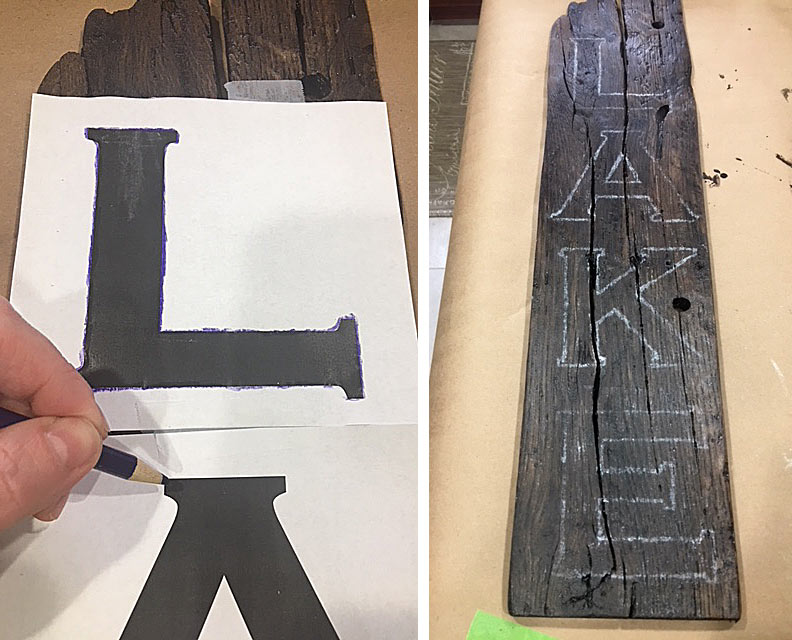
Step 3: Print out letters in the font/size of your choice on a regular printer.
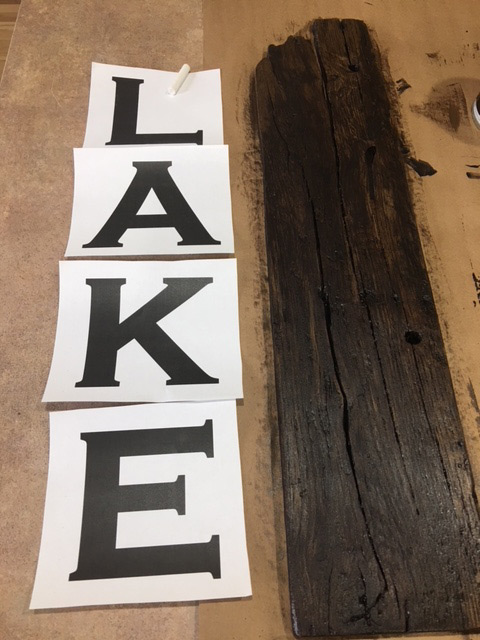
Step 4: Turn each letter over and run chalk over the whole back of the sheet of paper.

Step 5: Turn the paper back over, placing it where you want it on your piece of wood. Then use a pencil to trace the outline of the letter. This will transfer a chalk outline onto the wood.
Step 6: Using an artist’s brush or paint marker, fill in your letters with the paint color(s) of your choice. (I used Command Strips to hang the piece on the wall.) Done!
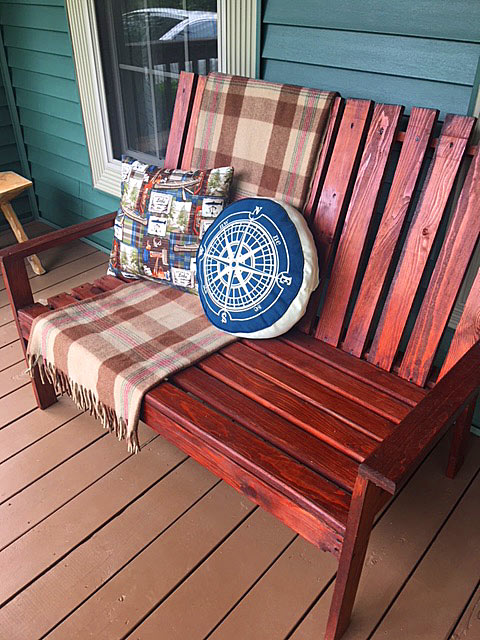
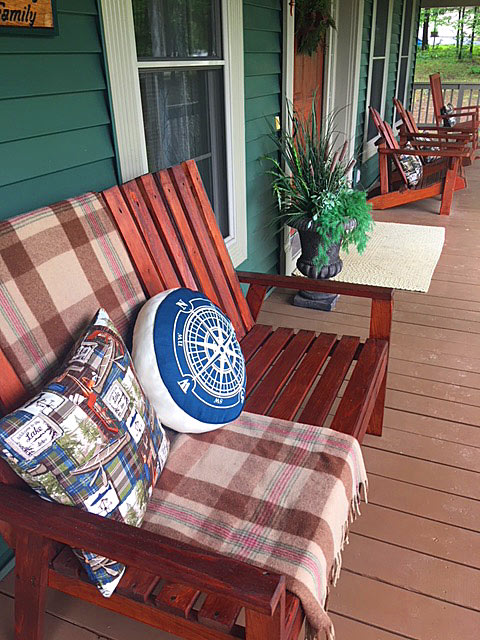
Project No. 2: Lake-themed porch pillows
My front porch pillows were looking a little tired, so I decided to update them with new fabric.
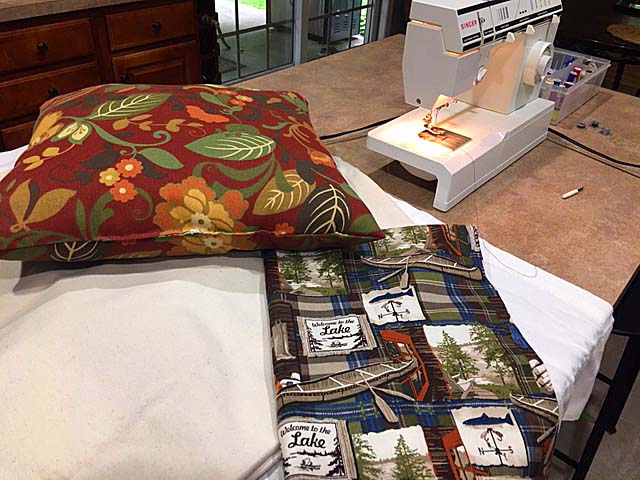
I chose the lake-themed fabric on the bottom right of the photo. I found the fabric here.
This is indoor fabric, which I treated with a spray water repellent. So it works best on a covered porch. If your pillows will be exposed to the rain/weather, I would recommend choosing an outdoor fabric.
I cut four equal squares, then flipped the fabric over, sewing the pieces together at the edges.

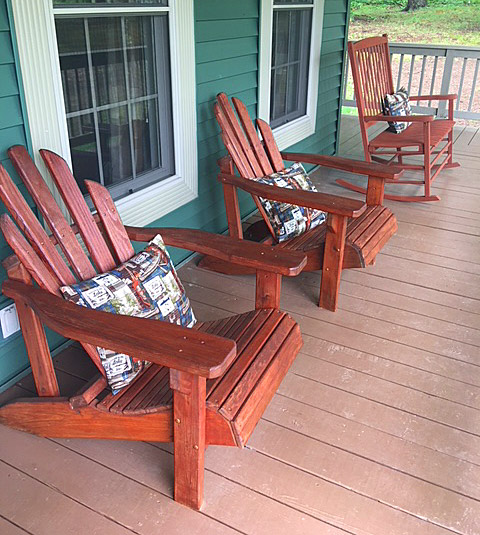
When I got to the last 3-4 inches, I turned the piece right-side out, stuffed the old pillow inside, then sewed the last bit together. Voila!
So there you go … two quick and inexpensive DIY projects for summer.
Have you done any crafting/DIYing this summer yet? I’d love for you to share your project in the comments section.