DIY back-to-school survival kit
This shop is part of a social shopper marketing insight campaign with Pollinate Media Group® Elmer’s and Wet Ones, but all my opinions are my own. #pmedia #CraftandCleanUp http://my-disclosur.es/OBsstV
I was recently perusing the aisles of Target looking for a back-to-school gift for my daughter’s second grade teacher. It was one of those rare moments when the kids were not with me and I could actually, well, shop rather than spend my time keeping them from tearing down displays, disappearing under clothes racks, or eating something off the floor. In other words, it was a good shopping day. 🙂
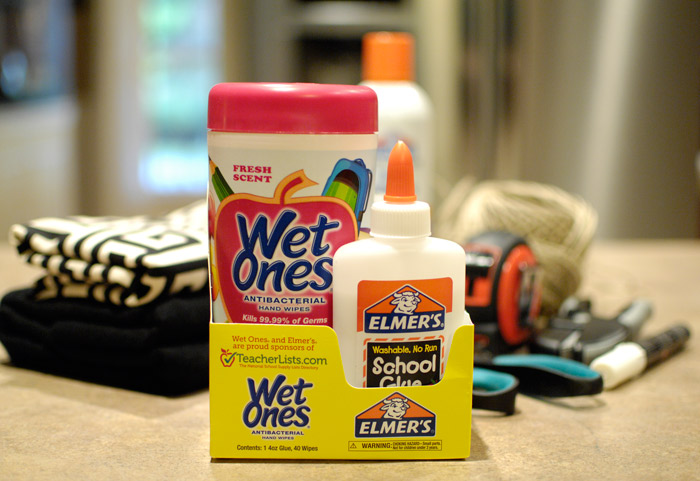
I found an Elmer’s glue and Wet Ones combo pack in the back-to-school section, which made me think of the perfect project that my 7-year old and I could do together: a back-to-school survival kit for her teacher.
I bought the combo pack, gathered some other supplies from around the house, and went to work. (This combo pack is available in select Target stores only, while supplies last.)
We started with an old cardboard box.
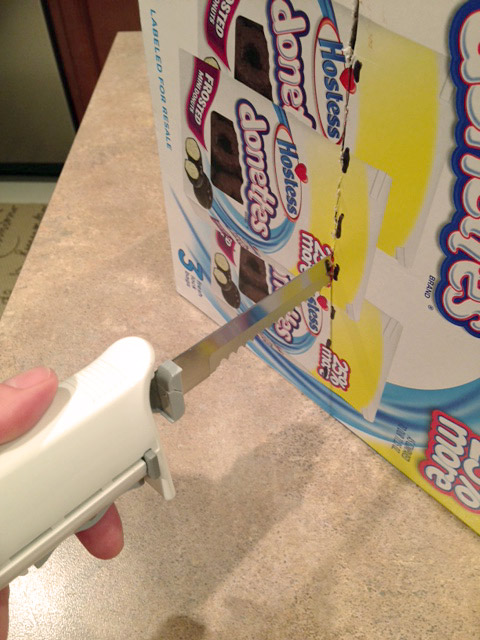
Measuring five inches up from the bottom, we marked the box all the way around.
I used an electric knife to trim it to size.
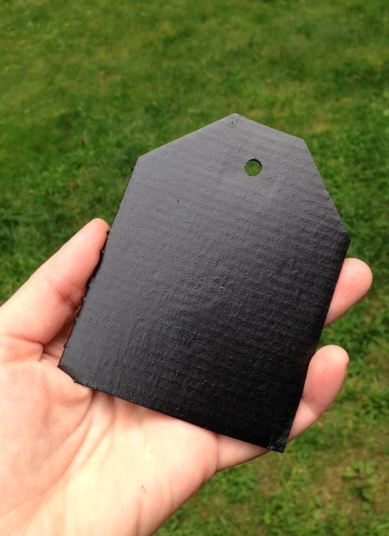
I also cut out a gift tag from a discarded piece of the box.
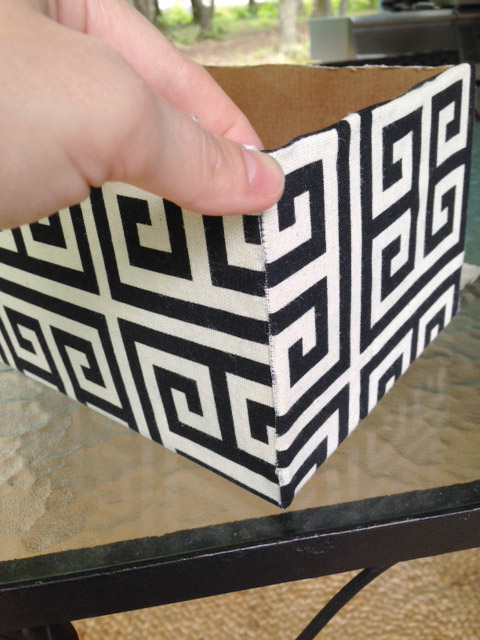
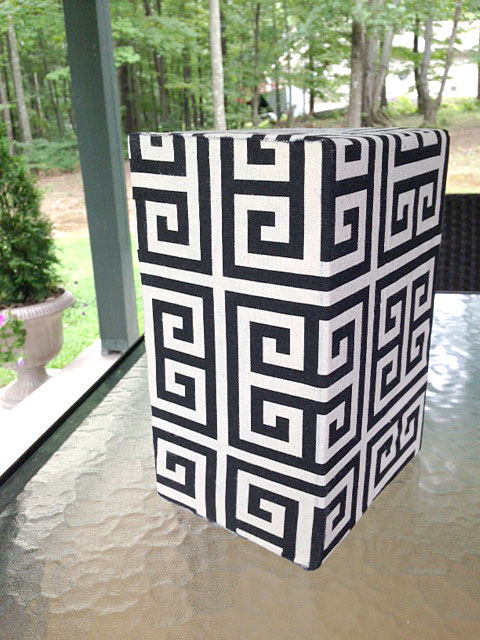
The next step was to wrap the trimmed box in fabric. To determine how much fabric was needed, we laid the box on the fabric, traced the bottom, then measured out 10 inches on each side. Since the box height was five inches, using 10 inches of fabric allowed it to wrap over the top of the box and down the inside. The only thing that wasn’t covered was the bottom of the inside.
We sprayed the box with adhesive and began wrapping the fabric up and over the box. We were extra careful when working around corners, making sure the edges were covered.
We glued a piece of black felt to the bottom of the inside of the box, hiding the seams and giving it more of a finished look.
We also embellished the top of the box with washi tape. My crafty sidekick glued a black button to the inside of the box. It was used to attach the gift card string to the box.
I sprayed the homemade gift card with chalkboard paint and let it dry.
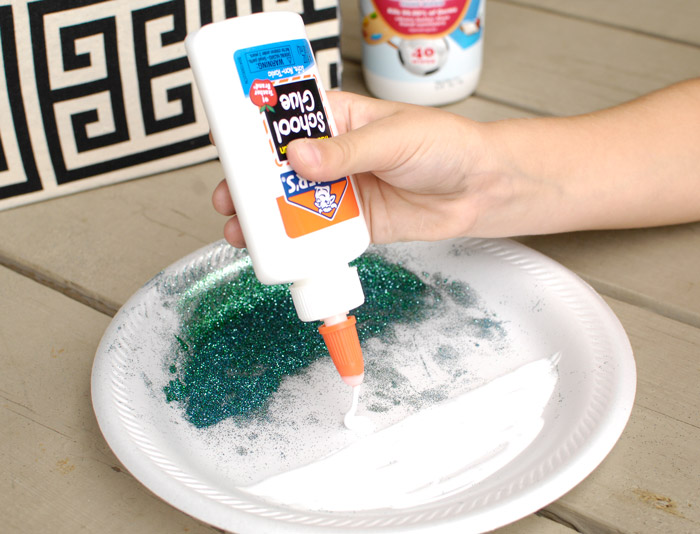
After writing on the tag with a chalkboard marker, we dipped the edges in glue and glitter.
When done, we used the Wet Ones to easily remove all the glue and glitter from our hands.
Finally, it was time to fill our kit with goodies, which included candy, tea, tissues, bath products and a mug.
School starts next week and we are now officially on our way to being ready. Are you?














That is so cool!
This is such a clever idea! I wonder how the gift was received by the teacher. Did she comment on it? Is it pretty common now to gift teachers at the beginning of the year? (My child is 46 now so I have been out of the loop for some time.) I wanted to take a moment to tell you how thoroughly I have enjoyed your blog today, reading several tutorials and taking your house tour. You have excellent taste and your home is immaculate. You truly do live “rich” and are not too proud to create inexpensive décor along the way. I am also impressed with your command of the English language including punctuation. Many home décor bloggers I follow have no idea where one sentence ends and another one begins, using commas instead of a period, one thought rambling onto another. I see lots of it’s where there should be an its and vice versa. It bothers me.
Wow, Ann. You totally made my day. My background is in journalism and, you’re right, not too many people notice the tiny details of grammar. I try to do my best to keep my writing clean. You have no idea how much I appreciate your kind words. Have a Merry Christmas!