Easy, DIY wall stripes in the bathroom
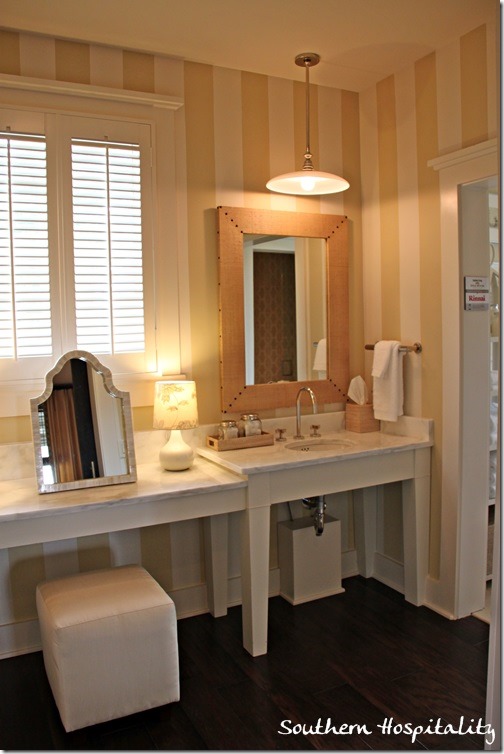
Phase I of the master bathroom renovation is in full swing and my latest progress includes creating some easy, DIY wall stripes. If you recall, my inspiration for the space comes from the 2013 Southern Living Idea House.
When I use a room for inspiration, I typically don’t replicate that room exactly, but rather pick and choose which portions of the design I want to incorporate into my own space. For example, I love the molding in the first photo and the striped walls in the second photo, so those are elements I’m adding to my master bathroom.
I just finished up the stripes today and wanted to share my quick and easy tutorial for that project.
Before adding any stripes, the first thing I did was paint the entire room. For details on that, click here. To add my stripes, I measured to the spot where my chair rail will go and drew a horizontal line to mark where the bottom of the chair rail will sit (I always use a level to keep my lines straight). My goal was to paint stripes below that line.
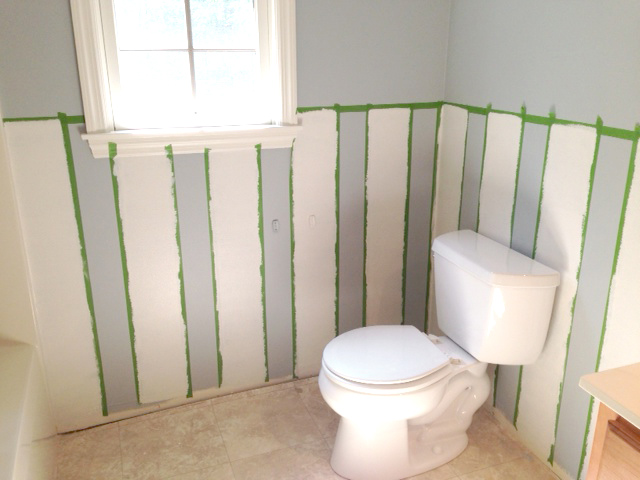
Next, I used my painter’s tape to mark off six-inch-wide vertical stripes that would alternate between the wall color and my white trim paint.
Note: When taping off the lines before painting, keep in mind that the painter’s tape should go on the inside of the six-inch marks on the portions that will not be painted. The painter’s tape should go on the outside of the six-inch marks on the portions that will be painted. In the photo below, the stripe on the left remained the wall color, while the stripe on the right was painted white.
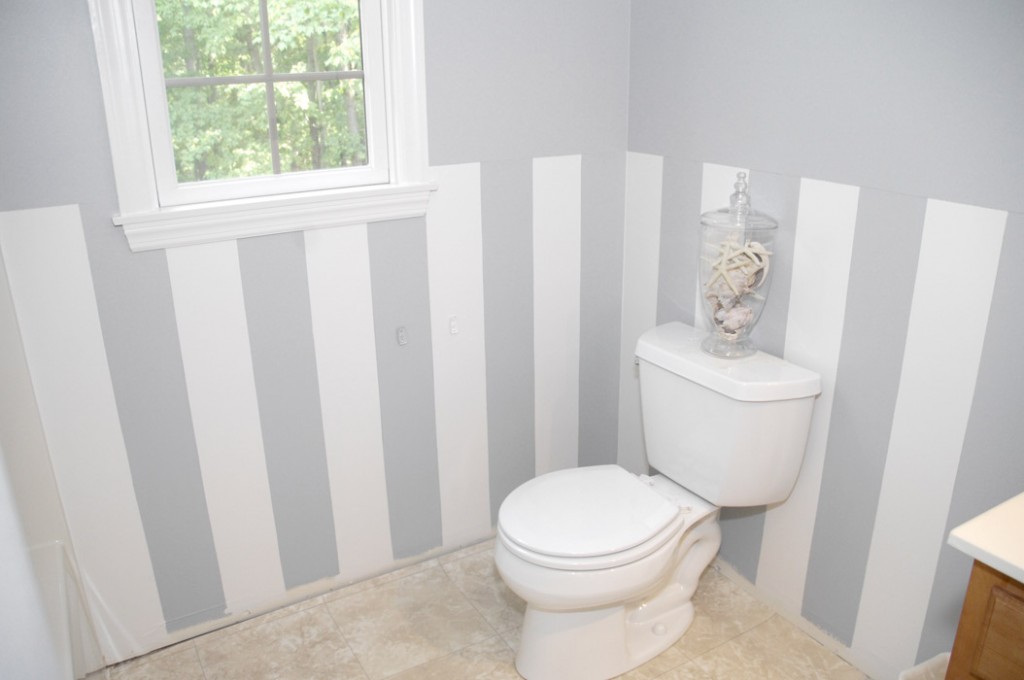
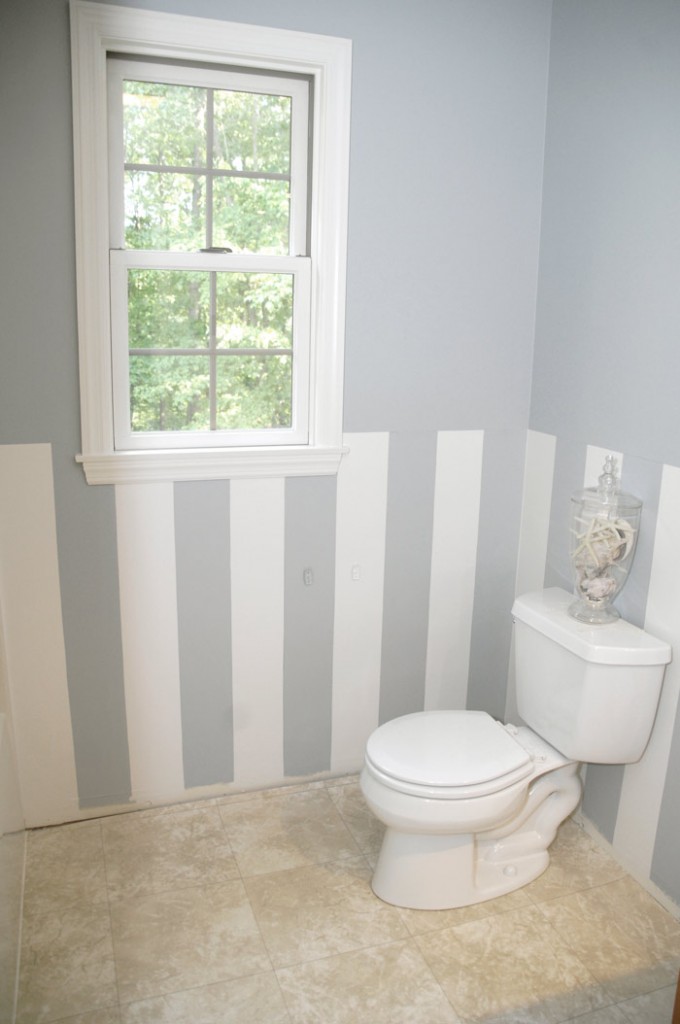
I alternated between stripes of wall color and white trim paint.  After filling in each white stripe with two coats of trim paint, I removed the painter’s tape (I always recommend doing this when the paint is still wet). This is the result:

 Next on the docket is chair rail and baseboard trim molding.
What do you think of the new stripes?


Thanks for this tutorial, I want to do stripes in my hallway, I was looking at wallpaper but it was so expensive, maybe not as easy as I have 9 foot high ceilings but I may give this a go.
Lee 🙂
Lee, I think doing the lines below a chair rail would be a great, easy solution for you considering your high ceilings. But if you decide to do a whole wall (floor to ceiling) in stripes, I would recommend drawing a full vertical line where your stripes will go (rather than just using tick marks every foot or so). That way, your painter’s tape can get lined up perfectly and you won’t end up with a slightly wavy line. Thanks for stopping by!
Love, love, love the clean, crisp look. Anxious to see more.
Thanks, Mar!
Hi,Susan, I love your stripes! THey really are easy to do with Frogtape and your bath is going to be so fresh. Glad you got inspiration from those pics of the SL house. xo
I Love it ! Such a fresh look !
Loving the look of the fresh clean gorgeous stripes in room. The gray is so pretty and light, very soothing. I love that gray is a go to color now, so many different hues and shades of it, can make very good use of any of them. Think gray is replacing beige and blues??
Makes me want to do something like that in our bathroom altho we have high ceilings also, will need to use chair rail. I’ve also thought of bead board.
I helped a friend make stripes and put up a border in her son’s room few years ago. Her and another friend were in attendance to help out. They asked me how I knew to use a level. Duh, it just made sense to me. Kept using the level and marked off where the border and stripes had to go. I’m happy to say it turned out really nice. For me it’s getting started that’s the hard part. Have to be in right frame of mind to tackle a job like that.
Your source referrals are great inspirations. I’ve even thought about painting the ceramic tiles on bathroom floor, some of them are dark green and that’s not necessarily what color I want in bathroom. glad you shared this post.
Thanks so much for your feedback, Jane. I have painted tile before. There are lots of great tutorials out there to help you with the process. A good primer is key.
very pretty! excited to see it completed!
I’ve never done stripes, but I love the look. Your lines are so straight!