
Rust-Oleum Mystery Box Challenge
Hello friends! I don’t know about you, but I am ready for spring. I’ve already started decorating our living room and kitchen for the season, so that’s what I want to give you a sneak peek at today.
I recently had the opportunity to be a part of the Rust-Oleum® Mystery Box Challenge happening over at the Creator’s Studio. If you love DIY projects, you need to check out this site. There’s a ton of information and inspiration, as well as fun projects and free giveaways going on all the time.
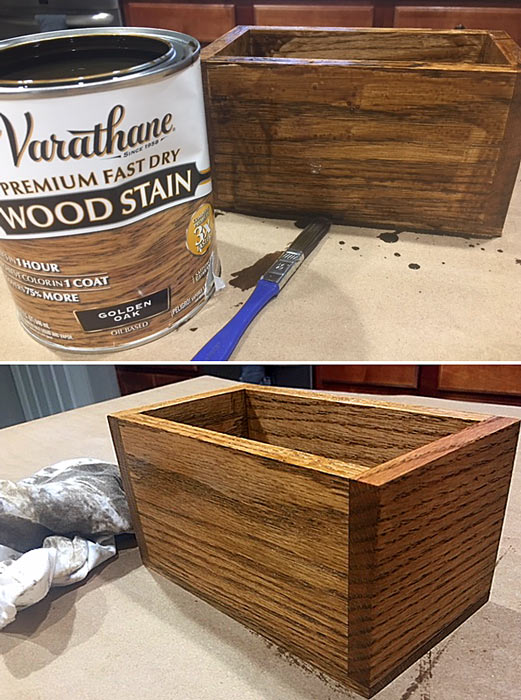
The Mystery Box Challenge involved Rust-Oleum sending me a box of goodies, which I had to use to create something unique. In my kit, I received a small, unfinished planter box, Varathane® Wood Stain in Golden Oak and Wood Grain Enhancer, and some other odds and ends I could choose to use to decorate the box.
Here’s what I crafted from my mystery kit:
 Step 1
I used the wire brush in my kit to “open up the grain” on the wood planter box by brushing, in the direction of the grain, all sides of the box. More brushing will equal a more pronounced effect, less will be more subtle.

Step 2
I applied the Varathane Golden Oak stain to my box. I often use a paintbrush to apply stain. I also like to coat it on nice and thick, letting it soak in for about 2-3 minutes before wiping it off with a lint-free cloth. I find this gives the best uniform, rich color. Too often, folks make the mistake of applying stain sparingly and wiping it off too quickly, which can lead to an uneven finish.
Step 3
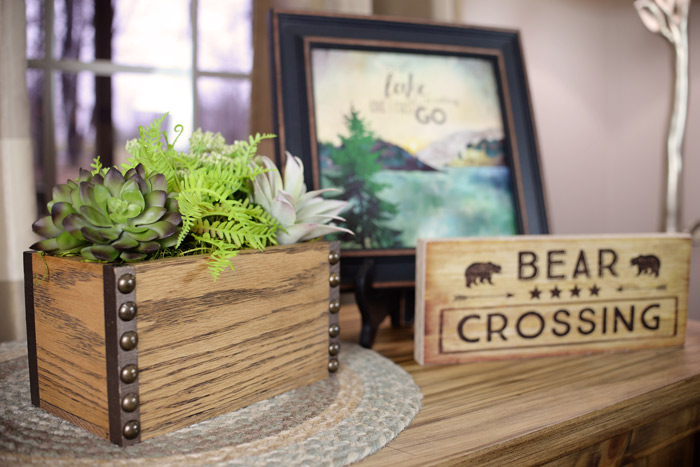
After the stain was dry to the touch (about an hour), I applied the grain enhancer. I used a rag to wipe it into the grain of the wood, working in the opposite direction of the grain. I wiped off the excess with a dry rag.

Step 4
Time to decorate and personalize! I taped off the corners of the box using painters tape.

Then I applied two coats of aged bronze paint. I like Modern Masters® Statuary Bronze metallic paint color.

After that, I used bronze upholstery nails I had left over from another project to decorate the edges.

Finally, I filled the center with floral foam and stuck in a few sprigs of faux greenery I got at Hobby Lobby.
Tip: Use an electric bread knife to trim foam for a quick, clean edge.


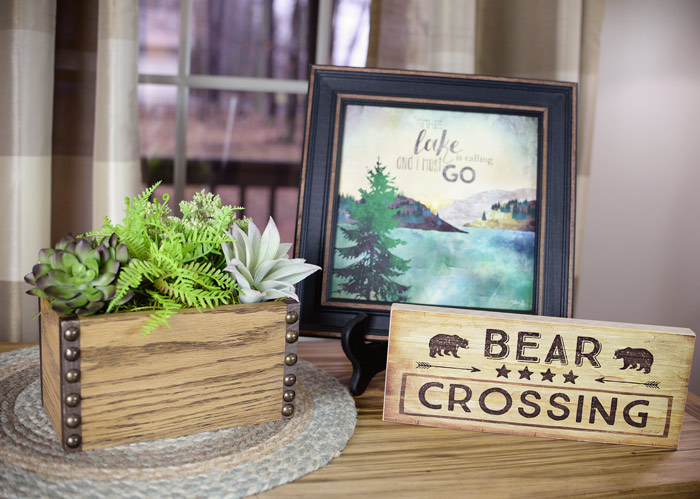
Done! I placed my new planter box on a side table in our living room.

What do you think of my project? I hope this inspires you to think spring!


Beautiful job! I have made planter boxes before but haven’t seen anyone add the nailhead treatment. I have to try this soon.
Thanks, Kim. 🙂
Beautiful!!!
Thanks Patricia. 🙂
Love it! The nailhead trim really makes it!
Simply beautiful! Love the soft colors!
Thanks Donna!
Great idea. The nailhead treatment makes the planter look more finished. A nice change from standard pots!