
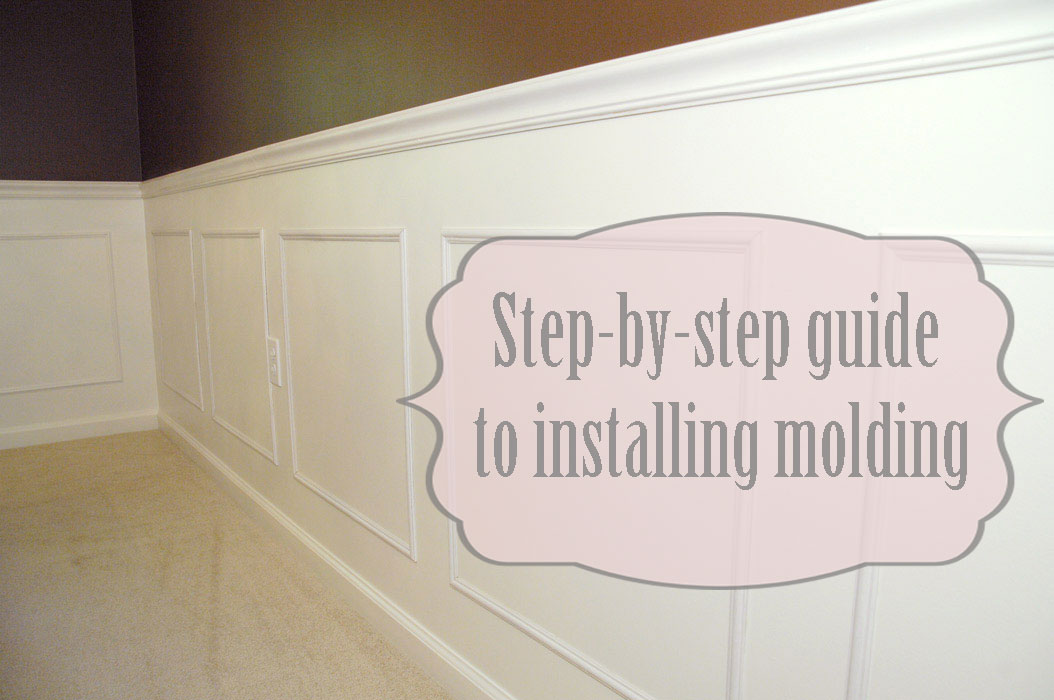
Step-by-step guide to installing molding
Last week, I officially finished installing the molding in my dining room and I’m proud to say I still have all my fingers! Although this project was time-consuming and I succumbed to the Resistance many times during it, I will say that, overall, it has been a great beginner project for someone just getting used to trimming molding using a miter saw.
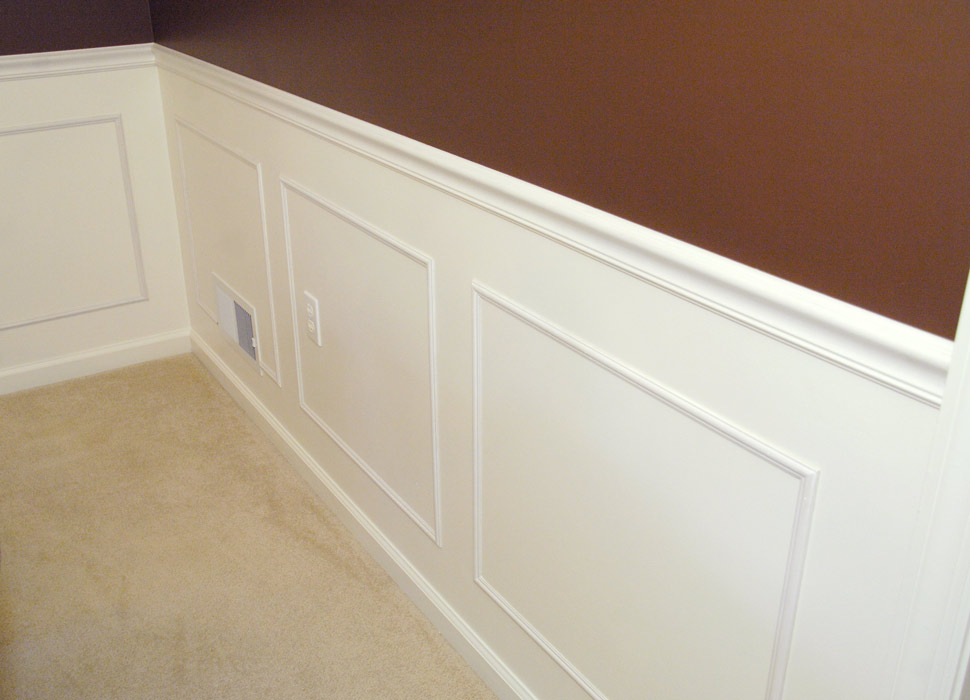
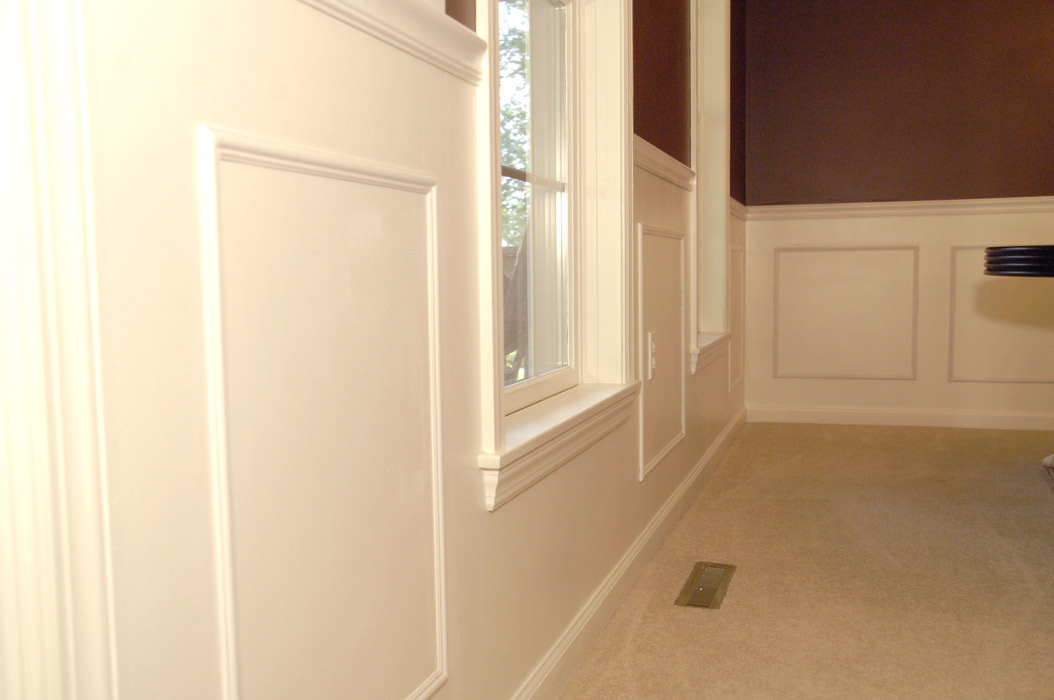
Here are a few more shots of the finished molding:

I will be sharing a super thrifty dining room curtain project later this week and wrapping up with a complete room reveal, so keep an eye out for that post.
In the meantime, I wanted to offer you links to the easy, step-by-step process I used to do this project.
Step 1: Paint the wall.
Step 2: Install chair rail molding (this includes a video tutorial on how to create tight joints).
Step 3: Install picture frame molding.
After painting and trimming all the molding, I filled any visible joints and gave the molding one last coat of paint for a finished look.
Here are a few tips and things I’ve learned along the way with this project:
- Purchase at least 30 percent more picture frame molding than you think you’ll need. This molding is so thin, it will occasionally split when being cut on the miter saw. (If anyone has tips on how to prevent this, please share in the comments section.) Also, there will be some short, leftover end pieces that you won’t be able to use.
- Make sure your wall is completely painted before installing your molding. When using semi-gloss paint, it is difficult to hide brush strokes. So when I went back to give the molding its last coat, I did it with an artist’s brush and avoided getting it on the wall. So there are no visible brush strokes when the light shines on the wall.
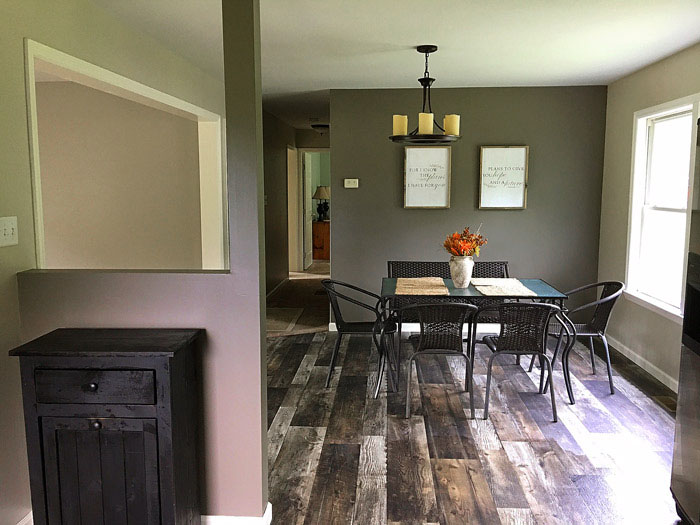
- Never, never, never paint over wallpaper. Honestly, I know better than to do this but our dining room had one wallpapered wall and we thought we could paint over it and it would be fine. The problem is that the vertical lines of the wallpaper joints are still faintly visible and this drives a
crazydetail-oriented person like me nuts.
All wallpaper joints aside, I am so happy with how this molding has transformed the room. I love it!


The molding looks great!
By the way, that’s an awesome podcast from Michael Hyatt!
Ooh. A fellow Michael Hyatt fan. His stuff is so motivational!
For sure! 🙂 I ran right out and bought “The War of Art” and “Do the Work” after this podcast. I think I need to review the countermeasures to the attributes of resistance. 🙂
Ooh. I’m checking out “Do the Work” now. You should also look into “The 4-Hour Workweek” and “Take the Stairs.”
I know that my husband has “The 4 Hour Workweek”. I’ll see if the library has “Take the Stairs”. I can’t keep buying books if I’m not reading them! Yikes!
Have a great day. 🙂
Susan
Excellent ! Look forward to seeing the very
helpful valuable information you share.
Really enjoyed the article and recording on resistance Wow think I’m becoming a livingrichonlessaholic.
Keep up your great works.
Awesome, Dwight! Glad you liked the podcast on the Resistance. I’m a huge fan of Michael Hyatt’s work. He’s very motivational.
Wow! It turned out great! You must be so happy it is finished.
this is so fantastic. new to your blog, and your house is amazing!
Thanks for stopping by, Danielle!