Easy window valance
Happy Valentine’s Day peeps! I hope you take the opportunity today to squeeze your sweetie if you’ve got one.
Over the weekend, in true “Susan” fashion, I looked around and thought about all the things I should get to work on. Then I decided to do none of those things and, rather, started a completely new project instead. (I’ve never claimed to be normal.)
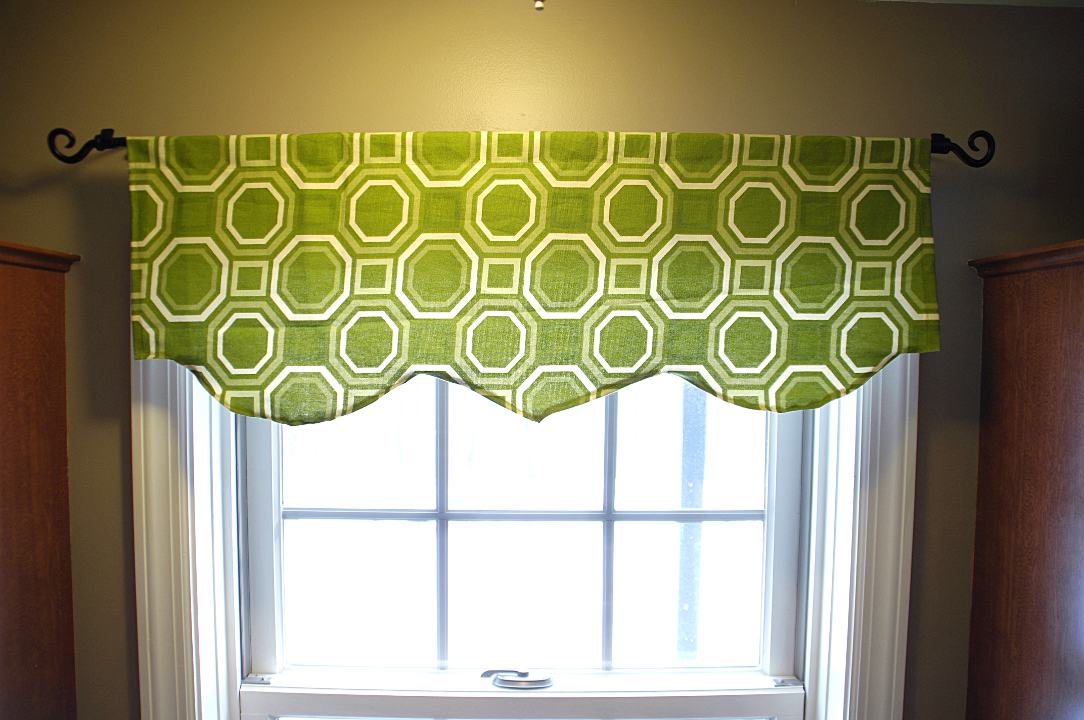
I dug around in my fabric bin and pulled out this cute, whimsical green fabric I bought on a, well, whim at JoAnn Fabric & Craft Store last year.
 After some Pinterest inspiration, I decided to use it to create a new valance for my kitchen window.
 I measured the length and width I needed, remembering to add an extra inch on the sides for hemming purposes and two extra inches at the top for the fold that the curtain rod slips through.
 To create the triangular design, I marked the center of the fabric at the bottom of the curtain, and then marked two more points five inches on either side of the center point. Two inches up from those points, I marked two dots and then connected the center dot with the two higher dots on either side.
 After that, I used this handy placemat to create an even, half-circle shape on either side of my “triangle.”
 When I felt I had a (fairly) symmetrical piece marked, I cut it out. (Disclaimer: All the sewing I do is amateur at best. I don’t follow very many “rules.” Usually, my sewing projects involve a lot of sweating, an occasional curse word, tons of marking and re-marking, and a finished product that looks wonky but OK from a distance. Consider yourself warned.)
 I sewed a hem on the sides of the fabric first. This is important.
 Then I sewed the top fold (for the curtain rod to slip through). After that, I pinned the hem for the semi-circle portion and slowly sewed the hem.
 I usually try to stick with straight edges when I sew. I guess I felt like being challenged this weekend. I was.
Here’s the final product – nothing super fancy, but a cute change for spring.
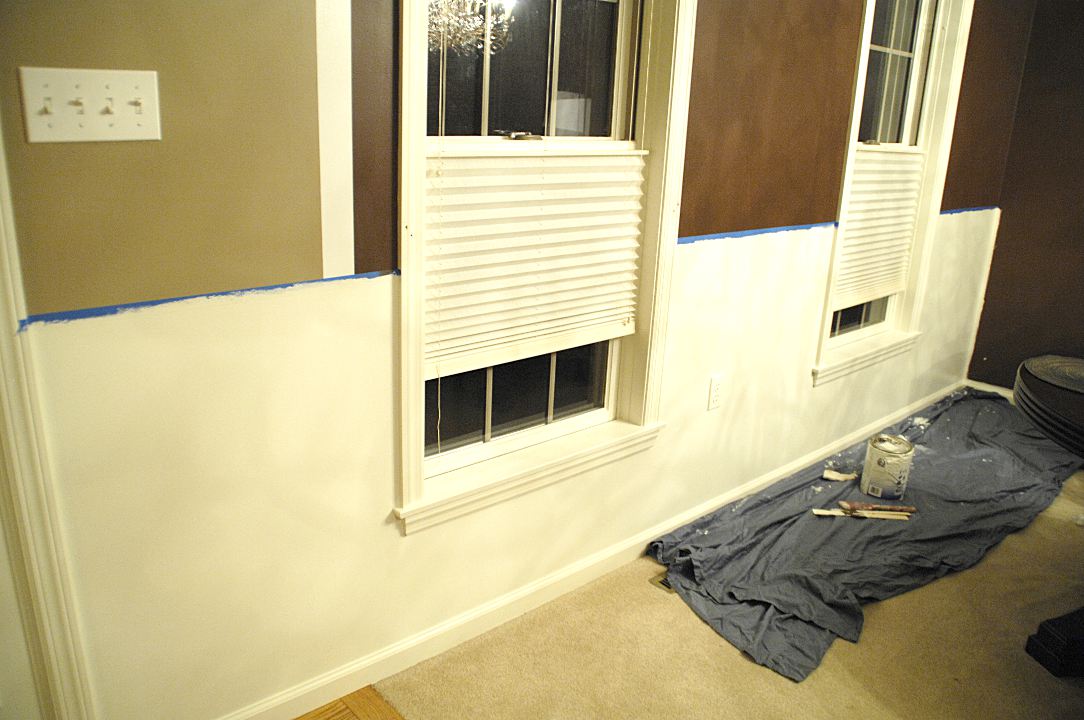
 Oh! If you’re wondering, I am happy to report that I have made some (small) progress on the molding project in the dining room.
 I measured the spot where I want the chair rail to sit and then used painter’s tape to mark the line. I painted two coats of semi-gloss trim paint (that matches our window, door and baseboard trim) on the lower portion of this wall.
 More to come on this project … I have a feeling it’s going to be a tail kicker.
By the way, you probably noticed the white stripe between the two brown paint colors. This technique is often used to blend paint colors when two rooms share the same wall. At the top of the white stripe, there’s a white sconce to create the illusion of a pillar. When I hang curtains in the room (someday), you won’t even see the white stripe, only the white sconce dividing the rooms. Cool, huh?


Susan I love the cute valance!! You’ve inspired me to get my sewing machine out that I drug out to CA with me and work on that t-shirt blanket I convinced Jer I would make him if he let go of his old shirts… hehe! 🙂
Thanks! Just don’t make any one-legged shorts. Hey, are you getting my comments on your blog? Just checking to make sure they’re making it to you. Do you mind if I use some of the stuff from your “taking risks” post on my blog? I’ll attribute the info. to you, of course.
I love those valances Susan! I think I might could make those 🙂
I’m looking forward to meeting you at BlissDom. Traci said she got your # so we can meet up. See you soon!!
Blessings,
Cyndi
Thanks for the feedback, Cyndi. I’m looking forward to meeting you, too. I told your sister I’d better bring my best outfits so I can keep up with you, lol! I’m usually in yoga pants (like Traci!) when I’m not at work.
Love the fabric, Susan! And the lemons on the window sill look so fresh with the fabric…very Spring!
Sharon @ mrs. hines class