
No-spend office gallery wall
Perhaps you’ll recall our upstairs office/music/guest room got a makeover awhile back which included paint, new curtains and pillows, and an organized desk space.
After that, my husband sort of claimed that space as his office, so I created a makeshift office downstairs for myself. Well, now the hubs has been doing most of his work downstairs on his laptop, which means I’ve slowly and stealthily re-claimed the upstairs office as mine again. 😉
My first order of (new) business has been putting together a little gallery wall above the desk that can offer inspiration to both of us. I wanted to do it without spending any money, so that meant hitting up the basement art stash.
 My gallery wall includes two framed butterflies from my aunt and uncle, a signed copy of the Resolution, a “With God, Nothing will be Impossible” print, and an easy, DIY art piece reminding us of Proverbs 16:3.
Commit to the Lord whatever you do, and he will establish your plans. – Proverbs 16:3
To create the Proverbs 16:3 piece, I started with this print (found in the basement collecting dust, of course).

I used Frog Tape around the edges, then gave the whole thing a base coat of blue/silver acrylic paint.

After that, I free-handed a landscape, using colors similar to those found in the curtains in the room. My goal was to sort of create an abstract sea, sand then grass idea.

I used my Silhouette electronic cutting tool to print out the verse reference on adhesive black vinyl. Then I stuck it on the canvas.

I used Command strips to hang all the art on the wall. I prefer using Command strips and hanging hooks because they don’t damage your walls. And since I change my artwork out a lot, it’s best if I don’t go around hammering a bunch of holes in my walls all the time.
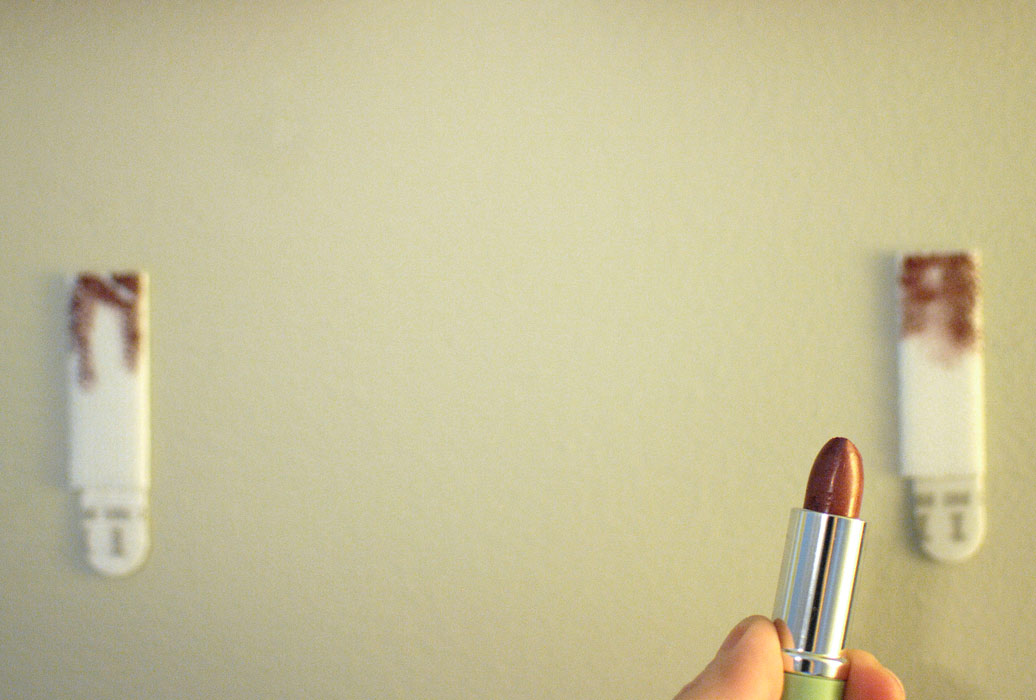
Tip: When I have trouble getting my adhesive backs lined up, I use a touch of lipstick on the wall strips. Then I push the back of the artwork against it and it marks where I need to add the other side of the strips.
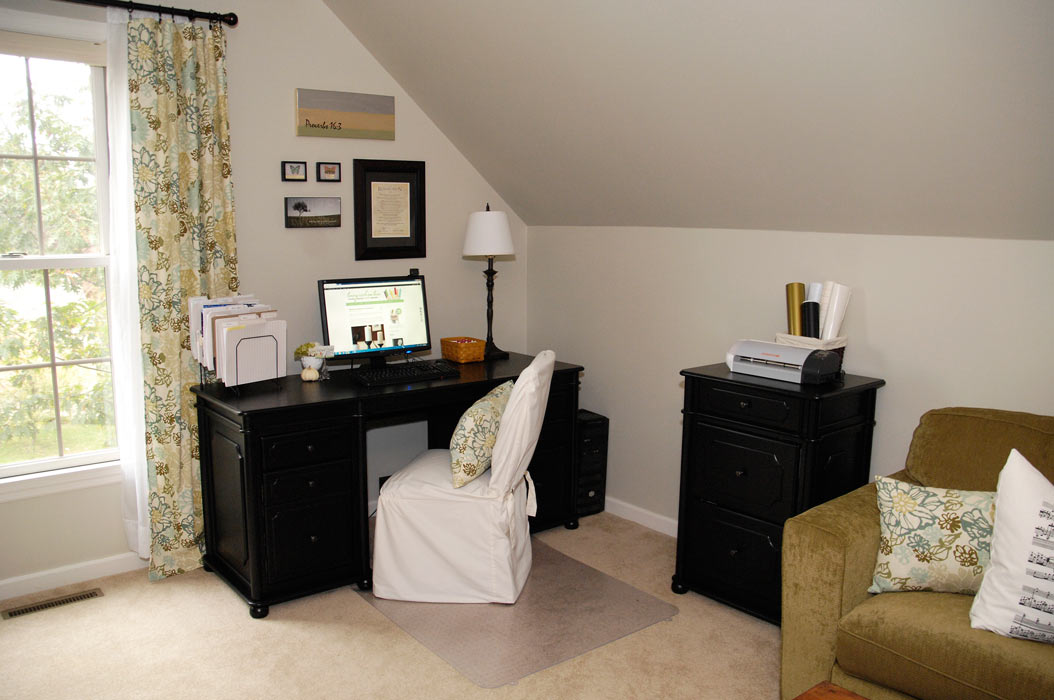
Here’s another view of the office space with my new, inspirational gallery wall.
And lest you think I’m incredibly neat and organized, let me show you what was going on behind the scenes of this photo shoot.
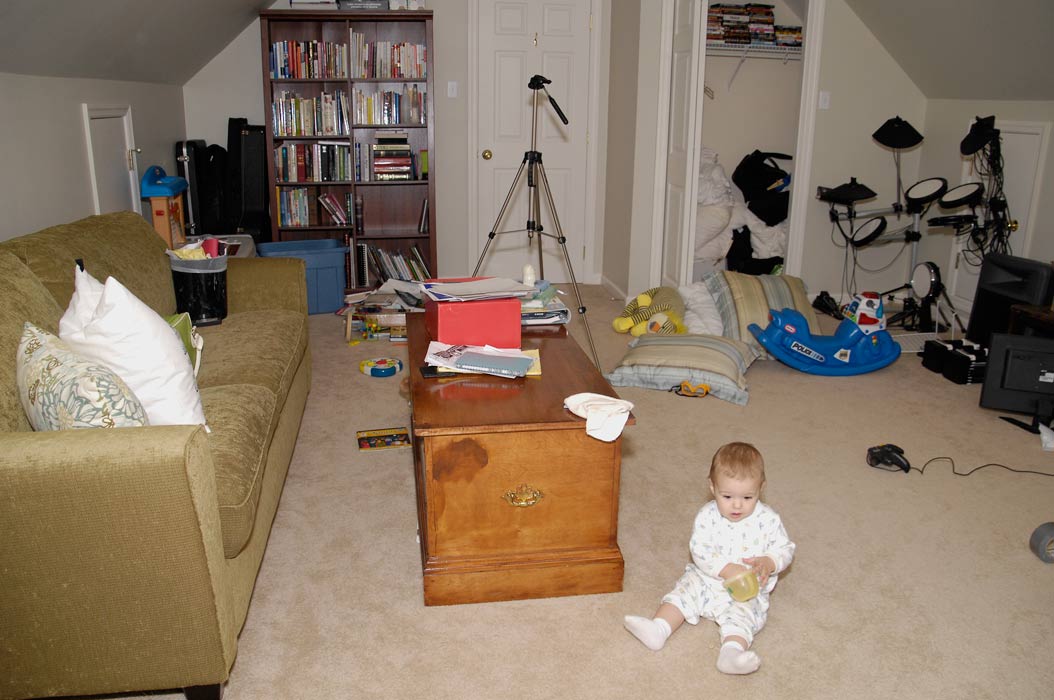 The little booger you see innocently eating his snacks managed to empty all the bookshelves he could reach, completely ransack the TV console, and leave a trail of Cheerios behind as evidence of where he’d been. Unfortunately, I can’t blame him for that hot mess of a closet or the stacks of papers and books on the tabletop (hanging head in shame).
Oh well, at least one corner of the room is clean and organized, right?
What do your rooms look like “behind the scenes?”


Funny to see your idea for hanging the pictures using lipstick because a friend posted a call for help yesterday on how to hang things exactly where she wanted them. One of her friends suggested the same technique but used toothpaste instead.
You don’t even want to see my computer room upstairs…a total mess…there is a pathway to the computer and very little room to move around in the chair…lol…I hear you sister!
Glad I’m not the only one. 😉
Looks great! I especially LOVE the curtain panels…I have the same pattern on some pillows in my living room!!
Cute and cozy! I think I would add a small bulliten board on the wall to the right with pushpins and put a small potted plant on the corner of the desk or a small stand at the window with a green potted plant, but sure the baby would get into it too, lol.
I would bring the curtain hem up 1/2 inch from the floor too and add a splash of something in the open space on the wall under the smaller photos like an angel or 2 or 3 butterflies in a golden color, or something with a red heart to pop some color into the look or a red or dark blue waste basket, which you could paint some flowers with bright colors on. It would add a pop of color to the entire corner. But do love what you did.
Great project! Love the curtains. Where did you get them??
Made them myself. Here’s a link to the tute: http://livingrichonless.com/office-progress/
Nice. I love the lipstick trick. Definitely will try that the next time I need to hang something.
Pretty much the same as yours! LOL But at least we have a little corner of heaven somewhere in the house!
Thank you for being transparent and showing the entire room. I like the corner very much, but it’s affirming to see the rest of the room!
You’re welcome, Gail. That is pretty much how it looks behind the scenes of all my photo shoots, so that should make you feel really good. 🙂
love the idea for my office .. can tell me the wall color name ?..
Sure. It’s Valspar Oatlands Subtle Taupe. Thanks for stopping by, Wendy.