
Spring decor: DIY candle holder, cheese tray and more
Hello, friends. I don’t know about you, but I am ready for spring!
Today I thought I’d share a few thrifty spring decor projects anyone can tackle in one afternoon. (This is part of the Creator’s Studio Blogger Challenge. You also have a chance to win! By ‘liking’ your favorite submission – ooh, I hope it’s mine 😉 you’ll be entered to win a package of the same 8 Rust-Oleum® products bloggers received. Voting is open now until February 22, at 5 pm CST.)

These projects are derived mostly from this junk pile in my backyard:

Yes, when shopping for elegant dining room decor, what better place to start than the garbage heap? 😉
DIY candle holder
The first piece I snatched from the pile was a block of wood, a leftover hunk from one of our porch posts, I believe.

I used my 1.5″ forstner drill bit to cut three holes in the top. Then I sanded the whole piece really well. (Note: As a safety precaution, use a respirator mask and work outdoors when cutting or sanding pressure-treated lumber. More info. here.)
I gave the piece two coats of Varathane® stain, first with Bleached Blue, then Briarsmoke.

After the stain dried, I applied the Royal Design Studio Springtime in Paris Stencil, using the Pearl Oyster Stencil Creme, to the front and back of the wood block.

Finally, I filled the holes with votive holders and tealights. Done!

DIY cheese tray
For my next project, I began with a piece of plywood, which I cut into about a 12″x10″ cutting board. I sanded it really well, including rounding the corners.
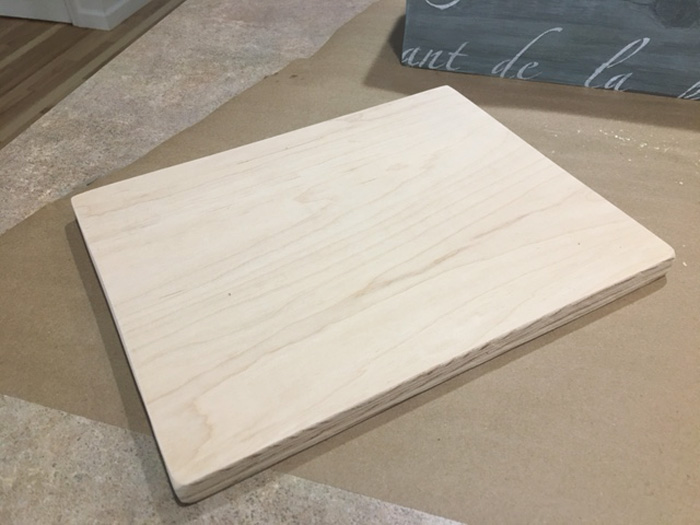 I sprayed the board with a coat of Rust-Oleum Chalkboard Spray paint.

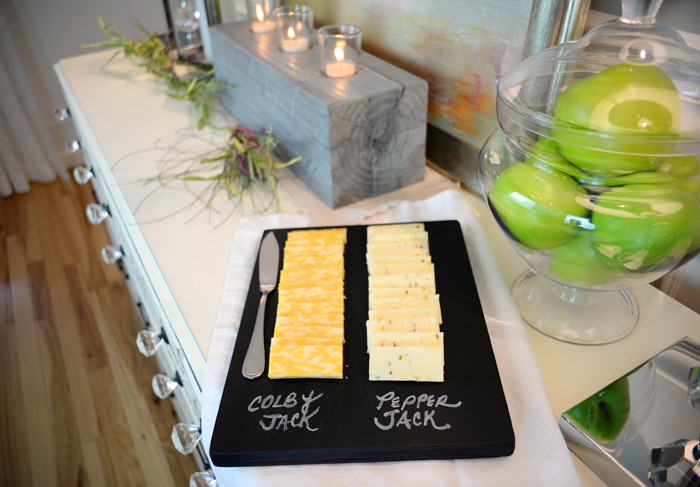
After that dried, I coated the piece with a few layers of food-safe mineral oil. Finally, I added chalk labels and cheese. Voila! A trendy cheese tray.


Spring centerpiece
For my final spring decor project for the dining room, I began with a few dusty rattan balls I found in the basement.

I gave them a coat of either Rust-Oleum Mirror Effect (Gold) or Specialty Metallic (Copper) spray paint.
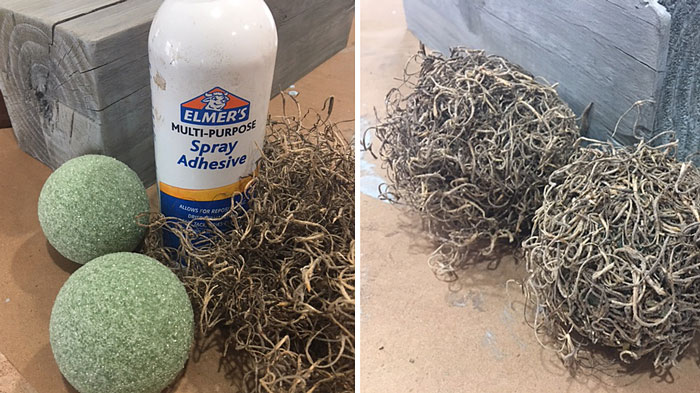
I also created my own moss balls by using spray adhesive to stick faux Spanish Moss onto craft foam balls. All materials again were found in my treasure trove of a basement. 😉
 I added a coat of Gloss Spring Green, followed by a light coat of Metallic Dark Copper spray paint.

I displayed the pieces in a wire basket, creating the perfect spring centerpiece for my dining room table.

What do you think of my upcycled spring decor?

Have you DIYed anything spring yet? I’d love for you to leave a comment and tell me about your project.
Disclosure: I’m thrilled to help spread the word about Rust-Oleum products. I was provided the products featured in this post at no charge. As always, all thoughts, opinions and projects are 100 percent my own.


I LOVE these projects, SO FUN! Your Spring decor looks great!
Thanks, sis. 🙂
Your spring decor is beautiful. The cheese made me hungry haha. Great job as usual.
Your projects turned out beautifully. I love the candle holder! Good luck!
I love the candle holder and cheese tray
From Mag..Love Love the dresser..The candle holder & cheese tray..Also love the pearl stencil of Springtime in Paris..I want this whole look..Hope you win!! This is beautiful ????
Aw. Thanks so much!